A clipping path is a technique that is used to detect every sharp edge of an image and also to separate an object from its background. This technique has a great potential issue for every single design task in Photoshop. A clipping path can be done with photo editing software like Adobe Photoshop CC, Illustrator, CS, etc.

But the clipping path in adobe InDesign makes the process fully easier than all of them. In other Photoshop applications, when you go to make a clipping path, you would need to know about the usage of some tools at first. You might hear those tools called Photoshop pen tool, magic wand tool, eraser the tool, etc. although you can’t use these tools unless you get enough knowledge and using skills to do that.
But in InDesign software, you don’t have to do so much, as there is a separate clipping path option in InDesign that will allow you to make a clipping path in any image with just one tap. So, InDesign makes the clipping path process easy for all. Here I am showing all the processes of making a clipping path in InDesign. Take a look if you want to gather skills in a similar issue.
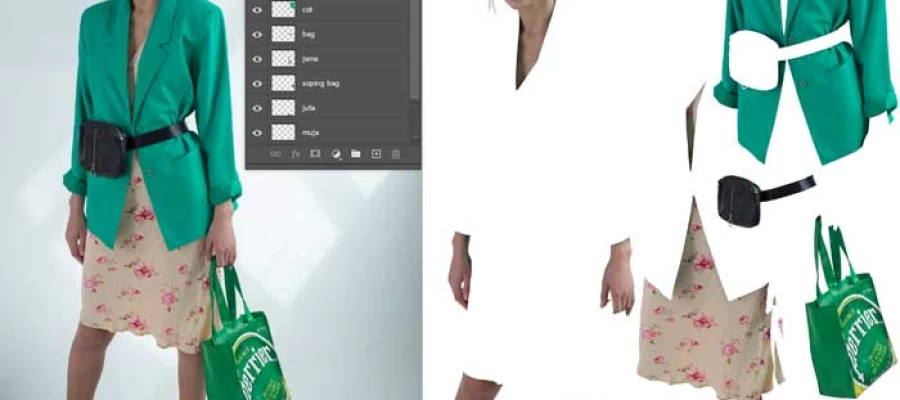
You can make a clipping mask in InDesign in a variety of ways. Making a clipping mask to an image means creating a path for an object that is included in the image and cutting the object out to use a different platform. To make a clipping mask, you need to choose an image that you want to create a clipping mask. You should know that when you import an image in InDesign, it will automatically create a frame for you. It is making masking easy in InDesign, as you make clipping by simply moving the frame lines right to left or inverse.
Although, you can also use frame shapes to create a mask effect. To use the shape for masking, you should select the ‘Ellipse frame tool’ from the toolbar. When you select the tool, you get a circle frame that helps you to choose your object on the image. The process is like cropping but if you want an asymmetrical shape, you need to select the whole selection when moving.
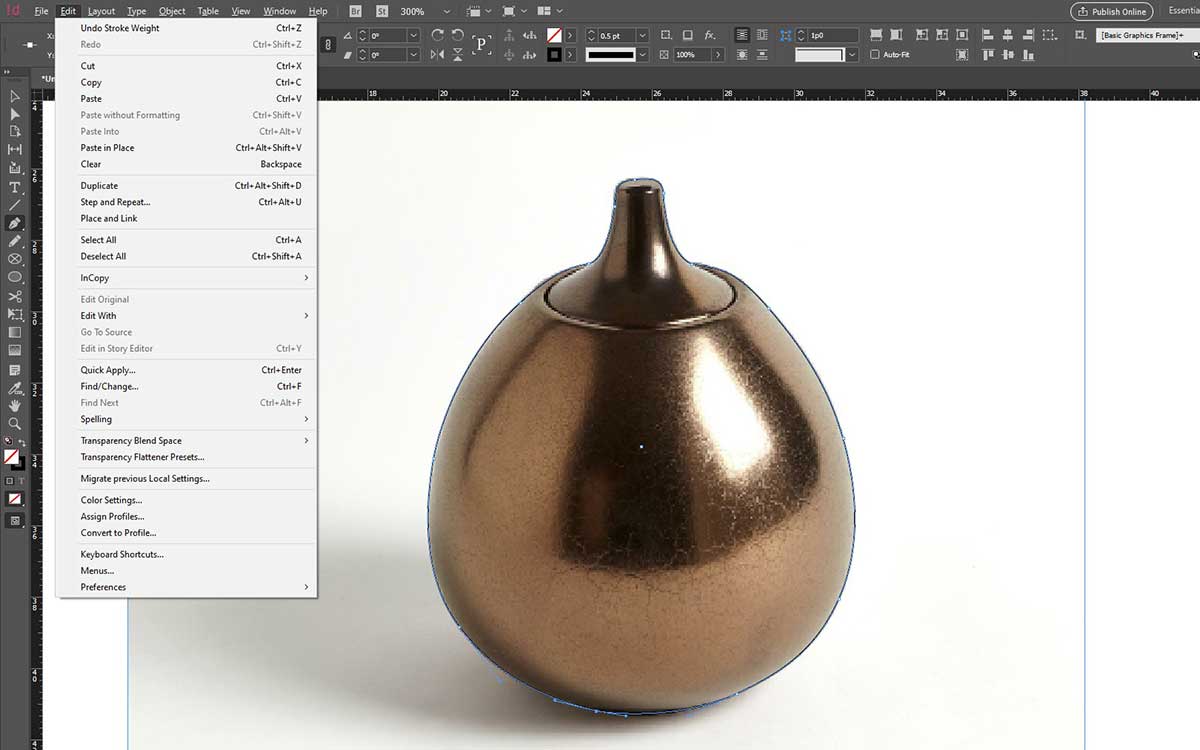
Now, find the ‘Cut’ option in the ‘Edit’ drop-down menu bar to separate your frame from the rest of the image, and then go to the ‘Edit’ option again and select the ‘Paste into’ option. There you have a circle clipping mask for your image. you can also use this technique with all other frame shapes like rectangle and polygon frame tools.

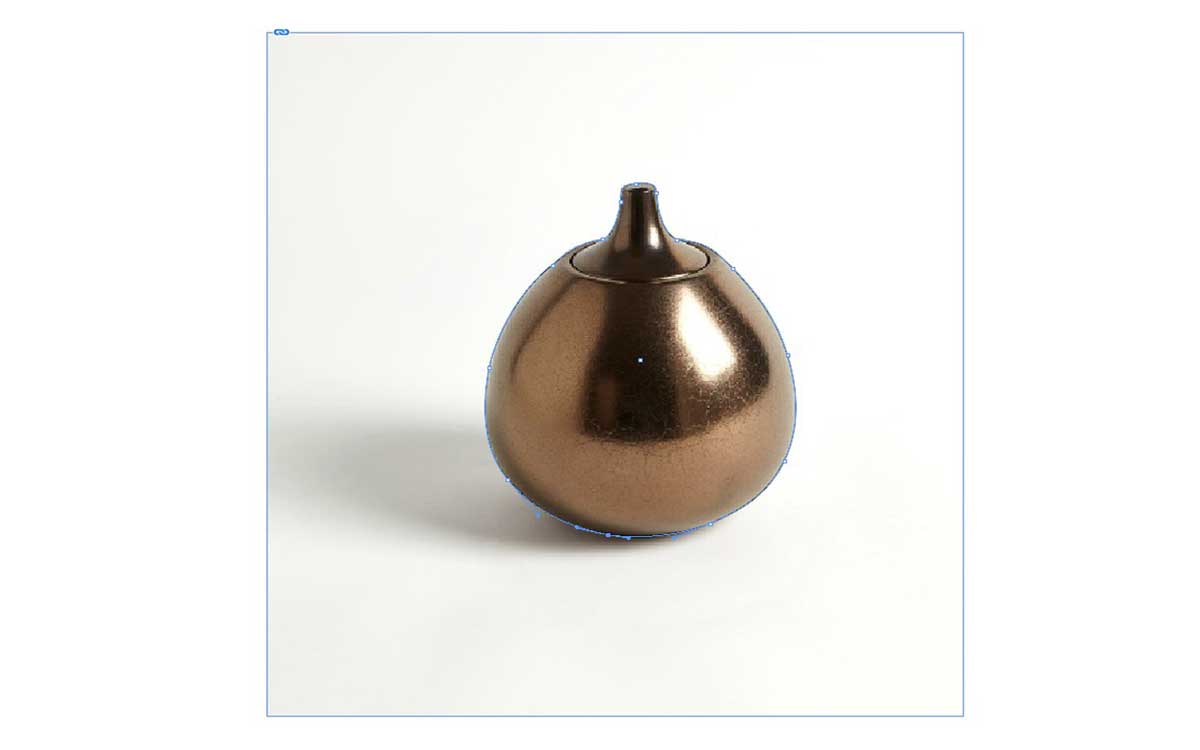
Figure I-Image
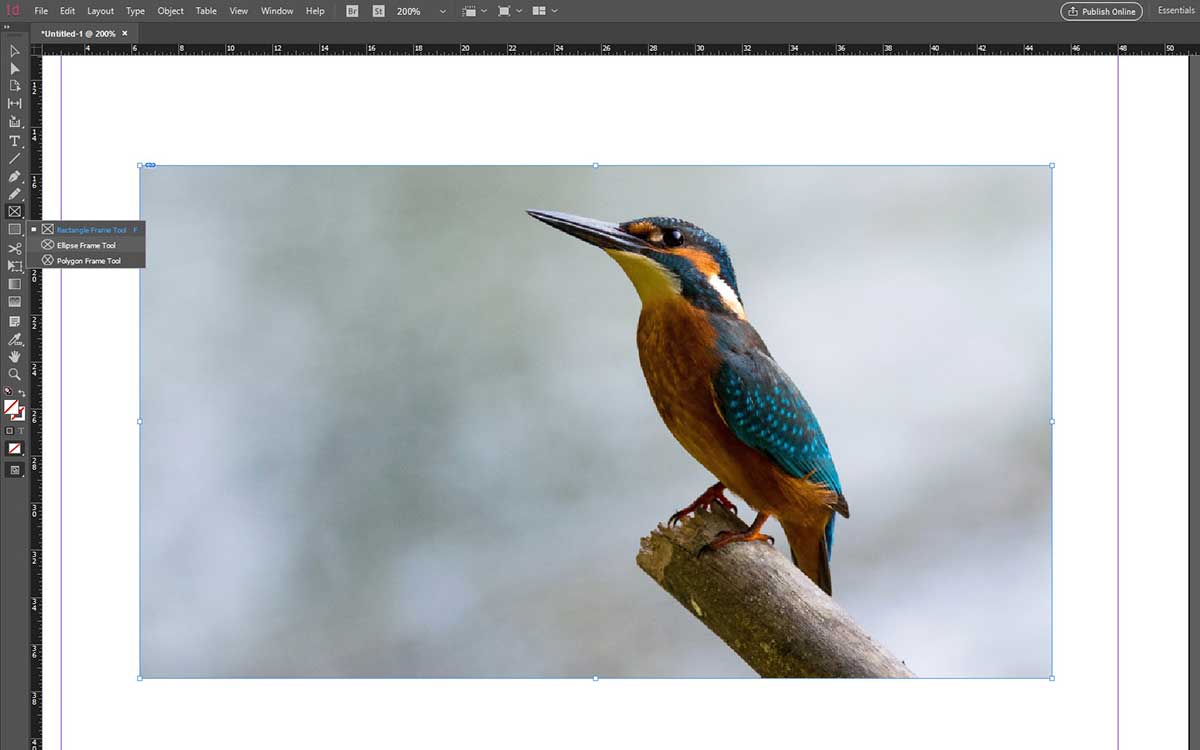
Figure II: Ellipse Frame Tool
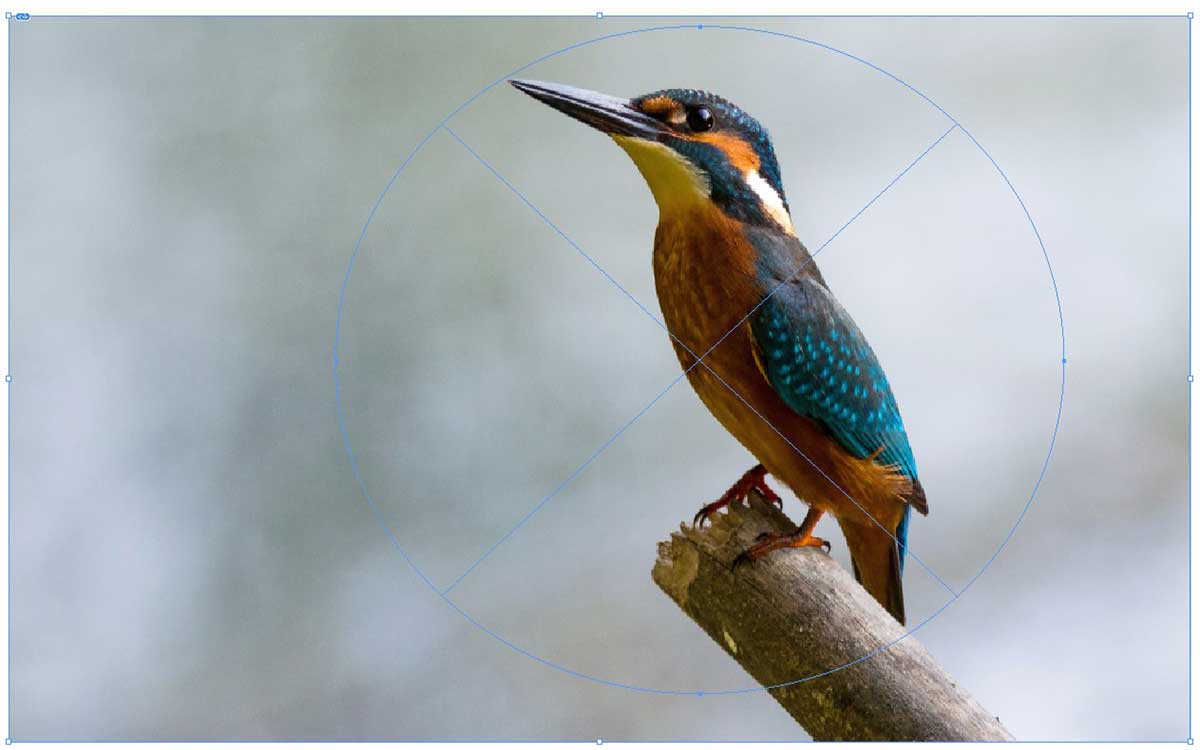
Figure III: Circle selection
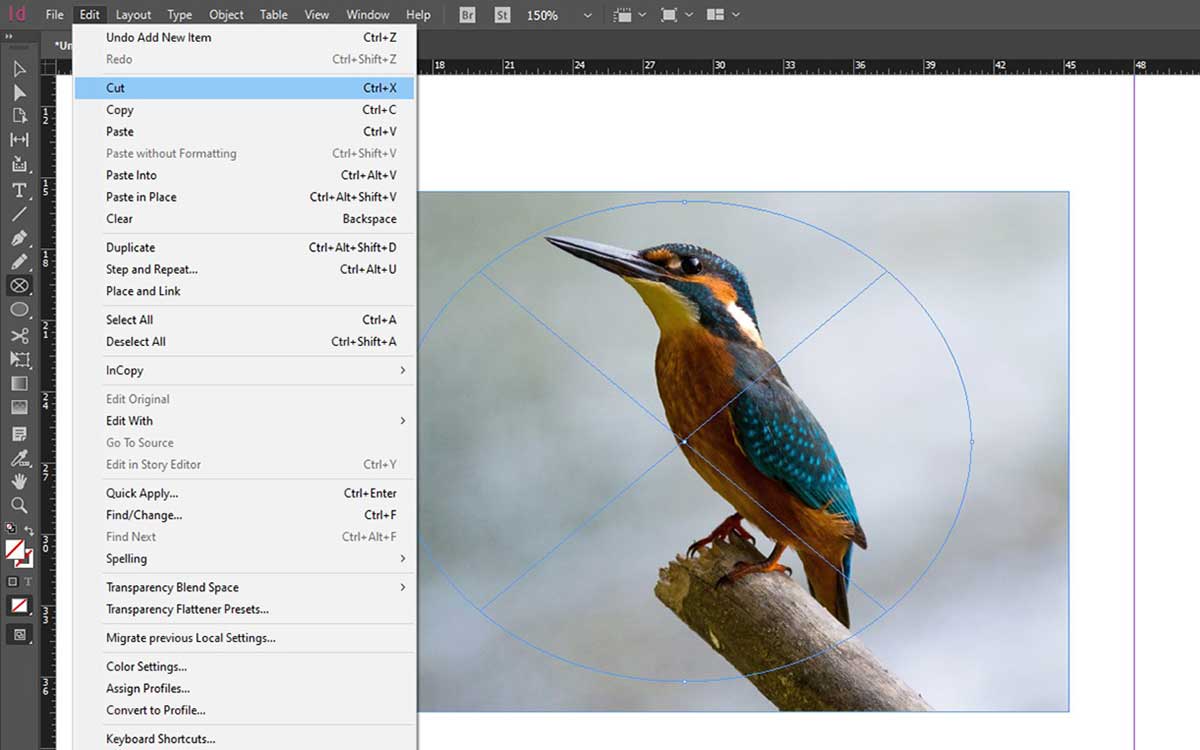
Figure IV: Cut option to detached the object

Figure V: the final result
Now, we would go to make a clipping mask with customized shape frames that will be done by the pen tool. If you have used any photoshop software before, you might know about the pen tool. It works similar to other adobe software in InDesign. You can create any shapes using the pen tool, let's look at how to do that, The pen tool is useful for creating a complex clipping mask in InDesign as it helps to make any shapes like a pen drawing on the outline of any object.
First of all, you need to open the selected picture that you want to cut out any object from the rest of it, and then select the pen tool from the toolbar. With the image open and the pen tool selected, you should now pay attention to the outline around the object. Start the process by creating a single point in a convenient place in your image and continue it by following the outline of the object.
After completing the selection of the outline of your object, keep it as selected and then go to Edit>Cut it.
Now put the clipping object into the frame that you created by simply selecting the Paste option of the Edit menu.
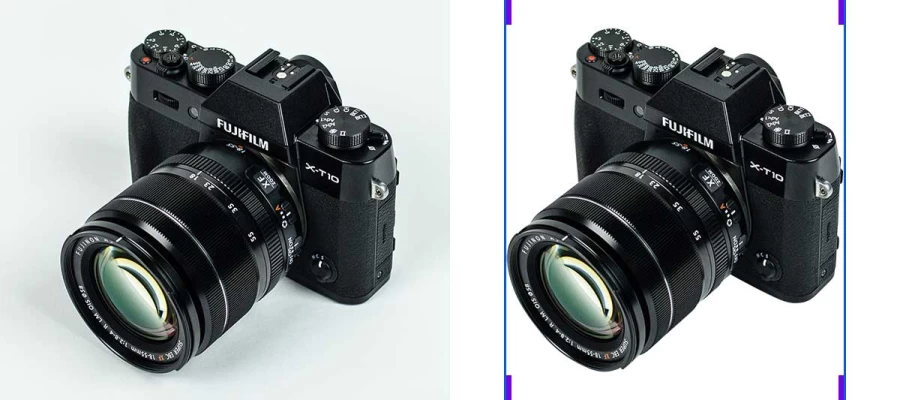
It is pretty much easier to do the background removal from a picture with InDesign. As we have already learned two simple methods of creating a clipping mask, it would help us in our future lessons. You can isolate the background from an image by two simple methods. Among them, we would see the easiest one at first. It is called the automatically clipping path option. As previously said, InDesign makes the clipping path process easier than other photo editing software. So, let's get into the process,
First of all, you should have a picture that has a transparent color background that you would go to remove.
Click on the image once with the Selection tool.
Go to Object > Clipping path > Options
It will show you a new window with all types of clipping path options.
With the new window opened, you should select ‘Detect edges’ in the Type bar. It will detect all the sharp edges of the image for you.
You will get the Threshold and tolerance option in the clipping path window that will need to adjust to focus on the path that is created in your image. The threshold will help you to detect an inner object in your selected areas like a logo or emblem.
Keep the value 1 in the Insert frame option and then heat the Ok button. Here you have your image without a background.
You can also remove the background with the pen tool and the process is as similar as I stated above in Method-2. Keep following these instructions if you want to cut out any subject from your image. easy process.
Sometimes it needs to use an image over some text. Especially for covering up stories and briefing in magazine design and newspaper design, it needs most. So, how to do that with InDesign? To use the image over a text body, you should follow up steps given below,
Select the type tool that is displayed with a T icon on the toolbar and draw a text box. Then fill the box with your desired text. Then choose an image that is related to texts and that you want to put over the text. After placing the image on the text, you should go to Object > Clipping path > Options. A new dialogue box will open in front of you with clipping path options.
In the dialogue box, you can find an option Type, select ‘Detect edges’ from that. if your image has an area that is not clipped off then you can also select them by clicking the option ‘Include inside edges’. Heat Ok to complete the process and your text is ready with an image.
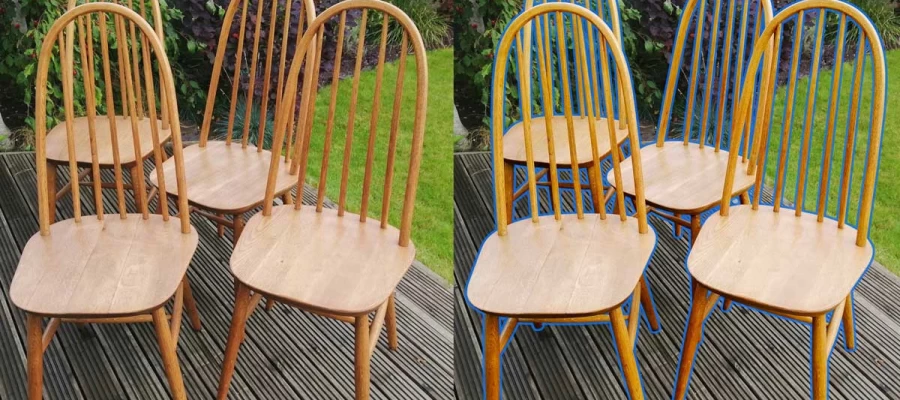
To convert a clipping path into a frame, you need to make a clipping path in an image. if you aren’t knowing the process of clipping path in InDesign, then check the technique from above. But there is quite a difference when you go to clip out a raster image. if you have one of them, then you go to Object > Clipping path > options. In the type menu, you will find an option that is an alpha channel for raster images. After selecting the alpha channel, you will see that you object with the clipping path outline.
Once you get a clipping path around your subject, now it's time to turn it into a frame. To do that, you should click on the right button of your mouse in the selection area. A menu will be shown full of options from that, you would select ‘Convert clipping path to frame’. Boom, you have got a frame in the same shape as the clipping path.
That’s some easy and short technique to get started with Adobe InDesign. If you find the article helpful to you, then let us know to give support to export more like them.