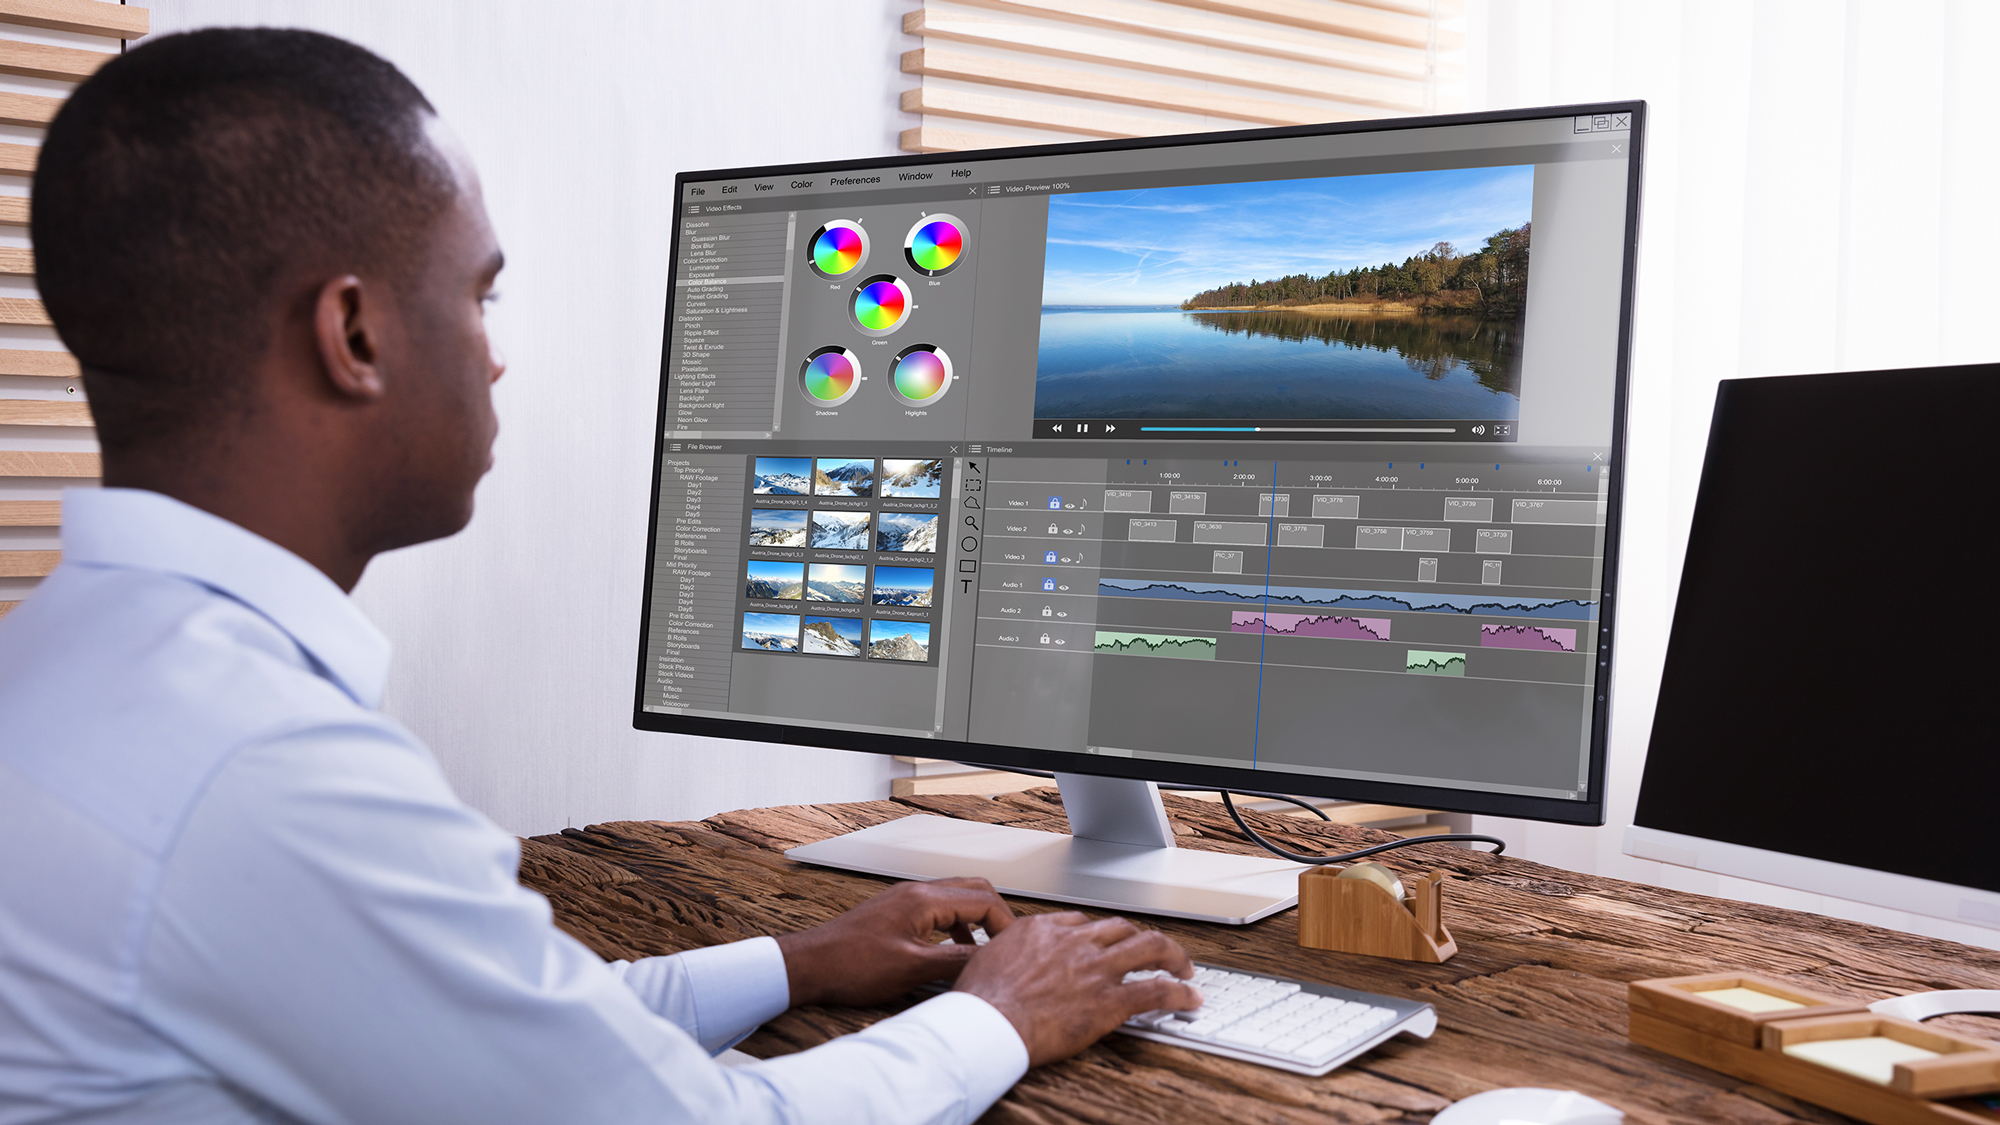
There are many ways to edit product photos, from simple snapshots to machines that drive conversion. In the digital age, the product image is in fact the first impression; online stores highly depend on its quality. Other studies indicate that customers are more likely to buy items with professionally taken and high-quality pictures.
No matter how flawed your original picture is, the magic of editing can save your work. A couple of sensible edits on your photos would easily double your sales in no time. With a bit of effort, you can transform a good image into a great one by background removal, eliminating annoyances, and enhancing its appeal to entice customers to click 'add to cart.' Well, we tell you in this post about the top 15 ways to edit product photos to boost sales. Learn now!
Top 15 Ways to Edit Product Photos to Boost Sales
Have you ever been somewhere, scrolling down the page, and the photos of their product are just meh, so you pass them right by?
But what if we told you that effortless and easy magic could be worked into your product shots, which would make those sales pop?
So, get ready. In the next few minutes, you will learn 15 editing techniques to make your product pictures pop. Your potential customers will turn from window shoppers into raving fans.
1. Creating a Consistent Product Photography Style
Imagine you are stepping into a huge store filled with thousands of products. You are pretty sure your product is fantastic, but how do you tell people you are coming with the good stuff? You have clear and consistent photos that make your products stand out in a very noisy store.
But what's cool about that is that when people see your stuff, which looks the same every time, they trust it more. They begin to buy your stuff when they trust it, and therefore, having a consistent style for your product photos is not just about making things look pretty; it's an intelligent way to get more sales and stand out from the crowd. Here are some powerful, brief ideas that will increase your sales by creating regularity with your product photography:
Color Harmony: Maintain color harmony in all your product photos for a customized look.
Lighting Consistency: Experiment with different lighting setups to convey a consistent impression of features in your product throughout all your images.
Signature Composition: Design your recognizable photo style for products.
Strategic Props & Backdrops: Use props and backdrops supporting your message.
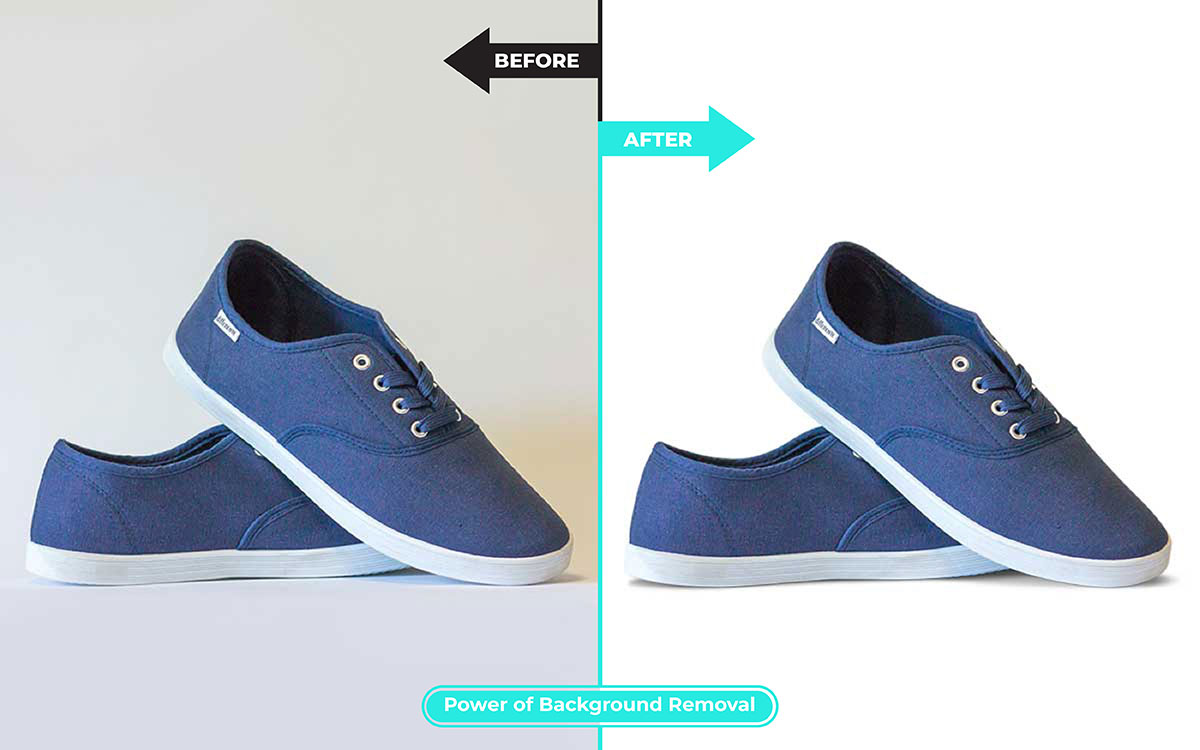
2. Background Removal and White Background
Think about it. You are online shopping, and there are two pictures of a product: one with a hectic background and the other on a plain white background. Which one pops out? It's probably the one on the white background. Why? Because it makes it easier for the product to stand out.
Think of this: the moment you remove the background and then apply white instead along with a clipping path, all the focus goes on the product; it becomes easily visible, and indeed, it appears professionally done.
Besides, this will also look right as it is the same color you have in the background when you take pictures of all your products, making the brand look much more consistent and trustworthy. While this may sound like a tiny thing, changing the background to white during the editing helps sell more products because white instantly makes the products look beautiful and memorable to the customers. All right, with that out of the way, here are a few short and to-the-point pointers on how you can boost sales with photo background removal and white background:
Visual Comparison: Use images before and after to illustrate how it would look with white backgrounds and the effects of representing your product.
Social Media Contests: Organize contests and reward the winners with professionally edited white-background photos to create buzz and demonstrate the service's value.
Exclusive Discounts: Offer exclusive discounts for items with white background photos, thereby motivating the seller to submit more visually appealing and cleaner images.
Educational Content: Create educational content about why a white background is critical for product photography to elevate your brand as an authority in the industry while encouraging users to take advantage of your professional photo editing services.
3. Use different colored backgrounds
Amongst the top 15 ways to edit products photos to boost sales, this one is super interesting. If you want me to be straight forward, I will suggest you use different colored backgrounds.
I always thought product photos were all about the product—that's what you're selling, right? Then, I found out how much power a colored background has. It's not just about making things look pretty but automatically setting a different vibe for any brand. A bright yellow background will whimsically work for a toy, while a sleek black backdrop might add that bit of class to a luxurious watch.
A colored background tells the story of your photos; it places your product in a certain mood or environment. It's like mounting a mini stage that speaks directly to the desires of your ideal customer. It pushes them emotionally to see themselves using and enjoying your product. That's the magic formula to increase sales. So here are a few quickies that will help you increase sales with images of your products against differently colored backgrounds:
Color Psych Hack: Use colors to spark emotions! Calming lavender for sleep masks, energetic orange for sports drinks.
Product Compatibility: Select background colors that will reflect the appeal of your product, such as earthy colors for natural products or metallics for tech gadgets.
Lifestyle Connect: Help customers visualize using the product with backgrounds that relate to your products.
Be Emotional: Choose background colors that evoke a positive feeling and protect your brand's identity.
4. Color Correction and Enhancement
Product photo editing is not complete without color correction and enhancement. It enhances sales by making the products appealing and eye-catching to potential customers. Good product images present proper color and impress in bustling online marketplaces. It will make the client focus more on the product, selling them more and more. Increasing interest in the product means growing sales.
You will enrich the colors and details in the photos of your products, thereby giving your audience a trustable and reliable feeling. When the features and attributes of the products are visible to the customers, it ultimately brings the confidence to make the right purchase decision. More so, professional images speak to quality and how serious you are about your brand, setting you apart from all less professional brands and making yours a trusted brand to pair with on the market. Okay, here are some quick and creative solutions for improving and correcting color in product photography:
Tech Gadgets: Cool hues with silver undertones, integrated with metallic finish elements, will exude sleek sophistication.
Food and Beverage: Enhance the natural colors and brightness of food to make it look as delicious as it is.
Fashion Garments: Match the trend colors with vibrancy in fashion; casual wear can be in bright tones, and as you desire luxury or a sophisticated look, dull and soft colors could be.
Home Interiors: Make a room welcoming through warm colors and textures.
Exercise Equipment: Bring dynamism in by sparring with high contrast and energetic colors like vibrant, blazing blues or fiery oranges.
Travel Gear: Grounded tones of the earth resonate with an adventurous, sunny vacation feel.
Toys: Very bright and playful colors—appealing to kids—with saturated primary tones and whimsical atmospheres.
These strategies customize color correction to suit each product type for heightened visual attractiveness and effective sales.
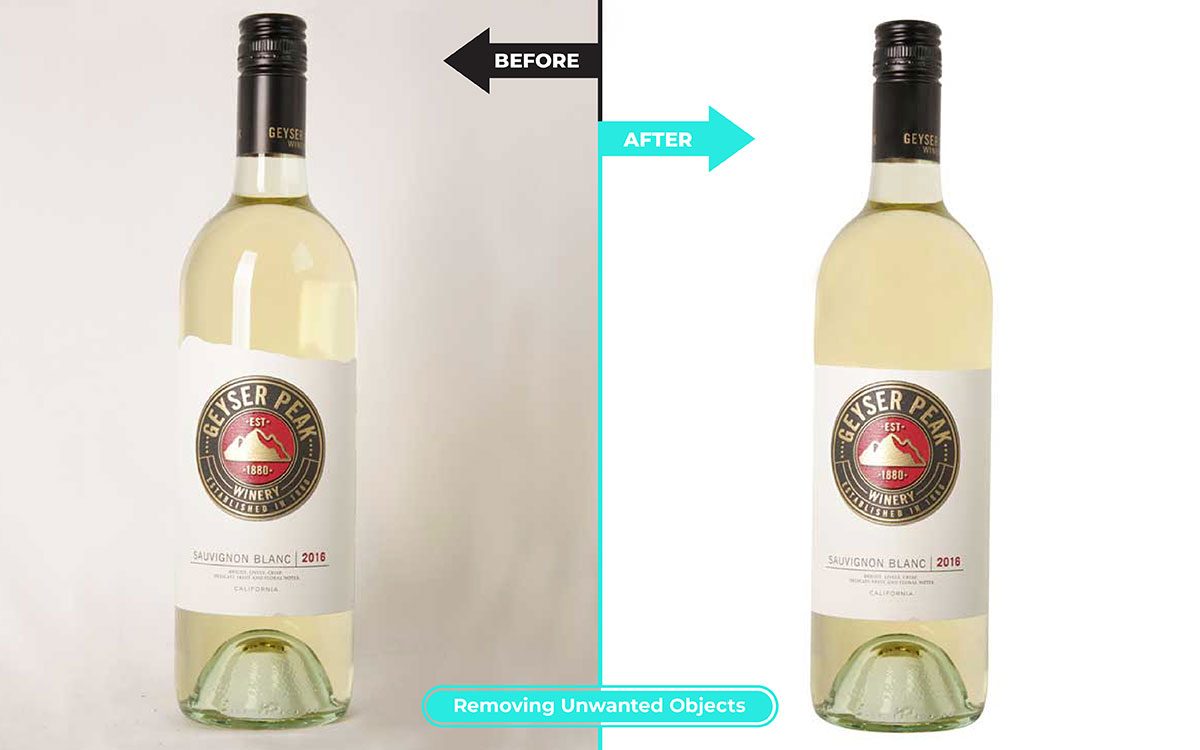
5. Removing Unwanted Objects
Clean, clutter-free images allow customers to concentrate on the product. This enables them to grasp the features and benefits more effortlessly, raising their chances of purchasing.
In addition, removing unwanted objects will give your brand a more professional and credible touch. It shows that you care about how you present your products, which can win a customer's trust. Suppose you invest in quality product photo editing. In that case, this also means that your business is dedicated to delivering the best, eventually pushing your sales and keeping your brand distinguished among others.
Below are some working hints and methods of taking out unwanted objects from the product images to make them more attractive and appealing for the customers, which in turn increases sales:
Cloning and Healing Brushes: Use these to duplicate nearby textures over elements that are not wanted.
Layer Masking: Employ layer masking to hide elements you do not want destructively.
Manual Retouching: The whole editing is pixel-painted one by one, enabling precise editing.
Smart Object Layers: Use smart object layers for non-destructive edits in Photoshop.
Outsource to the Experts: Work with professional photo editors for advanced retouching.
6. Cropping and resizing for different platforms
Regarding e-commerce, your product photos are your day-in, day-out silent salesperson. They can attract attention, convince customers, and, ultimately, increase your sales. But just throwing any old photo on the internet won't do the trick; you must carefully image resize and crop for each platform to stand out.
No two platforms are the same, and photo needs vary on each. By taking advantage of resizing photos to match specific platforms, you ensure each image will appear professionally in focus. Cropping—focusing on your product—means no other cluttered background distracts your customers' attention. This one-two punch of cropping and resizing makes your photos look polished and allows them to shine on any platform, leading to more sales. Below are expert pieces of advice on how to make your product images sell more across various online platforms:
Focus on Key Features: Crop to emphasize the most appealing features of the product.
Platform-specific Optimization: Dimension changes to better suit each platform's requirements (landscape for website banners, square for Instagram).
Highlight Scale: Resize images to show the product at different scales (close-up, full view) so you can consider the item's overall proportions.
Consistent Branding: Ensure cropping and resizing techniques resonate with your brand's visual identity across all platforms.
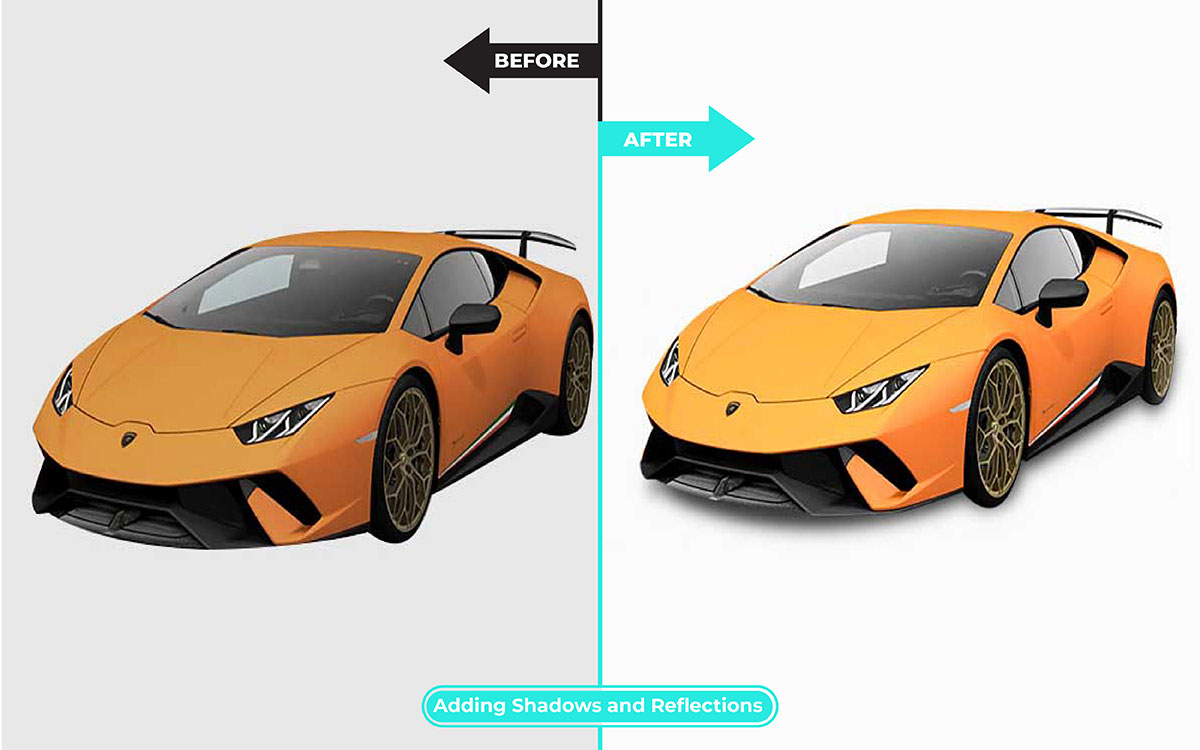
7. Using Shadows in Product Photo
Using shadows in product pictures is magic. Whether it is drop shadow, reflection shadow, or even mirror reflection shadow, your products will instantly gain depth and realism, which is much more attractive to any consumer.
But here is the trick: You would want those to look natural, as if a shadow naturally belongs to that position. That's when the original shadow is retained, and the natural shadow comes into play. Lend a photo with feelings of naturalness, truthfulness, and authenticity by maintaining its shadows—in every respect.
Let's talk about light now. One of the most important parts when working with shadows is the direction of the light. By changing the angle and intensity of light, you can get soft or hard shadows. Consider it sculpting, only with light and shadow, to emphasize your product's best features. Here are the ways one can animate the use of shadows in product photo for an enhanced sales boost:
When you're shooting, you might be using some light modifiers, such as diffusers or reflectors, to control shadows and have them help you out. Depending on what you are doing, whether you are shooting off a white background or a transparent background, getting the shadows just right can make all the difference.
Sometimes, all your photos need is a touch-up to go from good to great. That's when shadow editing and other post-production techniques come in.
The needs are not only limited to shoes and handbags. A well-placed shadow or two can help in issues dealing with clothing photography shadows, jewelry photography shadows, and even furniture photography shadows.
So, next time you photograph your online shop products, don't forget the power of shadows; they might be the secret for the floodgates of your e-commerce product photography, translating into better sales and quality product photos.
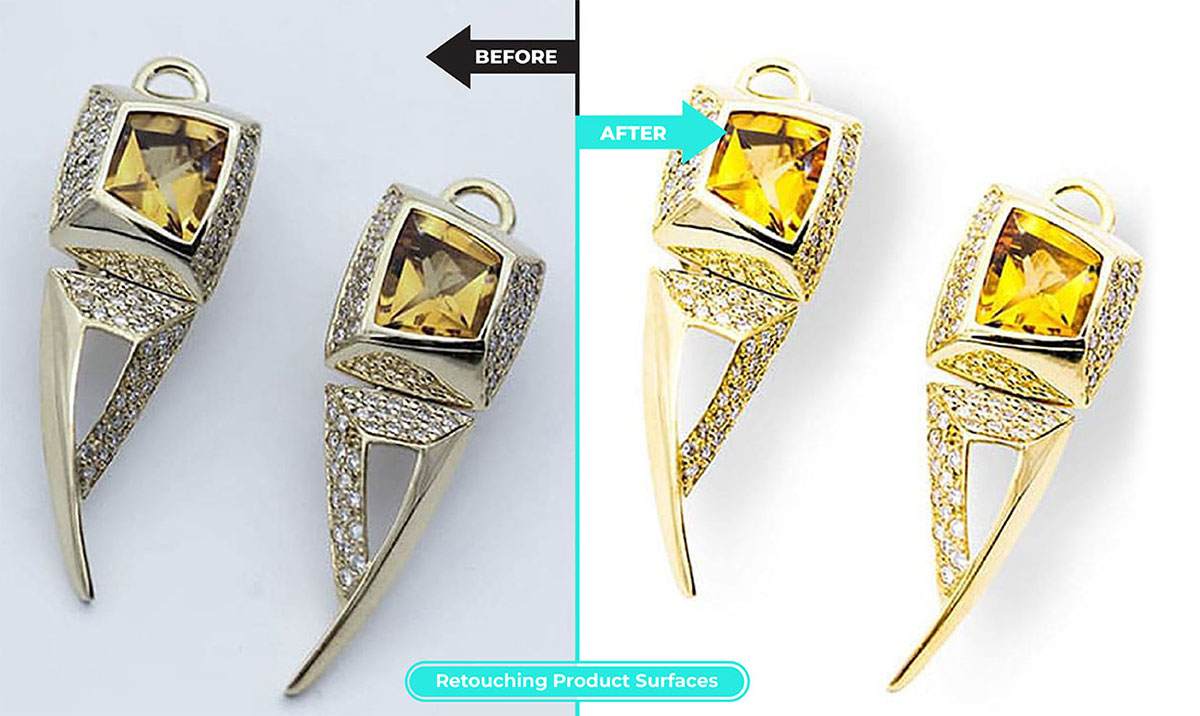
8. Retouching and Cleaning Up Images
When you tidy up and retouch product photos, it's like giving them a makeover for the internet. People like to see things looking nice and clear. It helps them understand what they're buying. Just like you want to shop when the store is clean, you want to buy when the pictures are clean. This is showing your product in the best light so that everyone sees how great it is.
Cleaning up pictures isn't just about making them pretty; it's a way of storytelling. You are showing people what your product can do for them; it is painting a picture with pixels, not with paint. And when people see a clean, polished image, they trust what they see. Here is a general view of common photo retouching techniques:
Lighting: Focus on adequate product lighting to illuminate the look and create a pleasing image.
Flaw Fighter: Banish dust, scratches, and minor flaws for the perfect product presentation. This builds trust and showcases quality.
Wrinkle Rescue: Use appliances to remove wrinkles from jewelry and fabrics to take on a sleek new appearance.
9. Enhancing Product Details with Focus Stacking
Think of capturing several photographs of the same scene, each focusing on a different element. This is where focusing stacking comes in handy: several images of the same subject are merged to form a final image where everything is clear and focused. As a matter of fact, the result is a super image with much more depth of focus.
Again, before we get into the specifics of what technique, remember that focus stacking relies on a captured series of slightly adjusted focus points. Here are some critical things to remember to enhance product details with focusing on stacking:
Lock it Down: Use a tripod to ensure your camera stays perfectly still for each shot.
Manual Mode is Your Friend Here: Simply switch to manual for both focus and aperture to have all the control you need while stacking.
Magic Focus Shift: Take a series of shots, with the focus traveling slightly further into the scene with each shot until, finally, the entire scene is in focus.
Bracket Your Exposures: If the lighting across a scene changes, try focusing at each location so each point is bracketed and you get the right amount of brightness.
10. Optimizing Images for SEO
I used to think product photos need to look good, but soon, I learned they play a massive role in driving sales. It's more than resizing and reducing; it means using the correct file names, creating the right alt text, and sometimes providing some captions for the images to optimize them for SEO. When I started inputting detailed descriptions on images we used for our client, the product would start coming up higher on the search results page. This small change brought more traffic to their website and significantly improved sales.
It isn't just aesthetic; it's about visibility. What I found is that search engines cannot see the images, but they can read the text around them. I compress images for fast load times and use descriptive, keyword-rich file names to make a client's site more attractive to search engines. Here are some essential tips about making your product images sell across multiple online platforms by image optimization for SEO:
Descriptive File Names: Make sure to use a keyword-rich descriptive file name for your images (e.g., "organic-green-tea" as opposed to ".
Alt Text: Create detailed alt text with relevant keywords to explain the content of the images for search engines.
Image Titles: Add descriptive titles to your images, something like alt text but more concise.
Compression: Reduce image file sizes without losing quality to ensure the page loads faster.
Sitemaps: Add images to your XML sitemap for better discovery by search engines to make sure it's indexed. Use a content delivery network (CDN) to deliver your images more quickly to users from all over.
11. Color change for mood and atmosphere
You scroll through an eCommerce website, look at lots of cool stuff, and then something captures your attention out of nowhere. But wait—what's that? It's not just a product; it has some vibe, some mood that it's giving.
That's the magic of color change. See, different colors can make us feel all sorts of things. Warm tones might give off cozy vibes, while cool ones can feel refreshing. It's like color therapy for your eyes!
Just think about it: Mood lighting isn't just for setting the ambiance in a spa or a fancy restaurant. No, it is excellent for shopping online, too! With just a touch of artistic play at the chromatic atmosphere of your product photos, this could transport the customer into a world of shopping bliss. Here are some tips on how to apply color to sale-boosting effect:
It's not just about picking any old color. You need to think about what a particular color indicates. Maybe green brings out your thoughts of nature and peace, or red can put zest into your energy levels. It's all about going for the emotional knead on color.
Plus, creating all manners of vibes with the right light and color effects is possible. Imagine that: nice, soft, and easy tones for a laid-back evening at home or those tremendous bright pops of color for having fun and being full of spontaneity! It's like painting a masterpiece with pixels!
If you want to raise the stakes, add LED mood lighting. Those color changing lights change the feel of a space, be it a room or a product photo—like bringing a little slice of biophilic design suitable to your customers' screens.
So there you go. You are not selling products; you are selling experiences with this color and light play. Whether you strive to create an invigorating workspace or a relaxing spa atmosphere, a mere pop of color can go a long way to make those sales just soar!
12. Adjusting Brightness and Contrast to Editing
At one time, while editing some product photos, I noticed a big difference: by adjusting brightness and contrast, the images now looked very vivid and attractive. That helped to highlight the details and colors, which made the products very attractive. Such simple editing will catch the eye of the buyer, and they will be led to buy.
From my experience, such adjustments are significant to present my products in the best light possible. Photos should not be that dark where a product one is customers can easily miss selling. Changing the brightness and contrast brings out the images and makes them appealing and convincing. Improved visual appeal will not only make customers trust the photos but also improve the level of confidence in the quality of the product. Good-quality images are going to mean a lot in sales. Brightness and contrast adjustments tips to boost sells:
Increase Brightness Sparingly: Lighten dark photos without overexposing them.
Adjust Contrast for Clarity: Enhance the difference between light and dark areas to add depth.
Use Histogram: Ensure the same distribution of light and dark locations to a balanced exposure.
Preserve Details: Use a light touch with improvements to protect product textures and details.
Get Precise with Curves: Target particular areas of the image, whether the highlights or shadows, with even more control over the adjustments applied.
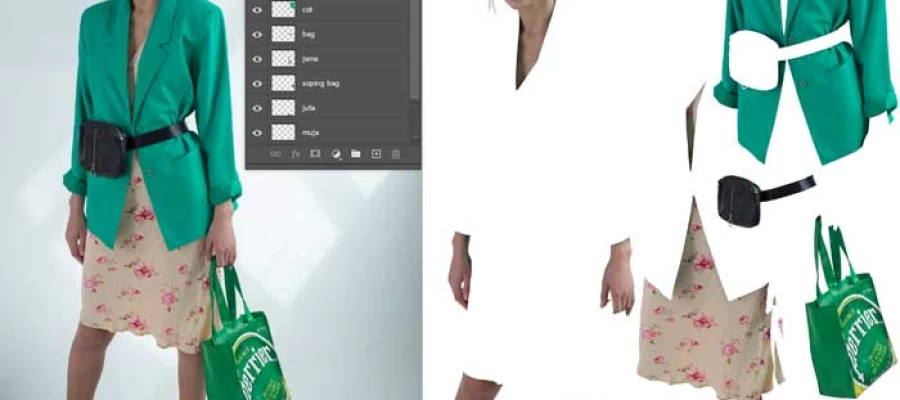
13. Remove the mannequin for the dress display
You wouldn't believe the difference a ghost mannequin removal can make. For years, I churned out product photos and dresses draped lifelessly on plastic figures. They looked okay, I thought. But then something clicked. The photos felt cold and distant. The dresses weren't coming alive as the characters stuck in the background, and they weren't sparking that connection with the customer.
It felt wrong. These dresses deserved better. So, I started messing around. Flat lays and spins were okay, but they were not quite the best. Then, the magic trick – the invisible model. Photograph the dress with a form inside, then poof! Erase it in editing. Suddenly, the dress danced on its own, showing its flow, its fit. It wasn't just clothes on a plastic body anymore. It was a possibility, a story waiting to be written by the customer's imagination. And that? That's the kind of photo that sells. Here are some tips on how to remove a mannequin for a dress display:
Slip & Pull: Dress allows? Slip over the head and pull off from the bottom.
Photo Editing:
Select & Remove: Isolate dress with software tools.
Fill Seamlessly: Blend the background to hide the mannequin.
Ghost Mannequin: Edit for realistic drape.
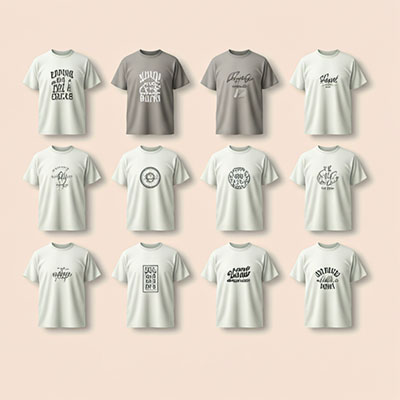
14. Incorporating Text and Graphics
Of course, you want your product to stand out, right? One trick is incorporating text. Think of catchy phrases, product features, or even just your brand's name. Adding a little text can push your customers over the edge to buy.
Now, let's chat about incorporating graphics. Graphics are like the cherry on top of your photo sundae. They can be anything from logos to icons to cool design elements that complement your product. Graphics add visual interest and pop your photo, grabbing your customers' attention like a snap!
Next, don't forget about your post-template design. This, in fact, is the frame of your masterpiece. To make your product photo look polished and professional, choose a customized template that can tie everything together. Below are some tips you may consider:
Concise Text: Keep bullet point descriptions brief and to the point.
Relevant Icons: Associate every point with the right icon to make it easier for the reader to identify.
Overlay Text: Add text directly onto images for clarity.
Callout Boxes: Callout boxes over images highlight essential points and business logo.
Consistent Formatting: Similar colors and styles should be used throughout.
15. Avoid Over Editing
Now, shoppers are savvy. They want honesty from their descriptions and pictures of products. Ditch the over-editing! Superbly smooth skin on a leather purse or a wrinkle-free shirt looks great, but it certainly gives an unrealistic expectation. When a consumer gets a product that looks different from the photo, disappointment kicks in, and sales suffer.
Instead, focus on presenting your product in literally the best possible light. Natural light is perfect, but even bright artificial light can do a treat. Just avoid harsh shadows and uneven lighting that hides details. With good lighting, your product will shine well without any digital makeup. When going through the editing process, remember to aim for clarity rather than perfection. Here are a few tips not to overdo the product images while editing and make your descriptions to the point:
Highlight the key features of the product inside the photo.
Use clear lighting; do not overdo the filters or submerge the details.
Write descriptions that describe the product and its key features (e.g., "Soft cotton t-shirt" or "Leather wallet with multiple card slots").
Try to write 3-5 word bullet points.
Endnote
I am incredibly grateful to share with you 15 powerful techniques for editing product images that I have been using, which have led to a massive increase in sales. Finally, this tutorial will proceed to a hands-on guide on how to take your product images to the next level, with transformations that enthrall the customer to buy.
Apply these methods to create professional photos and properly present your products to their best advantage. Start by getting away from annoying backgrounds and blemishes and fine-tune the color and light for the best effect. Conceptualize in terms of light editing and text overlay for brand storytelling.
Well, if there are any burning questions or you are itching to implement these techniques, please do ask; open discussions will lead to continuous learning, which I am happy to do in any way.
And for those who would like a professional touch, there's no place other than Graphic Design Eye. Our expertise in product clipping path, background removal, and photo retouching will make your visuals stand out. Let us work hand in hand to bring in sales for your business! Contact us today!
Designing is an art to me and proper instruction can make you the expert one. Hi, I'm Michael the graphic design expert. Depending on my experience and research I've written out about how to become a graphic designer. Hope this will help you to know new things.