In this guide, we will show you how to reduce image size in Photoshop without losing quality and get the perfect resized images for your needs. Read on to learn how!

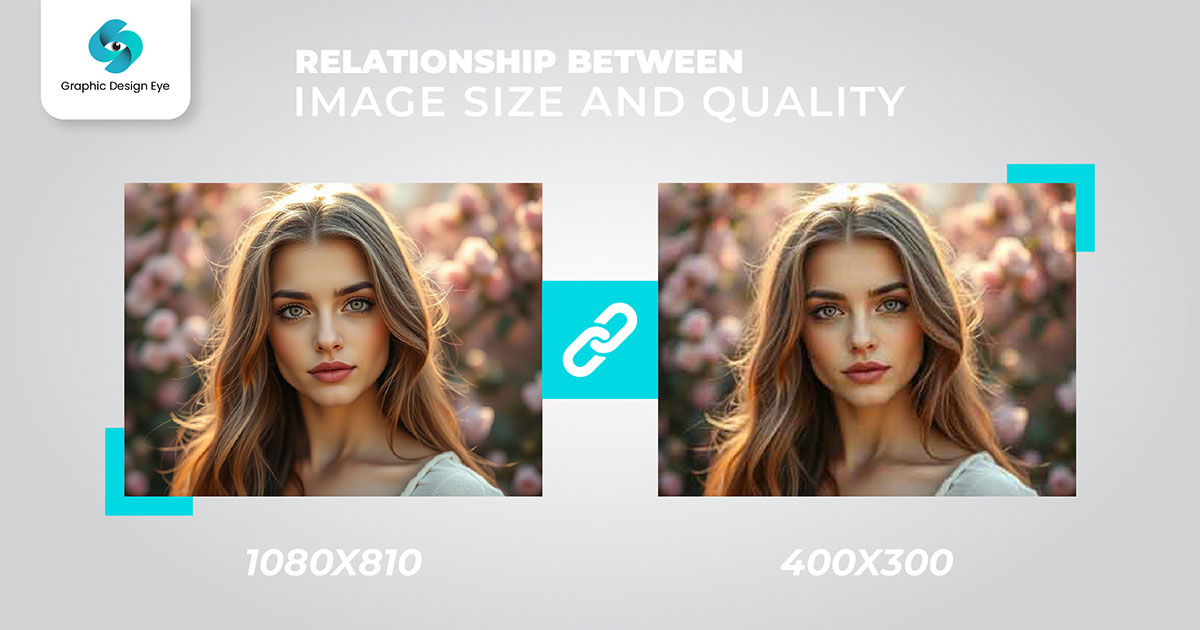
Image size is related to image quality. A larger image has higher quality because it contains more pixels, which gives a sharper and more detailed visual. As a result, the file size increases.
Whereas a too-reduced image size can cause pixelation or blurriness depending on how much it’s resized and how it’s resized. A resized image does not affect its quality too much.
Before we dive into the steps for opening an image in Photoshop, you need to prepare your image for adding it into Photoshop. Here are the steps you need to follow:
Select the resampling method before hitting OK. In resampling, Photoshop will basically create new pixel information that will help you add or remove pixels when resizing the image. It will affect your image's overall quality.
Reducing image size in Photoshop can lower the file size while maintaining its quality.
You may want to reduce image size for faster loading times on a website or save device storage space. Photoshop provides powerful tools to help you with this. Here are some of the best Photoshop techniques to reduce image size:

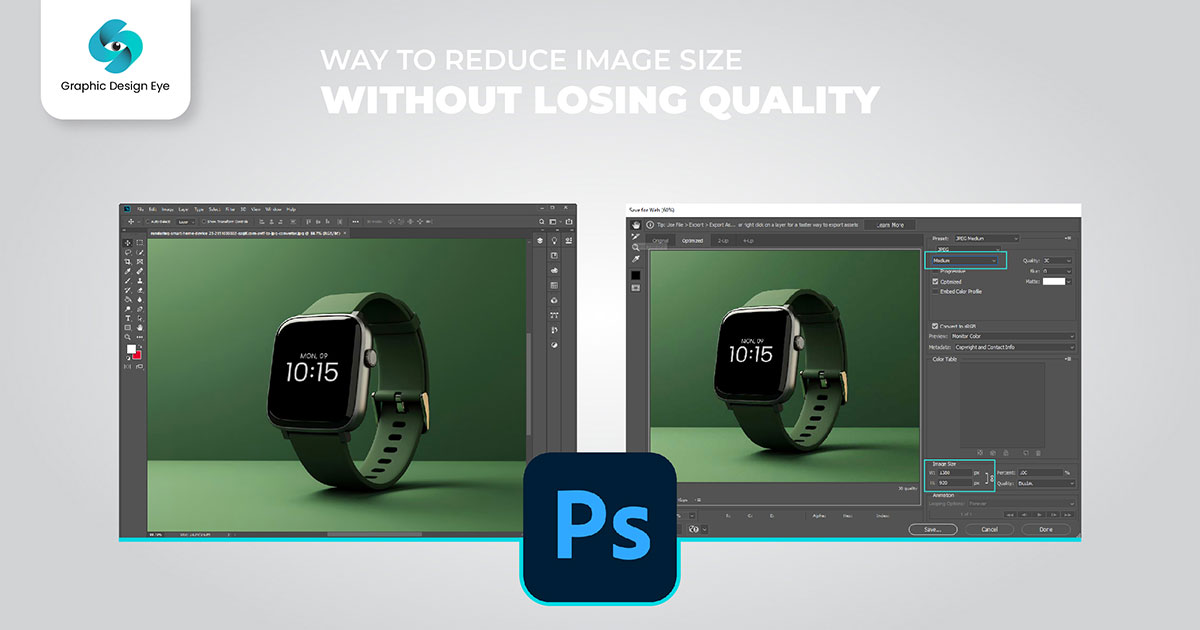
The save for web option might be a great choice to achieve the perfect balance of image file size and quality. Here's how to use the save for web option:
Understanding the compression settings for resizing photos in Photoshop is essential for resizing images without losing the quality. Here’s a breakdown so you can adjust and why:
When you use formats like JPG in Photoshop, you get a quality slider. By adjusting the slider, you can change the quality and file size of your image. When you reduce quality by around 60%, it helps you reduce the file size without losing any noticeable loss of detail. However, lowering too much can result in a blurry or pixelated image quality. Luckily, you preview the changes as you change the quality of the image so you can avoid over-compression.
PNG-8 and PNG-24 are the two options available for PNG compression. Simple color graphics and small files with a small file size are appropriate uses for PNG 8. That makes it ideal for small images like logos or icons.
PNG-24 supports more colors, and it supports transparency for complex images. But also results in the creation of a bigger file. PNG-8 can be used if you require images for basic designs, and PNG-24 if you require image transparency.
To reduce the image size, you can organize the image layers and make the changes that will help you to reduce the image size—without losing quality.
Merge or flattening layers are a common way to reduce image size. By combining or aligning layers, you can make the image smaller. Each layer contains its own pixel data, so multiple layers can increase the total file size. When you don’t need the individual layers for future edits, you can reduce the complexity by merging the layers (Layer > Merge Visible) or flattening the image (Layer > Flatten Image).
Another way to reduce the overall file size is by removing the hidden or unnecessary layers. Photoshop keeps the hidden layers even if they are not visible- this can add to the image file size. By deleting or merging them, you can reduce the file size more efficiently.
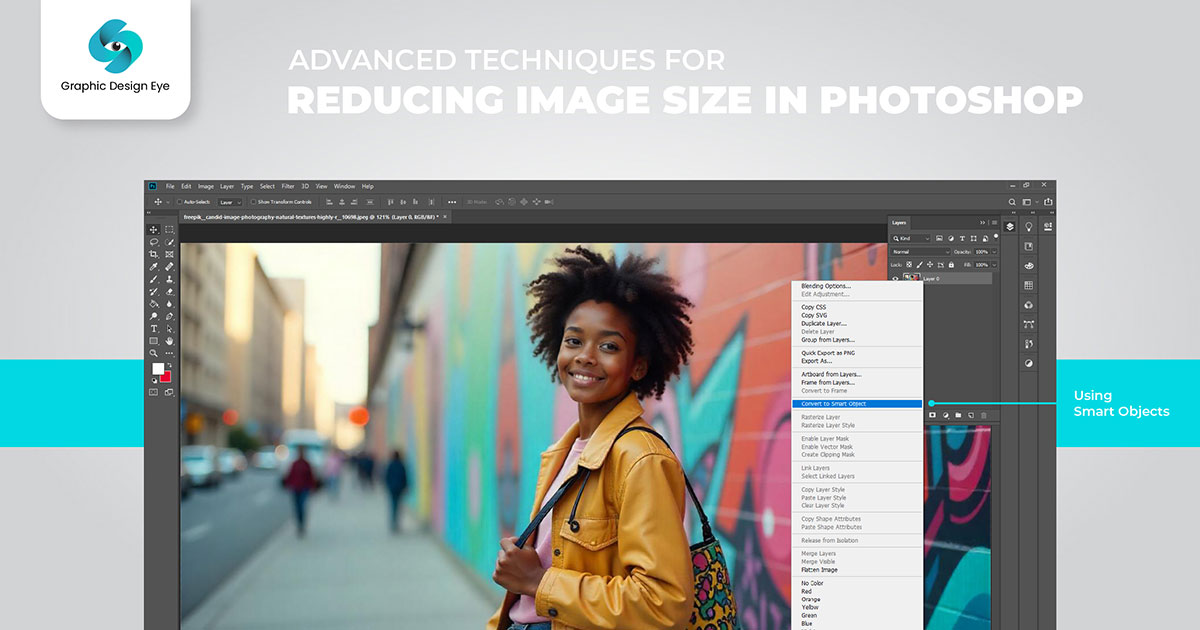
Smart objects maintain high-quality, non-destructive edits, which increases the image file size for their additional data. If you have smart objects in your image, you can rasterize them to reduce the file size. Use rasterizing (Layer > Rasterize) if you don’t need to adjust the smart object anymore.
Using layer masks instead of duplicating entire layers can also reduce the image file size. Layer masks help you to hide protons of layers without deleting any pixel data. This will reduce the image file size compared to images with multiple copies of the same layer.
The visual principles in web image optimization and print image optimization are the same, but the process of optimizing each type of image is different. Here are some of the key considerations for optimizing both types of images for high-quality output:
When optimizing images for a website, use file types such as JPG to achieve a small file size while maintaining image quality. PNG can be used for images that require transparency but it comes with a larger file size. Web images are optimized for fast loading speed, so it's really important to use images with a minimal file size.
For resolutions, you may use 72 PPI (pixels per inch). This is ideal for use in digital displays and where file sizes are of a much smaller size.
The color mode should be set to RGB (Red, Green, Blue) cause it’s the color space screens operate in.
Use file types like TIFF and PSD for printing. Because print quality requires much more data than web images. File types like TIFF and PSD maintain a high quality while supporting the large file size.
For resolution in printing, it’s preferred to use 300 dpi (dots per inch) to maintain a sharp and detailed printing quality.
The preferred color mode is CMYK (Cyan, Magenta, Yellow, Black) as it matches the ink used on the printers, so it ensures accurate color production.

Advanced techniques in Photoshop provide greater control over the output image sizes. Here are some advanced Photoshop techniques that you can apply for reducing image size:
Smart objects preserve an image 's source content and all of its original characteristics, allowing for nondestructive photo editing. To resize using smart objects:
Noise in an image can increase file size, as the additional, unnecessary detail requires more data to store. Reducing image noise helps clean up these excess details, leading to a more compressible file. Steps to remove noise:
Selective compression allows you to keep the quality in the important parts of the image (like the subject’s face or textures) and compress the less important parts (like backgrounds or skies). This way the high priority areas remain sharp and the overall file size is reduced. How to apply selective compression:
Sometimes reducing file size is as simple as removing parts of the image that don’t contribute to the composition. Cropping out unnecessary elements can reduce the file size significantly, especially when dealing with high resolution images. Steps for cropping and trimming:
Additionally, the Photoshop Trim feature can automatically remove blank or transparent areas from the edges of an image, further reducing its size.
Web images are a big factor in website speed. A big image can slow down the site, so you need to resize the image for web use and smooth out the user experience.
As a general rule of thumb, web images should be under 100 KB to load fast. Big images take longer to download, especially on slower internet connections, which can cause users to bounce off the page. Compressing your images while maintaining quality is the key to achieving this balance. Here’s the most common image size for web use:
Full-screen images are used as backgrounds, sliders, or banners. These are usually on landing pages or headers. 1920 x 1080 will display full screen on most modern devices and is a reasonable file size.
Images within the blog post are part of the design component that helps to improve the quality of the content. The size of 1200 x 630 pixels is optimal, which is suitable for any platform, for example, when reposting blog articles on social networks. It offers reasonable readability and page loading speed.
Thumbnail images are used in blog previews, galleries, or product listings. They are 150 x 150 pixels, which makes them unobtrusive and easy to display without using up too much space or bandwidth. The thumbnail images are particularly useful for the responsive design where the small images are required to ensure that the site operates fast and is easy to navigate on mobile devices.
Image compression is the process of reducing an image's size while maintaining its quality. Image compression is really important because it helps images load faster on websites and improves user engagement. Compressed images take less storage and make it easy to email or share them online. Images can be compressed using two main methods:
Lossy compression removes image data by reducing image file size. If the compression is overdone, it might result in a dreaded pixelation or blurriness of the photo. JPEG is a popular format that uses lossy compression.
Lossless compression reduces the file size of an image without losing any image data, so the quality remains unchanged. This method compresses the file by optimizing the data rather than discarding it. All details and colors are preserved. image formats like PNG and TIFF use lossless compression. Which is ideal when maintaining image quality is essential.
Yet, files with lossless compression are larger than those with lossy compression, such as JPEG. Because they keep all the original image information.
Finally, now you know how easy it can be to reduce the image size without losing its quality in Photoshop. Tools like Photoshop are powerful for minimizing the file size while keeping the visual integrity and making sure that the images look sharp on the web or print.
If you don’t get a high quality photo with your initial settings - you can try to keep experimenting with different compression settings, file format choices, and resolution management for getting the perfect balanced photo with clarity and detail.
Did you find the suggestions helpful? If you think I might have missed something or if you want to know more—or need an image resize service—just let us know. Our team is here to help you!