It is easier to sell things online with good images. If you already have good images of your products, great - photo editing can make them even better, and any chance you get to make your images great means more viewers will click 'buy.'
You don't have to know your way around Photoshop or spend much time learning; there are a dizzying number of point-and-click programs out there. People will buy your products if you make images that show them at their best, so if you want to increase sales, we have shared 12 ideas to use photo retouching to get perfect product photo.
Before you dive into the tips, you need to understand one thing. The most significant consideration in eCommerce product photography is understanding your audience. You want to intersect with your customers, ensuring that your photos will resonate with them.
To do this, you need to understand your target audience's demographics, interests, and preferences. The fruits of this alignment are increased conversions and sales. Thus, first work out your target demographic—how old they are, whether they are male or female, and what kind of life they lead—and then aim your style at them.
If you're trying to attract millennials, for example, make those models fit a popular idea of what young people look like. Use bright, on-trend colors in your pictures, too: you want to catch them and their style.
On the contrary, an older group of customers might be more interested in something classic instead. Aim for more sophisticated compositions in subdued colors for that.
You can also make your store more attractive by putting product graphics that match the clientele's tastes.

Now that you know that different audiences require different styles of retouching from you, let's get into the retouching tips that you can follow to make your products more attractive!
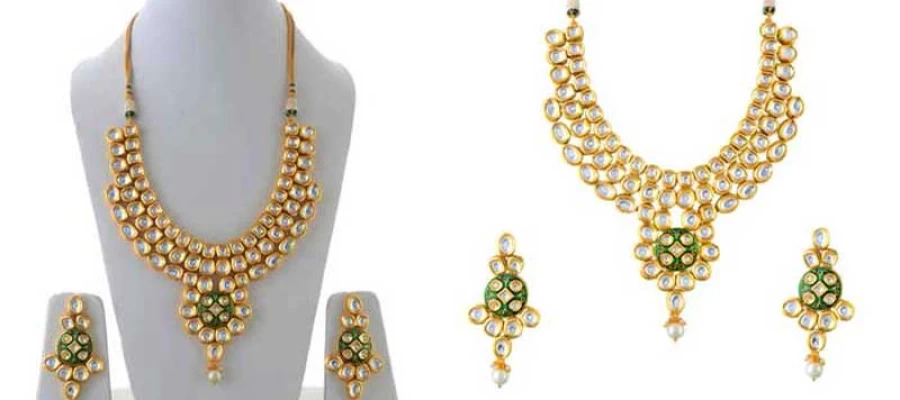
Be accurate when taking pictures of products. Accidents happen, especially when props for the photo session move around and get damaged. Scratches on sunglasses, chipped points of paint, pulled threads… anything is possible.
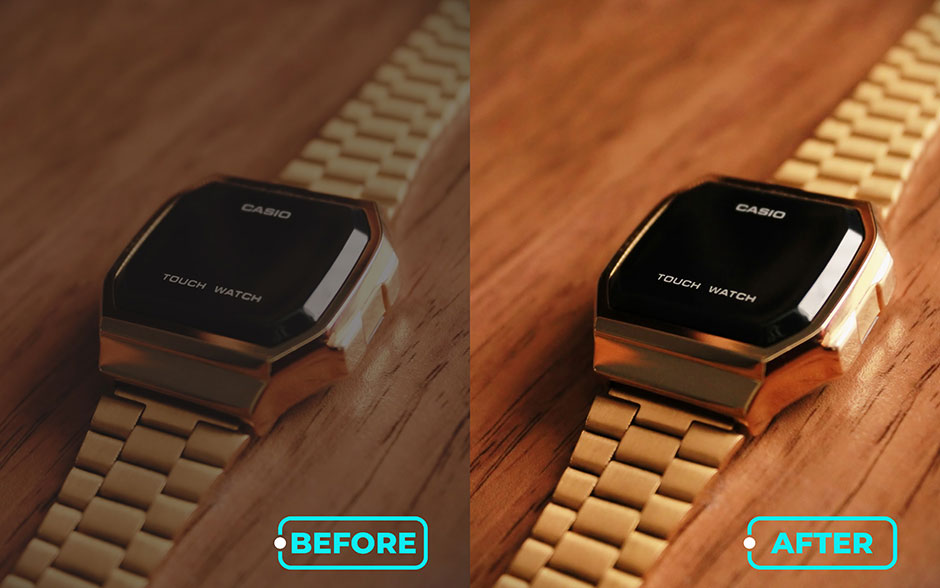
One of the most important factors in photographing products is lighting—however, sometimes, the lighting is less than perfect when a photograph is taken. Glares caused by gleaming surfaces, camera flashes, or artificial or natural light sources can ruin even an otherwise good photograph. If the product you are taking a photograph of is very shiny, it might be particularly difficult to take a glare-free photograph.
Never fear - photo editing software is here! For small hairline reflections and glares, you can go back to Photoshop to eliminate minor areas of glare.
As for garments having a wrinkled outlook, these, too, make things less attractive. Having a steamer on set helps but isn't always guaranteed. As for worn garments, these too can devalue the aesthetic merits of the item. If you choose to use photo software, those wrinkles could be taken care of, and you're good to go when it comes to your clothing looking nice.
Another great tip to spice up the final product would be to play around with the shadows and lighting of the garments in Photoshop.
Tags in product pictures are very distracting. Cover them when you are filming. If you need to eliminate tags that you do not want in the final pictures of your products, PhotoShop will be the rescue.
With that one step, you make your workflow more efficient and guarantee that your images look professional and appealing.
No matter how careful you are in removing dust particles from your product when you shoot them, there will always be dust lying on your camera and your photography equipment. You can not see the dust with the naked eye, or can you? Maybe...
In close-up or detailed photos, sometimes a small piece of dust can be seen with the naked eye. If a buyer doesn't notice a product, but only that point of dust, he might think there is something wrong with your product, which you want to sell and which you do your best to draw their attention to, right?
The good news is that you can probably remove it from a photo without much of a problem by using a photo editing program.
Props are commonly used in product photography to manipulate a product's position for a desired image; blu tack, fishing line, and other supporting tools are commonly used; however, such items should never appear in the final shot.
Photo editing makes the task of eliminating unwanted details quick and easy. By removing extraneous elements after filming has been done, the message conveyed can appear much more professional and polished.
Most apparel product photos use mannequins for a shot, and it is very easy to mannequin remove from your finished images. It is high time to take these hangers off your garments when you are going to take pictures of your items. We are sure that it will help you present your merchandise in a more polished and better-looking form, so it will attract more customers at last.
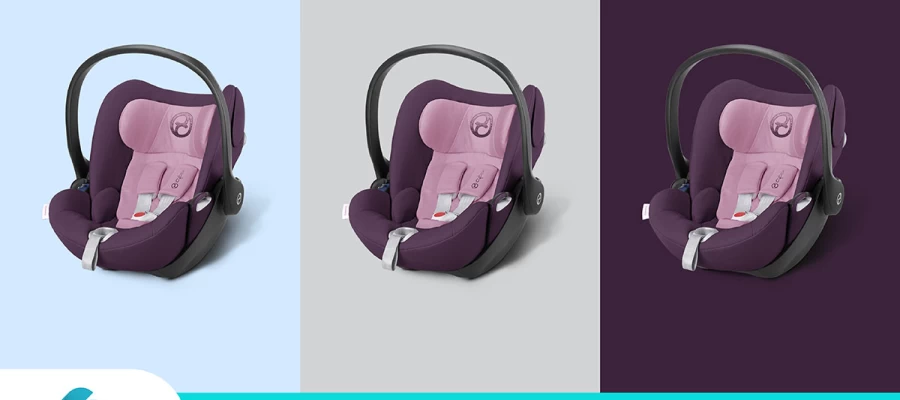
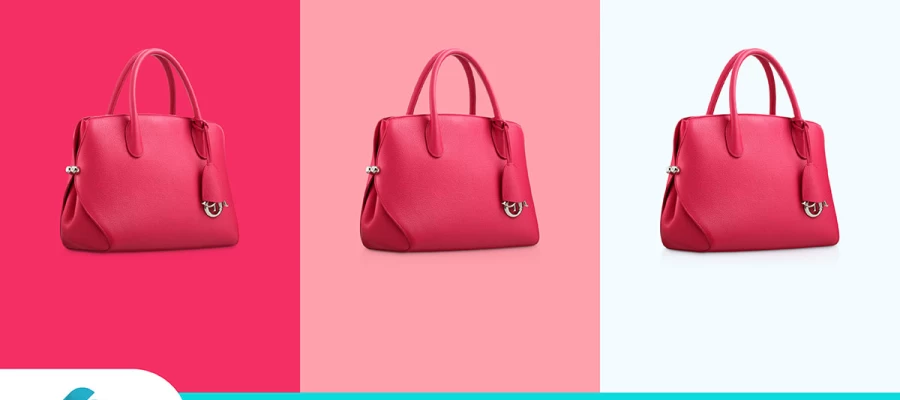
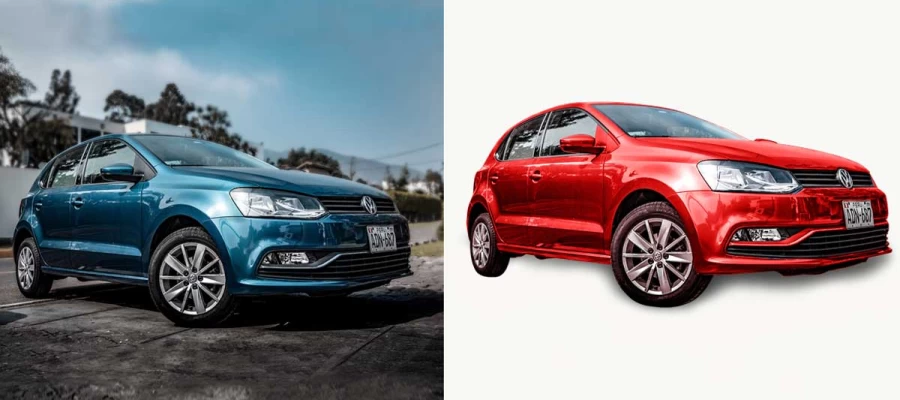
And, of course, the backdrop of your product images matters. Your product should be the only focus with a neutral-colored backdrop – white, gray, or soft pastel mainly works well.
However, let your imagination go wild. You can make your product images look more engaging by using backgrounds that are bright or patterned with a textured surface. You can tell a story about your product with these creative backgrounds. If you are working with fixed backdrops, you can always swap the background in post-production.
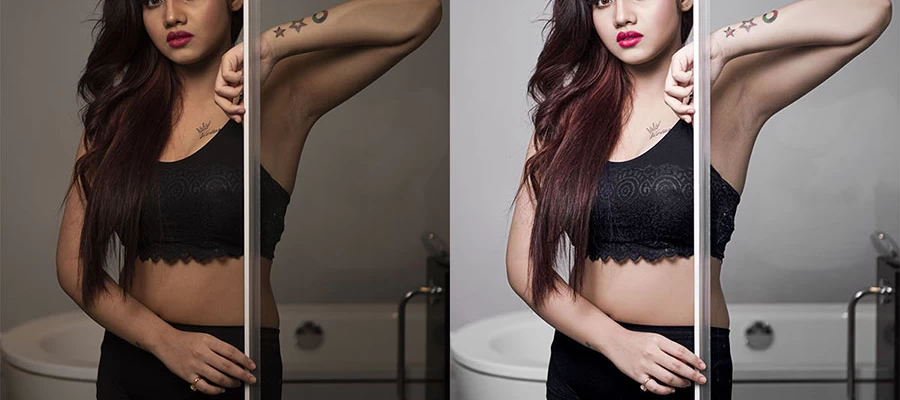
If a reflection enhances your products, use reflectors; if a shadow deceives, use a diffuser; and if the light is too harsh, use a diffuser. Reflectors should redirect light onto your goods, highlighting details and giving the spatial effect that the picture invites closer examination on screen.
Makeup artists also use diffusers to disperse the light and reduce intensity – making it more natural to the eye. It can hide those shadows that don't accentuate the skin tone. Get creative, combining the tools to adjust the amount of light and angle it to match your desired effect.
If your product photographs look excellent, shoot in RAW. RAW files record every single pixel on your camera's sensor, while JPEG photographs are processed and compressed by the camera.
This means that you can edit photographs to individual taste after taking them, precisely adjusting exposure, white balance, and so on, without compromising quality. You have a bigger say in the final image if you shoot in RAW.
The product shots might be poor due to the incorrect exposure auto settings. Images will look too dark, too light, or fuzzy, which will affect the quality of your photos when you edit them.
Learn how to control the exposure of the camera: press the plus sign on the circle of the screen and keep holding it in to brighten the screen, or press the minus sign to make it dim and unclear. This will help make your product look more professional and attract visitors.
Shoot your product images from different sides obliquely: your wares will more likely get some character. Photographing taken from different heights, lows, or from different unusual standpoints will obtain you unusual photographs, generating thus the marketing buzz of attraction for your good.
Taking them this way, you will certainly advertise your goods as having many useful qualities, which can lead to selling more stuff, that's for sure.
Photo retouching is important, but why? The following will give you the idea.
Most of your customers won't notice the incredible detail you spent thousands of dollars to put in your product. So, it's even more important that your picture will be the very first contact with your brand for many of your viewers. Because a dynamic, professionally photographed photo will catch the buyers' attention, making them more likely to learn more. Think about it as the initial "hello": you want to make a great first impression, just as you would when meeting the most special friend.
Web shoppers notice many products at a time and may not even read the description. But if a product image appears beautiful and firmly taken care of- then they will be more curious.
Customers trust the brand more and feel assured when their eyes see quality and professional product photos. If you imagine a store whose scheme and layout are overspread with clutter and incoherence, would you be more or less likely to buy an item?
The same applies to photos: if well edited, as in having a professional photographer, buyers will believe what they are seeing.
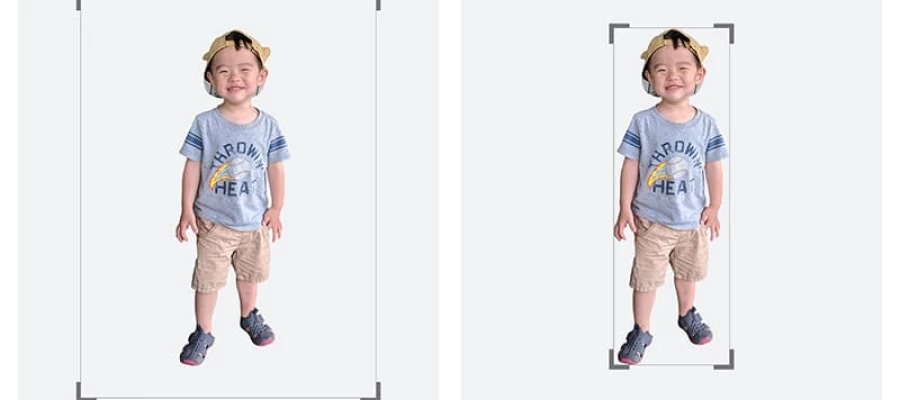
You can also go in the other direction on some photos – zooming in a little to bring focus to certain elements or features of your product. Especially for products that have elements of design that might be lost when the image is a generic one of some product on a white background, this can be particularly effective.
Like a Broadway star, your item deserves center stage. With a bit of photo-editing skill, you can bring that product's most important features and characteristics onto center stage.
Irrespective of that, avoid tricking clients with highly retouched photographs and edit images to enhance the quality of your product pictures. Let things make natural sense and look realistic. Also, be imaginative while applying and exploring various post-processing procedures. However, don't change the product's original look and appearance. Edit colors, swap out backdrops, and even create composites with the help of different editing techniques. Maintain your editing style consistent to let it always express your brand.
Dedicate just a few bucks and save a lot of precious time, not missing a thing from the entire eCommerce image editing process, as professionals do it the best and ensure your products will never disappoint when it comes to the way they look on pictures.
Having some beautiful high-resolution pictures of your product on your eCommerce business lends a huge amount of value to your site and projection of professionalism. So, now that you know about 12 ideas to use photo retouching to get the perfect product photo, make your items look as good as possible in a way that still looks authentic. Each and every internet business owner must, therefore, become an expert in product photography. If you want to raise your conversion rates and sales, this guide will teach you how to snap better product images.
Keep in mind that with little effort and the right techniques, you should be able to capture stunning images that will set your products out from the others.
Graphic Design Eye exists for people who are short on time but nonetheless want high-quality retouching from their photos. To that end, we offer the most aesthetically pleasing photo retouching services to enhance all of your brand's promotional materials.
Above all else, we promise to deliver top-notch, timely photo retouching, clipping path, and background removal services. Your online store will thrive if you put money into high-quality product photographs today. It all starts with us!