From presentation to e-commerce business, you must work with it. If you have a logo, icon, or any other images that you are trying to design with, but you face some problem with their background when you want to replace them with other colorful backgrounds that it deserve. You may need to add your company logo to a new image or add an icon to a PowerPoint presentation.
In these issues, you can work with your images to make them transparent with an advanced photo editor like Photoshop or other photo editing software and tools. Then the next question is how to do that.
Unwanted objects or the background of an image can discourage consumers from buying your product. In this situation, the most common solution is to remove or change the background from the image with the help of a clipping path service. Every e-commerce retailer needs a white background image for the online store.
Because in online business, buyers and sellers don’t make real face-to-face connections. The product image deals with the eye of the consumers to take it to their home. So those images should be displayed there gorgeously. So it is the most common factor in this era.
Most commonly, you can do it with photo editing software as there are so many types of software available online like Photoshop. Also, many websites are ready to take the job from you. Some of them are very popular as they do their work carefully. So how do they do it? In this article, I am going to show you some common photo editing techniques to remove the background from the picture. Let’s start,
First, you need to have Photoshop the most common photo editing software. You might also have another editing software to do this job.
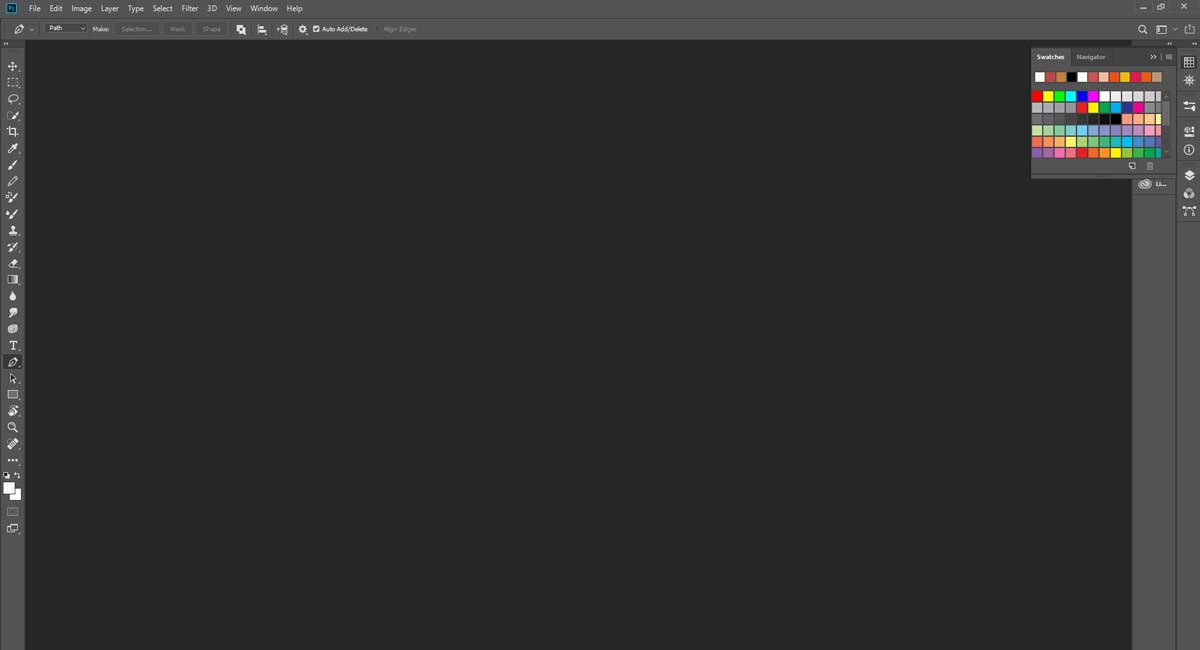
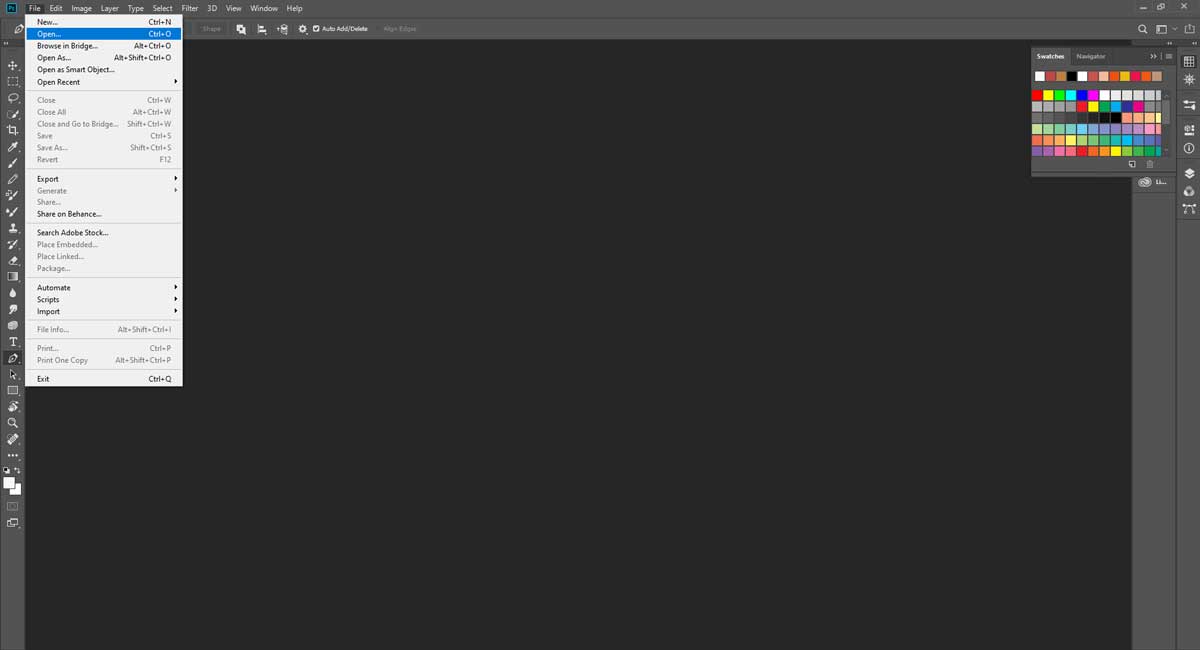
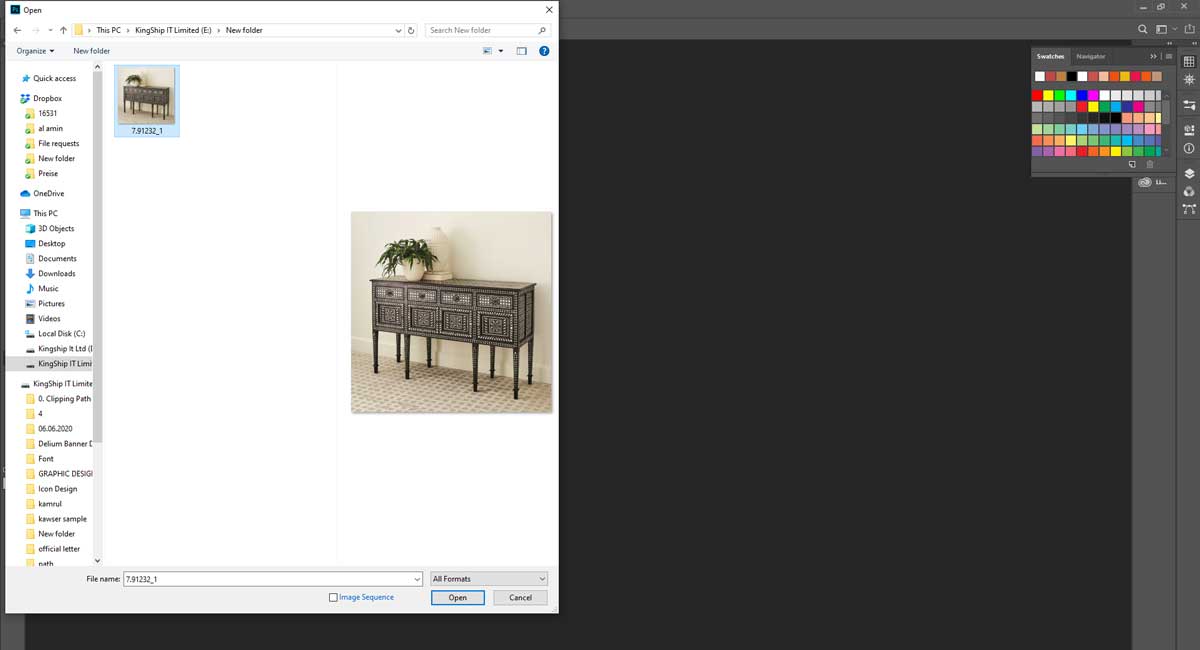
After opening Photoshop, you need to go to the menu bar, and choose FILE> open. To open the file containing the image you will be modifying, go to the image location, select it, and click open.
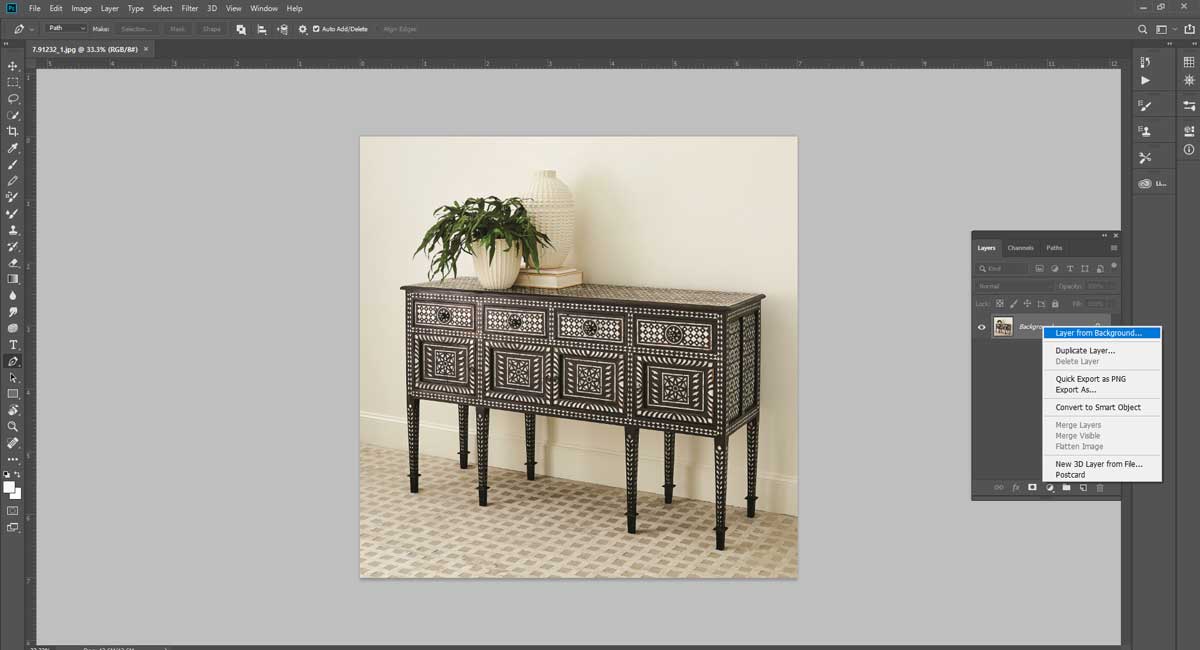
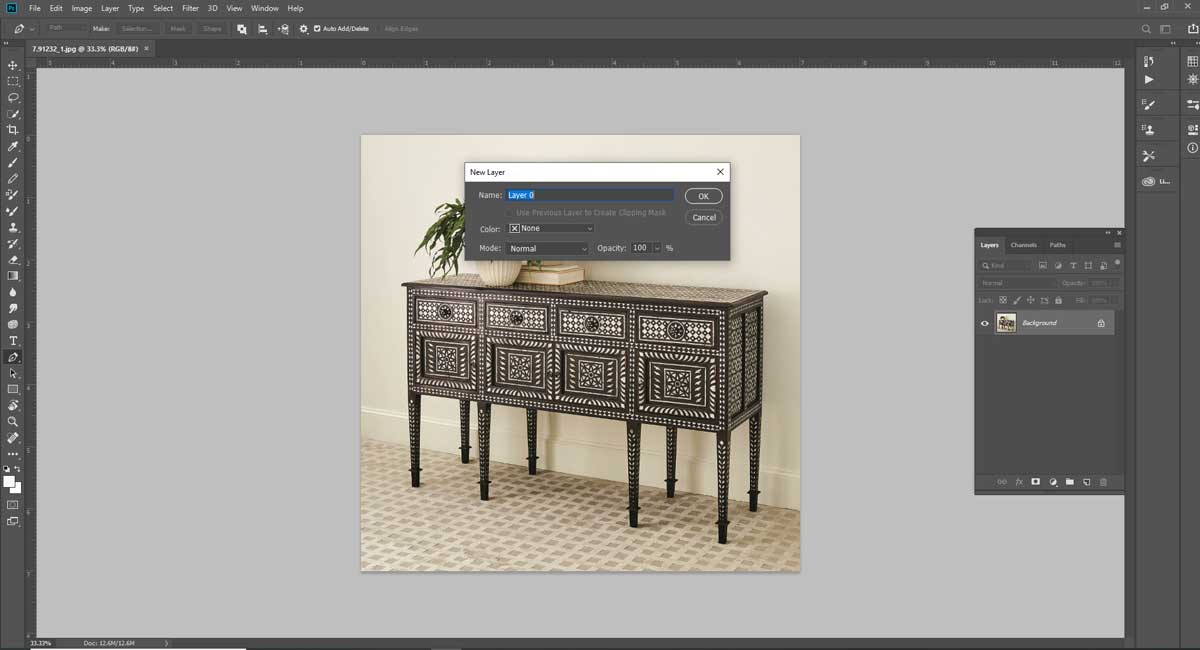
With your image open in Photoshop, open the layer panel by going to the ‘Layers’ panel and right-click on the ‘Background’ layer. Now you have to click on ‘Layer from background’ for renaming it. Then click ‘OK’. The image background would become transparent only when the layer is removed.
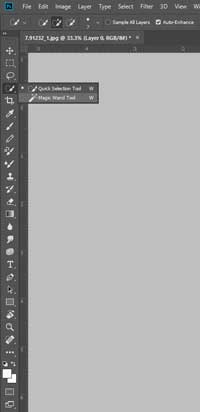
Though we are using Photoshop CS3, if yours are photoshop CS2 or any other earlier version, then you can select the ‘Magic Wand Tool’ by clicking on its icon. The icon will be available in the tool’s palette. In Photoshop CS3 or later versions, you need to choose the ‘Quick Selection Tool’ present in the tools panel. It is because the tool is nested with a magic wand tool. You need to make sure that you select the 4TH icon from the top of the vertical toolbar on the left. This would lead to selecting your magic wand tool.
Before using the magic wand, you need to check all the settings. Click ‘add to selection’ then check ‘sample all layers’ ‘contiguous’ and ‘anti-alias. The ‘new selection’ allows the generation of new and unique selections with every mouse click. The ‘add to selection’ allows the selection of multiple objects or different parts of the same object.
So, for this example, click outside of the fruit and most of the background is selected. The initial selection would be represented by animated dots. Click only once to make the selection. If the inner side of the image or the wrong part of the background has been selected, then undo it by pressing Ctrl+D.
For removing selected parts, right-click on the wand icon and then click on the ‘quick selection tool’. From the horizontal toolbar, you need to click on ‘subtract from selection’. For adding newer portions to the selection, you have now clicked on the ‘add to selection icon’. Now, you have to choose the brash size. If you want to work with the details of the photo you need to use the smaller size of brush tools. For selecting large areas, keep higher the size of the brush. After selecting a moderate-sized brush, the ‘quick selection tool’ has to be clicked and dragged for adding or removing selective portions. You need to press Z for activating the zoom tool that allows a better view through zooming in or out.
After pressing backspace, you would find the background of your image replaced by another one. In Photoshop, make the background transparent with this method.
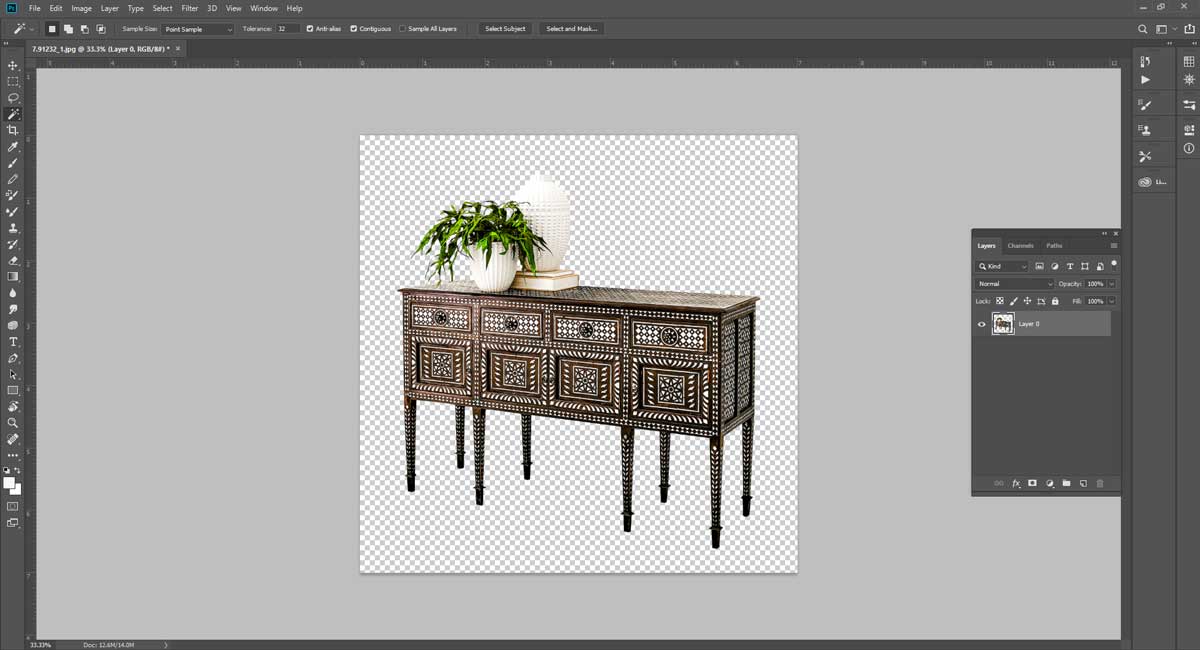
If you want to use the selected part with any other background, then you need to open a photo that you want to use for the background and then paste the copy of the fruit into the photo.
To remove any color from the photos layer you need to use the eraser tool of Photoshop. This tool is especially helpful for those images which contain lots of fine detail along the edges between your subject and its background. Photoshop can’t tell what the background is and what the tool does is erase color in this way. It looks at the colors as you drag the cursor over the photo and tells the difference by sampling the colors. This tool has several available options like as
Identify the type of eraser
Adjust the color tolerance
Change the sampling method
1. Remove background using the quick selection tool
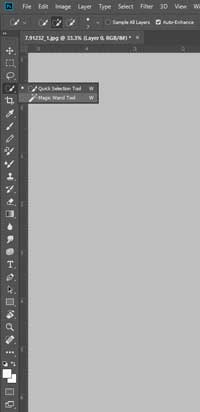
You need to tap on the showing tool on the screen and also need to hold it. The magic wand tool and the quick selection tool will be displayed.
2. Then you need to use the quick selection tool to drag that into the part of the photo which you want to remain in the photo. Keep selecting until you get the actual part of the photo. Do the work carefully.
3.
After the photo session, the photo may have some unnecessary and unwanted background in the photo. For online business products, you must remove background from product images and also need to add them with a white background. Background removal service helps you a lot in this issue. Besides, this kind of service will help you to get a dynamic and expected photo.
To modify/remove the background from images
To cut out unwanted objects
To grab the best and most creative looking advertising photos
To separate objects from the image
To draw attention to your jewelry items
To use a uniform background on bulk jewelry images
To make glittering jewelry retouch
For e-commerce product background
In photo restoration service
To edit a 360-degree photo
To make a mirror or reflection shadow
To make perfect photo masking
To make ghost mannequins for your products
To smooth the edge
Due to the concern of the business, many times you have faced the situation of too many photos to be confronted with photo editing services. The image may be fuzzy and may not click perfectly if they go through with these services they will be eye-catching and become more beautiful than before. Contacting a Graphic Design Eye expert can help you create professional-looking images using advanced editing tools.