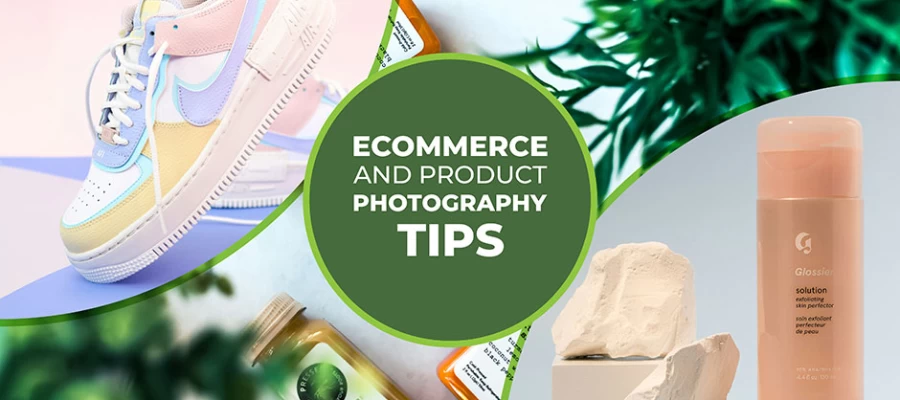
Are you an eCommerce retailer? Or do you just sell products on any online platform? Whatever, you must be concerned about product photography and highly attentive to managing the best product photograph for your business.

Product photography is integral in online business. unlike a brick-and-mortar type business where you have to display all the available products in the showcase. Online business also requires product photographs to make sense of the offerings of an online store.
Therefore, if you head out to start an e-commerce business solutions or sell products online, you should regard it as highly important. Your product image can decide whether or not consumers will interact and buy if necessary. To deal with these situations, retailers find professional product photographers or make personal product photography studios on their own. In this article, we will show you how to set up a budget product photography studio.
However, you can’t just finish up capturing, you have to do product photo editing to make them appealing to grab consumers’ attention at the first sight.
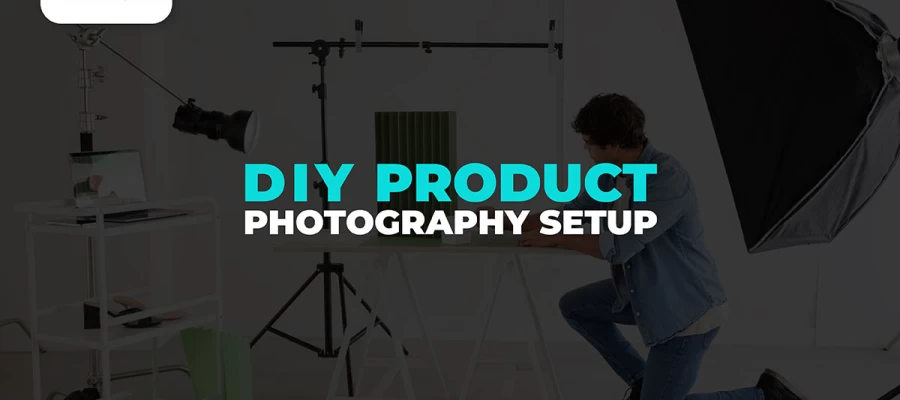
Having a personal product photography studio in your home or desired place reflects your professionalism and ambition of work. Online retailers mostly need to set up their studios to prepare product photographs for online stores. They have to work with lots of products and they may include new products, and items every day. When you have a studio setup, you just take the product, think about the best suitable position, and take a few shots.
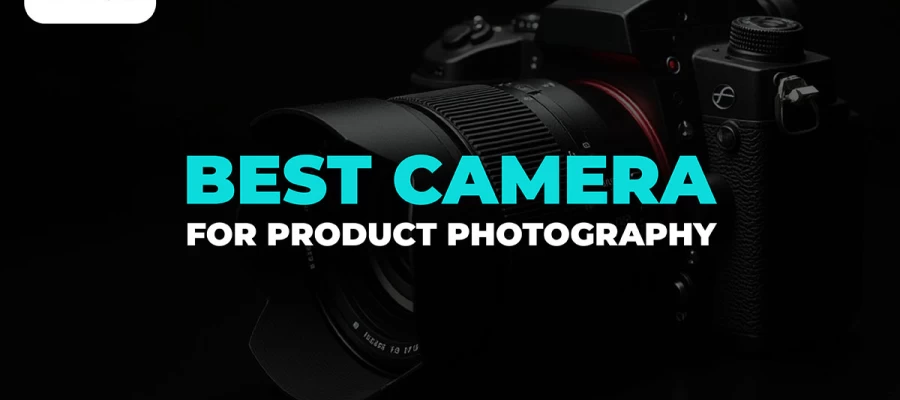
But it will be possible only if you have set up the studio. Setting up a photography studio in your place requires some essential equipment. Without this equipment, your product photography operation won’t be so perfect and you will fail to capture the best form of products. Here is a list of equipment you need to set up your product photography studio. Photography table, camera, tripod, lenses, studio light, background, reflector, light tent, tape.
These materials have unique characteristics and are necessary for photography operations. If you don’t know about the usage of these photography materials, you should do your research to have some idea in this regard.
When you have all the required equipment set up for the product photography studio, now you are ready to make the structure. You can do it yourself and it’s not so difficult although. First of all, you have to choose a specific place which is perfect for photography. Lighting is an important fact in product photography. The place you choose should be somewhere enough daylight appears in the daytime. Proper light can make your product photos look outstanding if you use it perfectly. If you are going to sit inside your home, then choose a place beside the window. You will get direct lighting support from the window in the daytime. Natural light can create an optimal light shadow sense in the product photo.
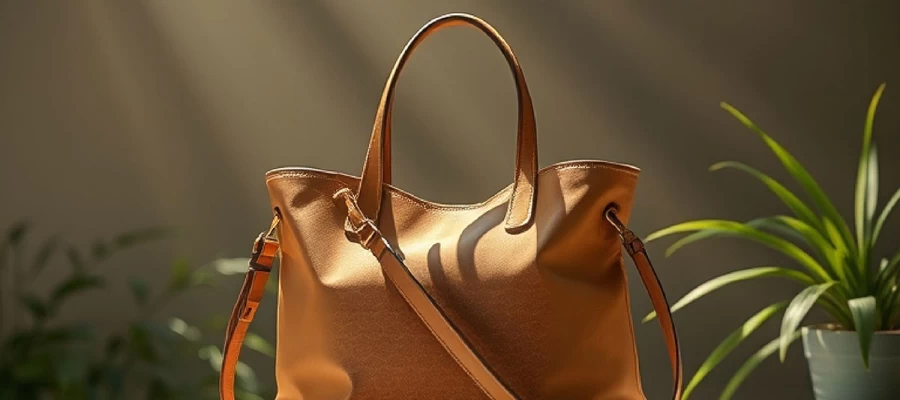
The background is a concerning issue in product photo management. You can fix the final product photo background manually while taking the photograph or you can also do it with post-processing. For product photography, you have to set a white backdrop attached in the back corner of the photography table. You can use white paper, foam, or fabrics to make white background for product photography. White background increases the visibility rate of images while removing distortion and presenting objects in a capturing way.
Although you can affix white background technically with a photoshop background removal service. They are the kind of professional photo editing service you can find online. just give them all your product images, they will do several editing processes to make the images best overall.
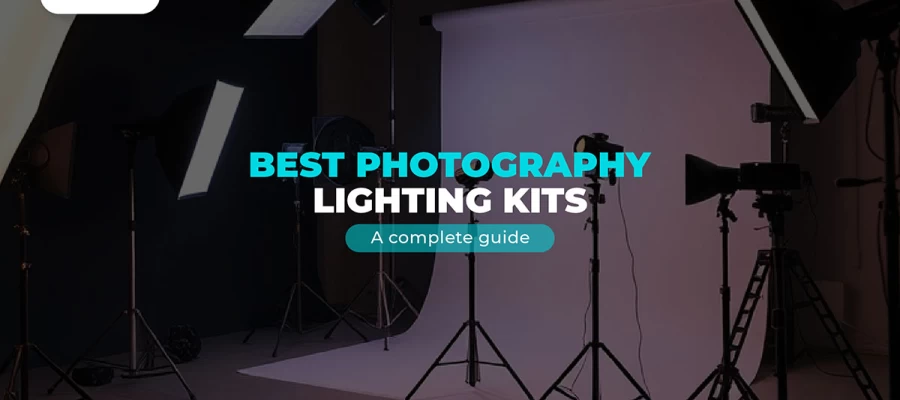
Natural light makes it way easy for the photographer but they can’t rely on natural light all the time. Also, there isn’t always natural light for you. so, you must have prepared with artificial light which is also known as studio light in the market. Studio light is so useful if you know to use them effectively. For crucial product photography, you need at least two studio lights one as the main light and the other for supporting the background. Place the main light in front of the product or side where the light can directly fall on the focused object. The other light should be placed opposite the main light.
The light modifier is must-have equipment in your product photography journey. you have to control the intensity of both natural and artificial light in your photography. Because sometimes, they get too harsh and that can be the reason to make images unusual. In this regard, a light modifier will help to resist the harshness of the light and allows you to create the perfect light shadow sense for your photography operation. You can use a reflector card that is perfect to bounce the light and get to the desired position.
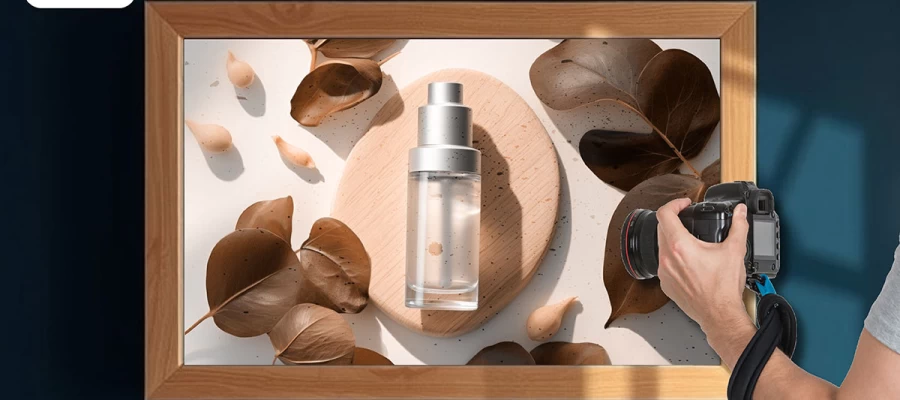
After completing all the above steps, you are now prepared for product photography. Using a tripod reduces trouble and also ensures the best image form without any distortion and shaking. Shaking hands can be a big issue in product photography. Holding the camera for a long time causes shaking hands which are responsible for making the image blurry. In this regard, the tripod is the option that can relieve and keep you focused all the time. a tripod ensures the most stable and consistent product image and there are tripods through which you can get ultra-flexibility in product photography.
After adjusting the camera with the tripod, place the product on the table, and get the best angle for the camera. You can try different angles to understand where the product gets an appealing look through the camera. Take multiple shots and choose the best one for final adjustment.
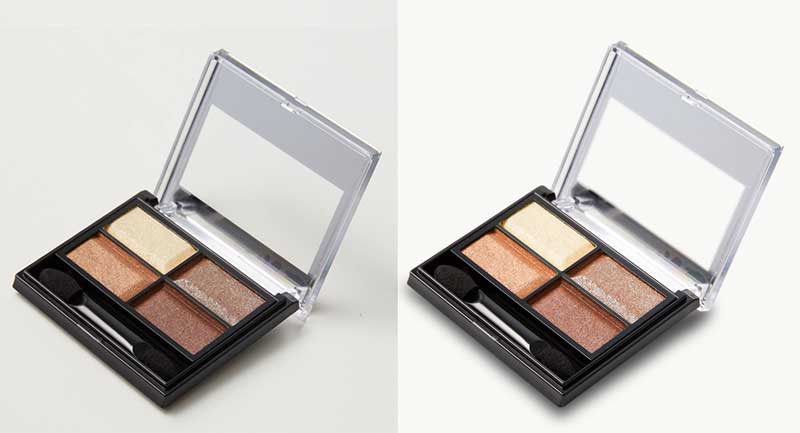
When you have done capturing all the product images, it’s time for post-processing. Post-processing is a must for e-commerce product images. RAW images can use as the final product display on websites. Because they are unusual in so many aspects and you have to fix them to get the best outcome. When consumers land on the eCommerce website, they just see the displayed product images. If images are visually appealing, they can easily grab the visitor’s and customers’ attention. product images are also responsible for making consumers’ minds buy the products. Therefore, you have to take post-processing into your account and accomplish it properly. However, post-processing is done with photo editing software like photoshop. Several post-processing applications take part in post-processing. They are,
Background removal
Retouching
Natural, drop shadow, and mirror shadow effect
Scratch and glare removing
Sharpening
Color correction
Optimization
Each of these applications has a selective impact on the images. having photoshop skills will grant you post-process your product photographs precisely. otherwise, you have to find professional help in this regard. For your information, there are so many online post-processing services.
You can choose them to fulfill it. professional support is recommended because you are going to show product images to customers. If they are not perfect, they won’t be able to persuade consumers as a result, you can't reach the target.
That’s all for setting up a budget product photography studio on your own. With the equipment list stated above, you will get so many options while buying these. Do a little market research and consider which one will fit your budget. Wishing you the best of luck in your product photography journey.