Have you ever spent hours thinking of how to prepare T-shirt design files for printing that don’t come out blurry, pixelated, or with unexpected colors? You’re not alone. Many business owners face this frustration.

The good news is that preparing your files correctly can eliminate these issues. In fact, studies show that up to 70% of printing errors stem from improperly formatted or incompatible design files.
Getting your T-shirt design files ready for print isn’t just about aesthetics; it’s about precision, efficiency, and saving time and money. From choosing the correct color profiles to ensuring your artwork is vector-based and high-resolution, every detail matters. Understanding these essentials ensures your designs look exactly as you envisioned and makes collaboration with printers stress-free.
In this step-by-step guide, we’ll walk you through everything you need to know, from file formats and resolution requirements to tips for avoiding common pitfalls. By the end, you’ll be able to submit designs that look sharp, professional, and exactly how you imagined them, every single time.
Having the right apparel print-ready files matters for several reasons. High-resolution or vector files prevent blurry or pixelated prints. Correct color profiles ensure your design looks consistent across different printers and garments. Proper dimensions and placement guarantee that the artwork fits perfectly on every t-shirt size. In short, the right file bridges the gap between your design vision and the final product.
Using a well-prepared file also saves time and reduces costs. Printers can process standard, ready-to-print files quickly without manual corrections. It reduces errors, material waste, and revisions, while keeping production on schedule. Consistency across multiple prints protects your brand image as well.
Proper file preparation brings you a print-ready t-shirt design without errors or required adjustments. It includes correct resolution, dimensions, file type, and color settings. Essentially, it’s the blueprint that ensures your design translates from screen to fabric exactly as you intended.

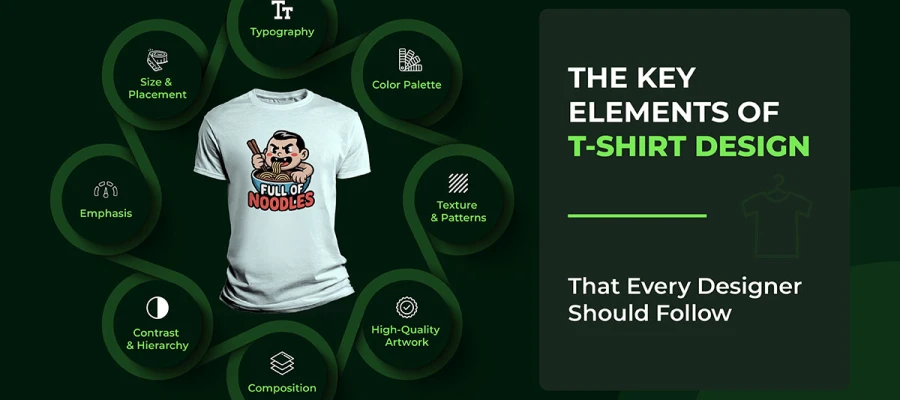
To prepare perfect T-shirt design files, use the correct file format. Set the right dimensions and apply proper color profiles like CMYK or Pantone. Keep your layers organized and include safe margins or bleed. It’ll keep your prints sharp, colors accurate, and results consistent.
Let’s read a step-by-step guide on how to prepare t-shirt design files for printing:
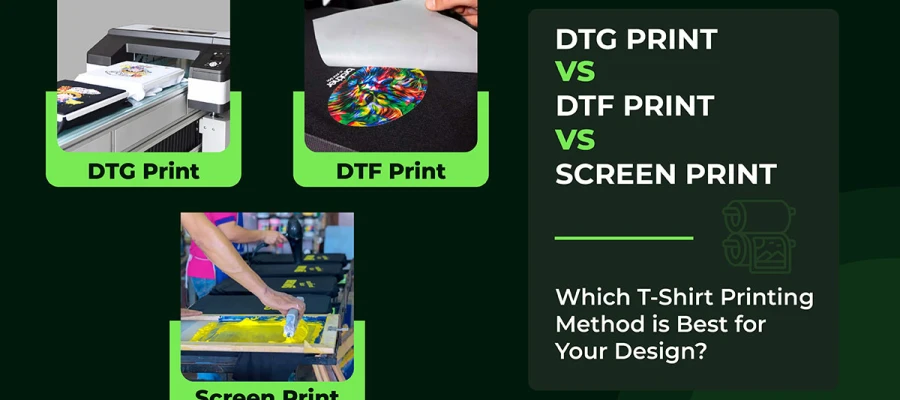
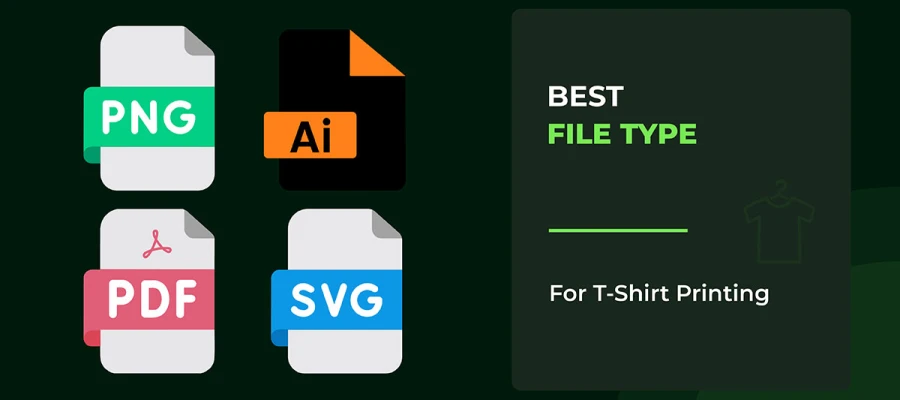
Vector files are the best file format for t-shirt printing. Files such as Adobe Illustrator, EPS, and PDF stay sharp no matter the size. They won’t let your design get blurry, no matter the size. Vector files are also great for logos, text, and any clean-line designs because they’re made from shapes, not pixels.
Raster files like PNG, PSD (Photoshop), and TIFF are also great, but only in certain cases. PNG files with transparent backgrounds are good for photos or designs with smooth color changes that don’t work in vectors. PSD files keep all your layers while you’re designing, but you should flatten them or convert them before sending them to print. TIFF files are high-quality and sometimes requested by professional printers.
Try to avoid JPG files. They lose quality and can make your design look blocky or blurry on fabric. Every time you save a JPG, it gets worse. If you have to use one, convert it to a better format and make sure it has a high enough resolution for printing.
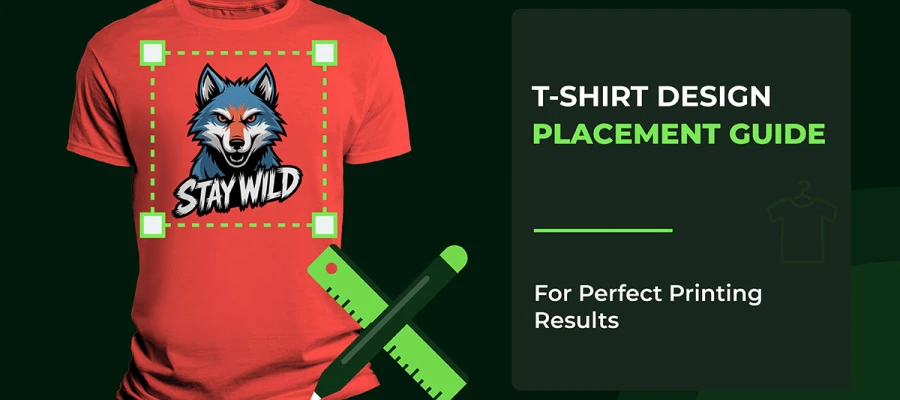
T-shirt print sizes change depending on where the design goes. For a full-front print on an adult shirt, aim for about 10–12 inches wide and 10–14 inches tall. Back prints can be a bit bigger, usually 12 inches wide and 14–16 inches tall. Sleeve designs are smaller, around 2–3 inches wide for adults and 1.5–2 inches for kids. These are standard sizes that work for most shirts and printing styles.
Design at the exact size you want to print. This way, you control how thick lines are, how easy text is to read, and how details look. A design that looks fine at 4 inches wide might be hard to read at 12 inches, and tiny details could get lost if you shrink it.
Don’t rely on the printer to resize your design. Changing the size later can cause problems. Lines can look uneven, text can blur, and details can disappear. By starting with the final print size, you know exactly what your shirt will look like. It’ll help you make smart choices before the ink touches the fabric.
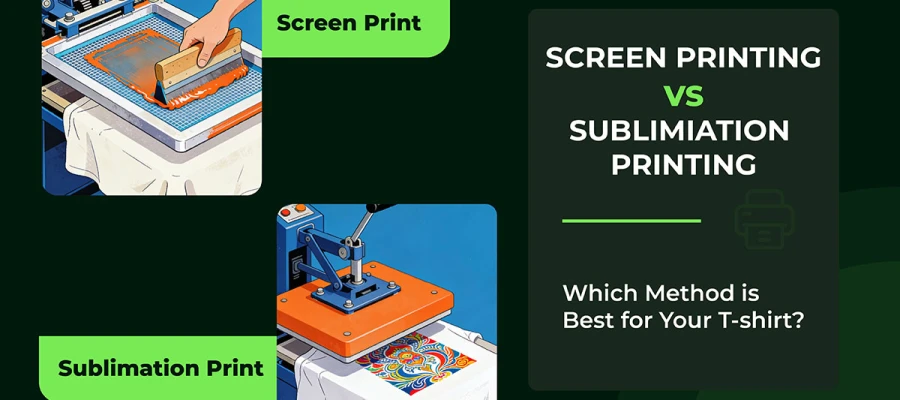
Resolution is measured in DPI (dots per inch). It simply means how many tiny ink dots your printer puts in every inch of fabric. For t-shirt printing, the usual standard is 300 DPI. It doesn’t matter if you use screen printing, DTG, or DTF. This number isn’t random. It’s the point where printed images look smooth and detailed to the human eye instead of blocky or blurry.
At 300 DPI, the dots are small and packed closely together. It makes the picture look like one clean image instead of lots of tiny pieces. Text looks sharp. Color fades, and gradients look smooth. Small details stay clear.
Many pro printers suggest starting with a canvas that is 12×16 inches at 300 DPI. That equals 4500×5400 pixels, which is plenty for a normal t-shirt design.
But what if the resolution is lower than that? Then the print will look pixelated and fuzzy, even if it looks fine on your computer. That’s because there aren’t enough pixels per inch to keep the design sharp when printed on fabric.
A logo that seems okay at 72 DPI on your screen will look blocky and cheap on a shirt. 150 DPI is sometimes used for very large prints viewed from far away, but it’s not great for professional work.
So, always design your artwork at the final print size or bigger. If you stretch a low-resolution image in Illustrator, it won’t magically gain real detail; it will just look worse.
Color can be a little sneaky. On your screen, everything looks bold and beautiful. Then it hits fabric and… hello, sad, faded cousin of the color you loved. That’s why understanding color modes matters. It saves you from heartbreak, wasted money, and a lot of head–scratching.
RGB means Red, Green, and Blue. It is used for screens. These colors are made with light. When the lights mix, you see different colors.
CMYK means Cyan, Magenta, Yellow, and Black. It is used for printing. Printers mix real ink. Instead of glowing like a screen, the ink absorbs some light and reflects the rest.
Printers love CMYK because it keeps things predictable. Reliable. Professional. When you design in RGB and send that artwork to a CMYK printer, the colors don’t just stroll over peacefully. They get converted. And that conversion can be rude.
RGB can show brighter colors than CMYK can. So, some colors you see on your screen cannot be printed the same way. That bright blue or neon green on your laptop might turn dull or muddy in real life. Those colors simply do not exist in CMYK.
Now, if you’re dealing with screen printing, the plot thickens. Many screen printers skip CMYK entirely and go with Pantone Matching System (PMS) spot colors. They are pre-mixed inks. It keeps the color the same every time you print.
So before you send anything off to print, have a quick chat with your printer. Ask if they want CMYK files or Pantone spot colors. One simple conversation can save your colors, your project, and probably your sanity.
Converting fonts to outlines might sound technical, but it’s really just turning your text into sturdy little vector shapes. Once you do that, your words can’t change, shift, or betray you. And that’s huge in professional T-shirt printing. It guarantees your design prints exactly the way you imagined it, even if your printer has never heard of the font you used.
If you send a file with live text, you’re taking a gamble. The printer’s computer needs the same font you used. Same name. Same version. Same everything. If it doesn’t find it, the software picks a random replacement.
And let’s be honest, nothing ruins a beautiful design faster than a surprise default font. On top of that, many paid fonts can’t legally be shared or embedded. So even if everyone has good intentions, premiumness can turn into a headache fast.
Luckily, outlining text is easy. In Adobe Illustrator, just select your text, then click Type > Create Outlines. Other design programs use similar wording, such as “convert to paths” or “create outlines.”
In seconds, each letter becomes a solid vector shape. What you see is exactly what will print. No font hunting. No surprises. Just clean, dependable typography. And if your shirt design is text-heavy slogans, quotes, or fancy lettering, this step matters even more.
There is one thing to remember, though. Once you outline your text, you can’t edit it like before. So always save two files. One with live text for future tweaks. And one as a “print-ready” version with all fonts outlined. That way, you stay flexible, your design stays safe, and your printer stays happy.
The file format you choose affects how well your design resizes and how much detail it keeps when printed. Vector files are usually the best choice for t-shirt printing because they stay sharp at any size.
Unlike raster images (which are made of tiny pixels), vector images are made from points and paths created with math. It lets them grow or shrink without losing quality.
Common vector formats include AI (Adobe Illustrator), EPS, SVG, and PDF. These are great for logos, designs with lots of text, and clean shapes or patterns. When you send a vector file to a printer, they can make your design small for the chest or huge for the back of the shirt. It will still look clear and clean. This is why vector files are perfect when your design needs to fit different sizes or products.
Raster images work in another way. Formats like PNG, JPG, and TIFF are made from pixels arranged in a grid. That means they have a fixed resolution. When you make a raster image larger than its original size, you stretch those pixels. That’s what causes blurry or blocky designs.
Raster files are better for photos or artwork with detailed shading and textures. But they must be created at the right size from the start, and at 300 DPI, so they print well.
For the best results, use vector files whenever you can, especially for logos and text. If your design has photos or other parts that must stay raster, make sure they are at least 300 DPI at the exact size you want to print.
Transparent backgrounds help your design look clean on a T-shirt. There’s no ugly box around it. Think of it like cutting your design out with invisible scissors. Wherever there is no design, the shirt color shows through.
Use a transparent background when your design isn’t a perfect rectangle. Also, use it when you want the shirt color to be part of the design. PNG files are the best for this. They keep the “see-through” parts of the image.
PSD files can also keep transparency, but they are bigger. Some printers also don’t work well with PSD files.
The biggest problem people face is the white box around the design. This happens when you think the background is transparent, but it’s actually filled with white pixels.
Before you save your file, make sure your design is on a checkered or gray pattern in your software. That pattern means it’s truly transparent.
Delete or hide any solid background layers. Then, when you save as PNG, make sure the transparency or alpha channel option is turned on.
Whether you should flatten your layers or keep them separate depends on your file type and what the printer wants. If you export your design as a PNG, the layers will merge into one image automatically.
But if you send working files like PSD or AI, it can help to keep the layers. That way, the printer can fix small things if it needs to. Always ask your printer what they prefer.
Before you finish your file, remove anything you are not using. Get rid of hidden layers, old ideas, or guidelines you forgot about. Even though people can’t see them, they can still cause problems or make your file too big.
Also, clean up any tiny mistakes your design software may have left behind. Zoom in and look closely. Check for random dots, broken shapes, or little pieces you didn’t mean to add.
These small things can show up as weird spots when printed. A quick clean-up makes sure only your real design appears in the final print.
When you’re ready to export your design, set the resolution to 300 DPI at the actual print size. Some print-on-demand services, like Printful, can work with 150 DPI. But 300 DPI is the standard that works everywhere.
Export your file as PNG if you need a transparent background. Use TIFF if your printer asks for it. For simple logos that need to scale big or small, vector formats like SVG, AI, or EPS are best.
Printers love clear, descriptive file names. Don’t use names like “finalfinal_v3.png.” Instead, try: “ClientName_TShirt_Front_300dpi.png” or “SummerCamp2025_BackDesign.png.” Include key details: placement, date, version, so no one gets lost in a jungle of files.
Before you hit send, take a deep breath and run through a final checklist.
Checking these things now will save time and stop mistakes that could cost you a reprint.
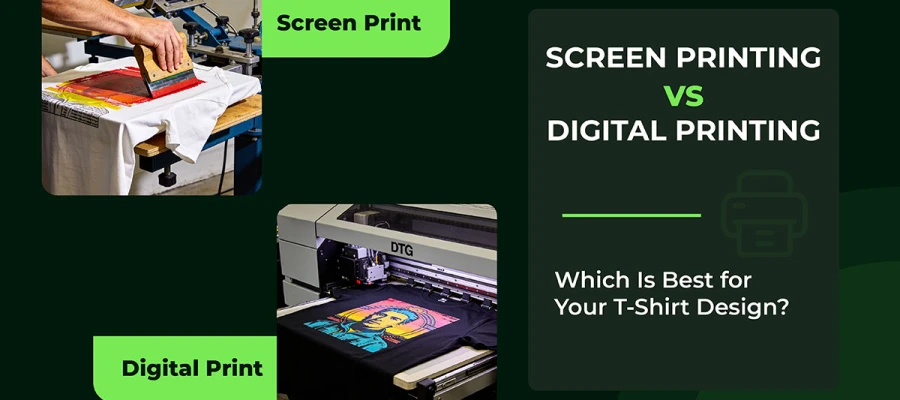
For most digital printing, your file should be a PNG with transparency. If it’s a logo or a simple design, go for a vector file like SVG or AI. Vector files scale up or down without losing any crispness. It’s perfect if you’re not sure how big your print will be.
Make sure your design fits the area you plan to print on. Center-chest designs usually run 8 to 12 inches wide. Always create your file at the actual print size. Don’t scale it up later. That’s a shortcut to blurry disaster. Set your DPI to 300. That’s what keeps your design sharp and detailed, even up close.
Check your color mode next. RGB is the go-to for most modern direct-to-garment and DTF printers. Some traditional screen printers still swear by CMYK. And don’t forget fonts. Outline or convert them to paths so nothing gets swapped out if the printer doesn’t have your exact typeface.
Finally, double-check your background. It should be truly transparent. Look for the checkerboard pattern in your t-shirt design software; it’s the telltale sign.
Do all this, and your T-shirt files will reach the printer ready to shine. No last-minute tweaks. No headaches. Just smooth, high-quality prints, exactly as you imagined.
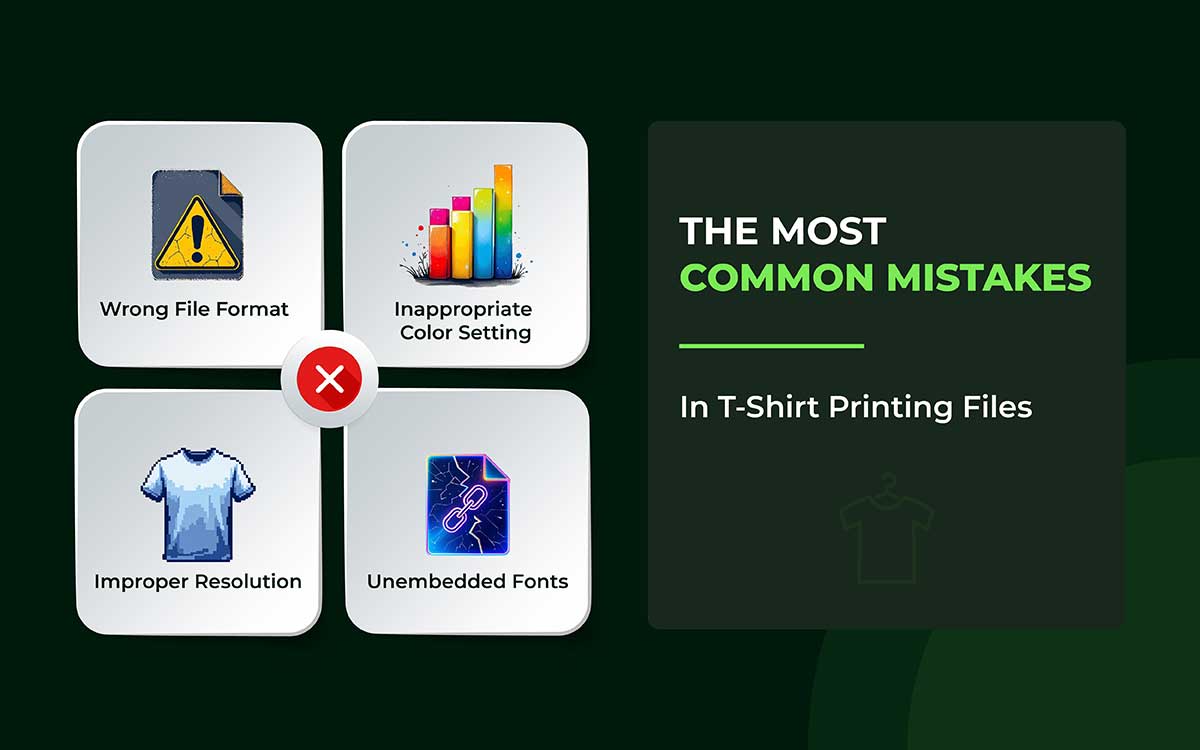
The most common mistakes in t-shirt design files happen with image quality, file type, color mode, and fonts. These are small details, but they matter a lot.
Even a tiny mistake can lead to big printing problems. That is why it is important to understand them clearly.
Let’s go through each one in detail so they do not get missed next time.
One of the most common mistakes is using the wrong file format. Many printers prefer vector files. These include AI or EPS files. They are ideal for logos and illustrations. Vector files can be resized without losing quality.
When you submit a low-resolution JPG or PNG, problems can happen. The image may look blurry. It can become pixelated when printed. It often ruins the final product.
Another common problem is using the wrong color settings. Most screens show colors in RGB. Printers, however, use CMYK.
If you do not convert your design, the colors can change a lot. Bright blues may look dull. Reds can appear faded or muted.
The same issue happens with Pantone or custom colors. If these colors are not clearly communicated, results can vary. Different print batches may not look the same.
Improper size and low resolution are common problems. If a design is too small, it won’t print well. If the resolution is under 300 DPI, the image may look blurry. It can also appear stretched after printing.
Extra layers can cause trouble, too. Hidden elements often confuse printers. It can slow down the process. In some cases, it may even cause printing errors.
Missing or unembedded fonts can ruin a design. If the printer does not have the font you used, it will swap it for another one. It can break your layout and change how it looks.
To prevent this problem, always outline your fonts. You can also embed them before sending the file.
Expert Advice: Ignoring bleed and margin rules can cause parts of your design to get cut off during printing. It happens more often on shirts with seams or hems. To avoid this, always check your printer’s specifications before you submit your files.
Now that you’ve gone through how to prepare t-shirt design files for printing, you know the key steps that make your work look professional. You learned how to pick the right file format, set the right size, and make sure your design is sharp at 300 DPI.
You also learned about using the right colors, outlining text, and keeping your files organized. These aren’t just technicalities; they’re the foundation of quality results that honor your creative vision and keep production smooth from start to finish.
Preparation matters. It saves time, reduces costs, and protects the quality of your designs.
A standard workflow is the key step that takes your design from the screen to real garments. It helps you avoid surprises, reprints, and blurry results.
Need professional help with print-ready t-shirt designs? Work with the Graphic Design Eye that knows exactly what printers require. Along with 200+ designers working 24/7, we provide the print‑ready precision printers demand; flawless files, correct color profiles, and artwork that prints right the first time.
Follow your process. Trust your preparation. Send files that printers appreciate, and customers remember.