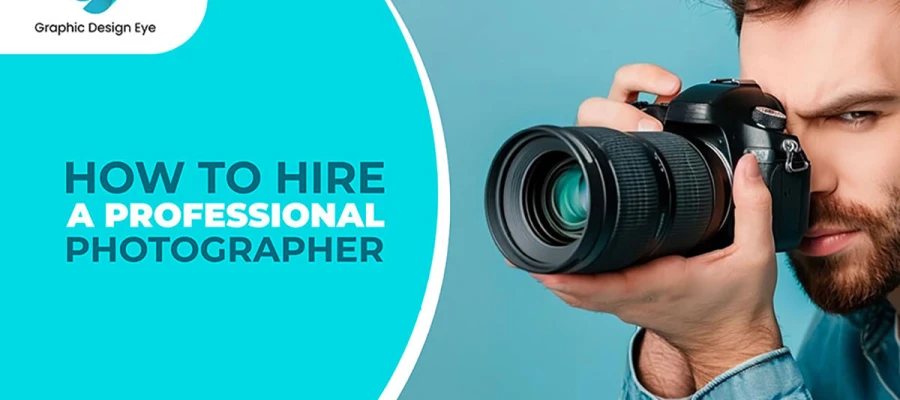
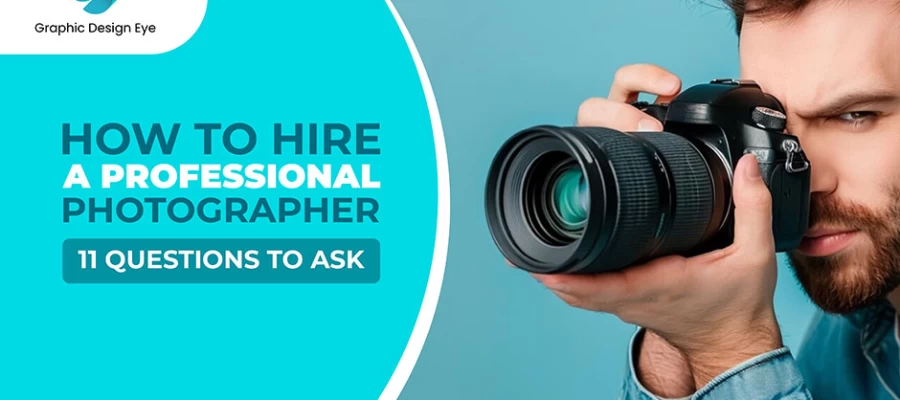
In the present world, we have to use visual content in most of our daily activities. Visual contents are making our day-to-day life, as we illustrate whatever we want in them. So many different types of visual content such as video, animation, and GIFs using widely according to necessity. Among them, photos are the most used visual content that is very perfect to fulfill the demand of our visual communication.
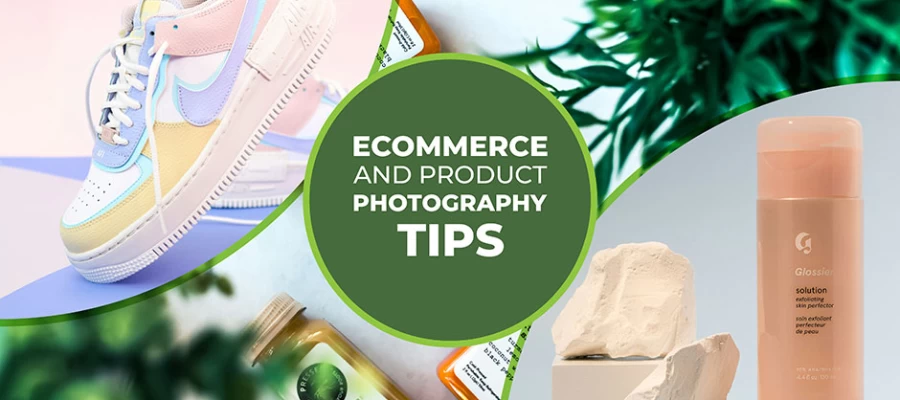
But when we are talking about product photography and e-commerce business solutions, then there is nothing more important than photography to show the best form of products. In online business, retailers need to display selling products in the online store. In this issue, they have to manage the professional product photograph with the best editing aspects to get potential customers’ attention. It is true that the success of an eCommerce business ultimately depends on managing the appropriate product photographs.
In this article, we will see facets that help both new and existing eCommerce retailers to learn how to take professional photos of products and also DIY tips to build your very own photography studio at your home. So, let’s start it.
So, in the present busy marketplace, whether you are a new or living online marketer, you have a few goals that keep you motivated all the time. What helps online retailers get to the destination they are trying to reach?
Featuring the best product images to stay ahead of the competitors
Offering trendy product items to get rich sales
Showing trustworthiness to encourage new customers to take buying decision
True evidence of customers satisfaction like reviews and feedback
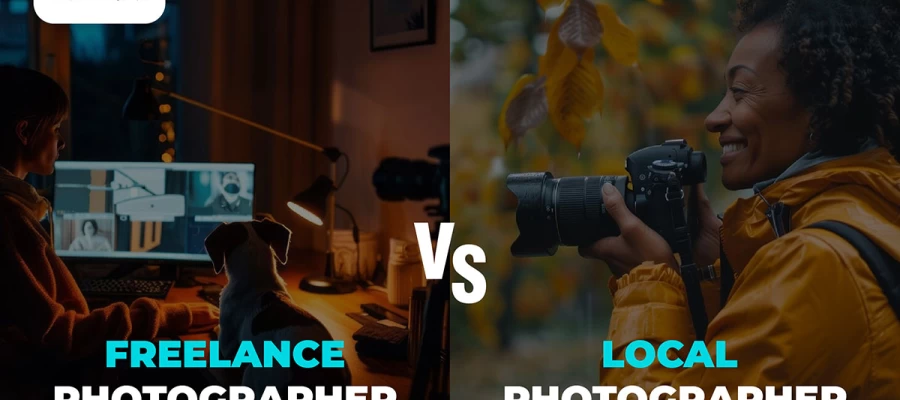
There are some other technical aspects in this consequence that retailers pay effort but once they have decided to go through. The first challenge comes with managing the photographs of products they want to sell in-store. As modern problems require modern solutions, managing the best photograph of online selling products is not a serious dilemma at present. Because so many professional photographers are always ready to take the job and the way they will serve you is completely satisfactory.
However, you must have to pay for professional product photography services, and sometimes it can be very expensive. Because of this, small and low-budget retailers do not want to hire professional photographers as they are short on their budget. So, they have to solve it themselves through their own process.
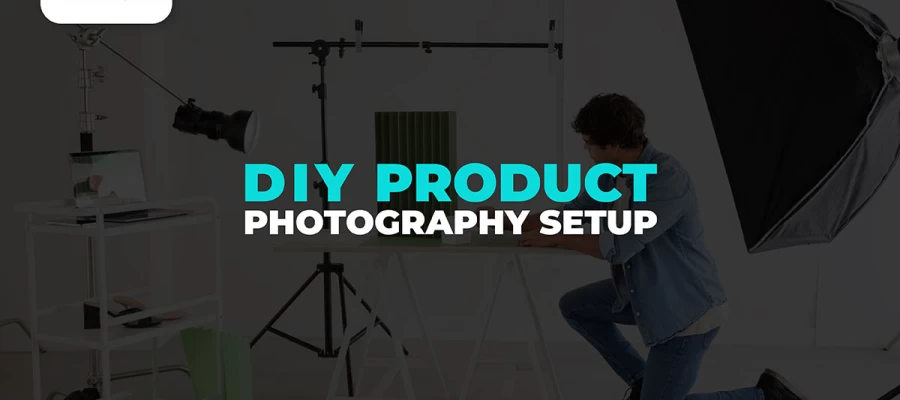
We have come through all the details of photography equipment and setting up a personal photography studio. Now, we are going to take direct action, which means holding up the camera and capturing the products. If you are accustomed to playing with a camera, then you can do better in this sector. And if you don’t have previous experience using a camera, no problem, you can get used to it by practicing for two to three days. Just keep hope and go ahead to the step.
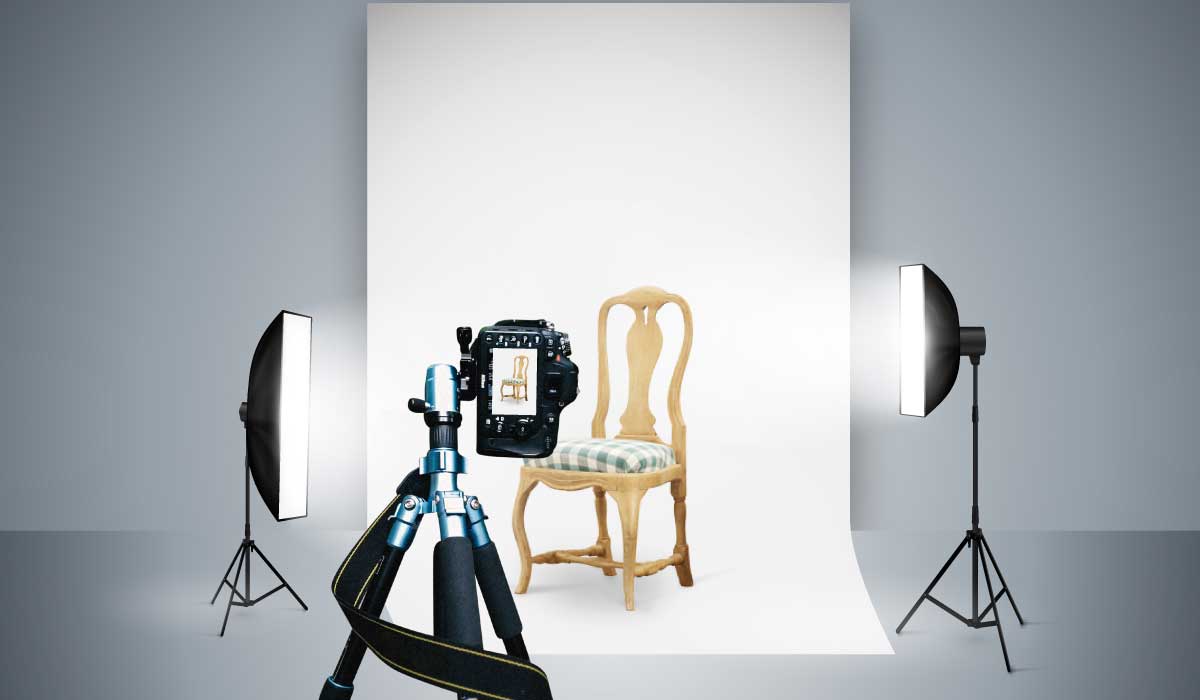
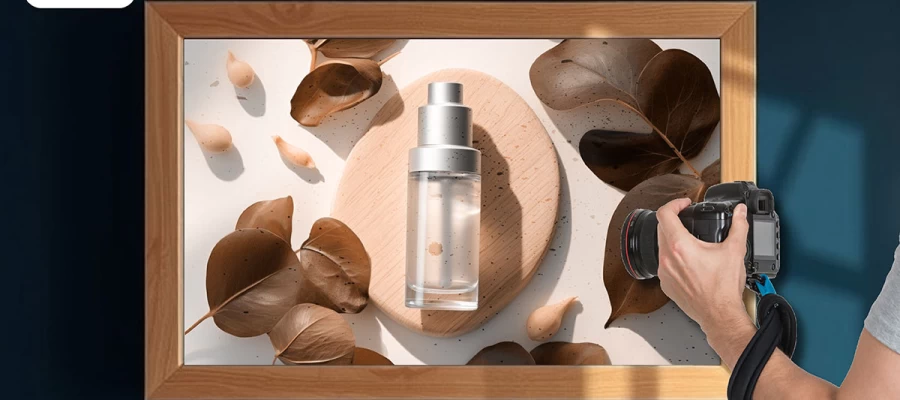
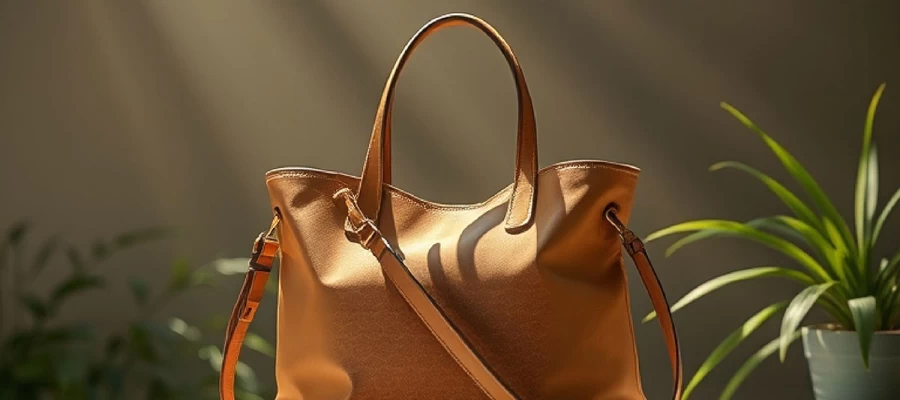
At the starting point of product photography, your first job is perfectly placing the product. Finding the best position where you can get the best look at the product is half of the gameplay. So, you should do it wisely. The way you place the product may differ according to the product condition. For example, if it is a clothing item, then you have to put it on the mannequin’s body and have to capture the mannequin’s image. If it is a shoe, bag, glass, headphones, machinery, and similar, then it is enough to keep the product in the middle of the shooting table and hit the capture button of the camera. There are some products like jewelry, earrings, and ornaments that you have to hang up with a fishing line to perform the close and detailed shot. So, it depends on the product, and how you should attempt to capture the product photograph.
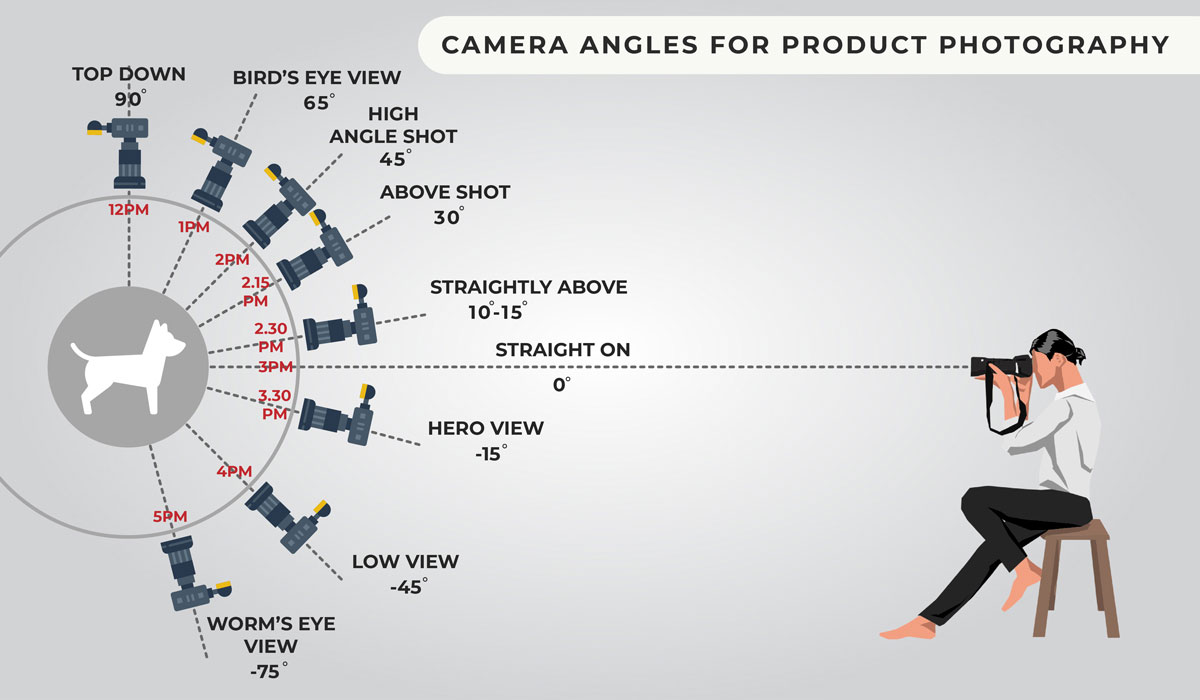
Angles are a huge consideration in product photography. It is a common fact that taking pictures from any angle does not make a picture beautiful. Each product has a unique side or angle from where it looks best in its image. You have to understand that and need to find out that specific side where the product will look its best. The best way to find the perfect angle of a product is by brainstorming and taking at least 4 to 5 images from different sides. In addition, you can capture from the straight on the product, 45-degree angle, or overhead. Different product photography angles are called different names, such as.
0-degree angle – straight on
45-degree angle – high-angle shot
65-degree angle – bird’s eye view
90-degree angle – top down
However, you can make a photo collage of your product image where you can show 2 or 3 different photography angles of the product. but always keep your mind on visitors’ shoes, how they would feel better to see the product.
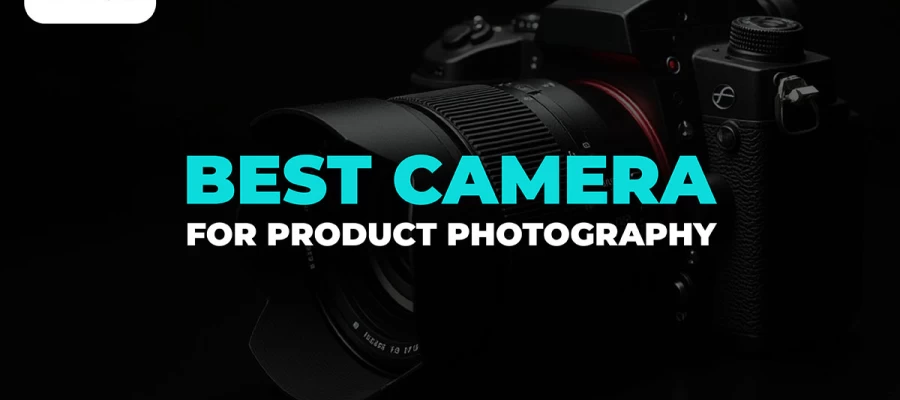
Perfect product photography comes with a perfect camera setting. Whatever device you are using to capture a product photograph, whether it’s a DSLR or mobile, you must have to set actual camera settings before going into the action. In a DSLR camera, there are various settings you need to adjust to make the best sense of the product in its image. Like ISO, aperture, shutter speed, camera mood, image format, white balance, focus, and some other things you have to consider in this regard. We will try to keep a clear direction about DSLR camera settings so that you can easily get started with photography operations. So, stay tuned.
Professional product photographers are so smart to find innovative and creative ways to present the product image uniquely. But freshers in such cases, runoff ideas on how to capture product images differently and how they can add some interaction to make high sales. The solution is to research online to find inspiration for the product. online is full of effective instructions, ideas, and consultations that help new product photographers have a great start. When it is almost free, then why would you compromise to take advantage of it online?
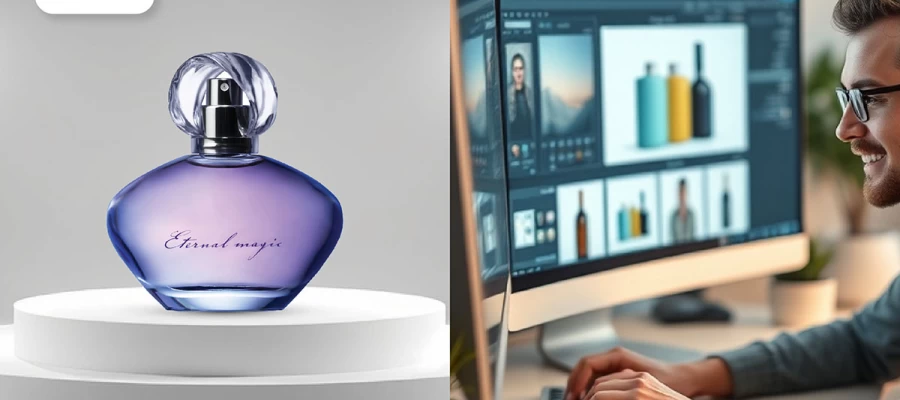
When you have completed capturing product photographs, then it’s time to post-process photographs. Post-processing is simple photo editing that is ratifying in the product photography business. The product photograph is mostly needed for e-commerce optimization. Unlike the usual offline business, eCommerce and social media businesses require high-quality product photographs to offer the availability of the product and also to make customers get attracted. The online business sector becomes too competitive as every retailer wants to create a better place in the field. visual activities go with visual elements. When a potential customer goes to an online store to buy something, he or she gives a few reasons. If these factors are positive, the result ends with true actions such as purchasing or carting the product, and if it is negative, the customer will leave the store and go to the competitors' site.
What do visitors see at first when they visit an online store? It must be the product’s image. though the website’s user interface and loading time highly determine whether the visitor would stay or not. That's why you should have to pay attention to editing product images that you are considering using in the online store. Editing an eCommerce product image is a popular online activity at present. Expert editors outsource through editing product images of retailers all over the world. Here are some extensions you should follow while post-processing,
Clipping path to remove the background from the image
Retouching to make the image perfect in all aspects
Shadow effect to make the image look real
Erasing spots, scratches, and unwanted objects
Making neck joints and ghost mannequins for clothing products
In addition, you can use photo editing tools or get professional support to edit images perfectly.
There are a few more things you need to nail about product photography. Check to find out questions you want to ask.
For each product image upload on Amazon, they have certain requirements that must be followed by the influencers. It is mandatory as if any image doesn’t meet the requirements, the system won’t accept the product image. so, what are Amazon requirements for product image?
Image size:
Preferred 1000px or larger
Recommended 2560px width
Longest side 1001px
Less than 500px won’t be applicable
Image frame:
Fill out 85% is applicable
100% or 50% isn’t applicable
Background color:
Only Pure white is applicable
Colorful or background images won’t be accepted
File format:
JPG, PNG, GIF, and TIFF are the only applicable file format
AI, PSD, PDF, or EPS won’t be accepted
Image color mode:
RGB, CMYK applicable
Grayscale, Lab, Indexed, or Multichannel won’t be accepted
When you meet a professional photographer, the first question you will be asked for what type of photography you need. as there are so many different photography categories available like,
Model photography
Portrait photography
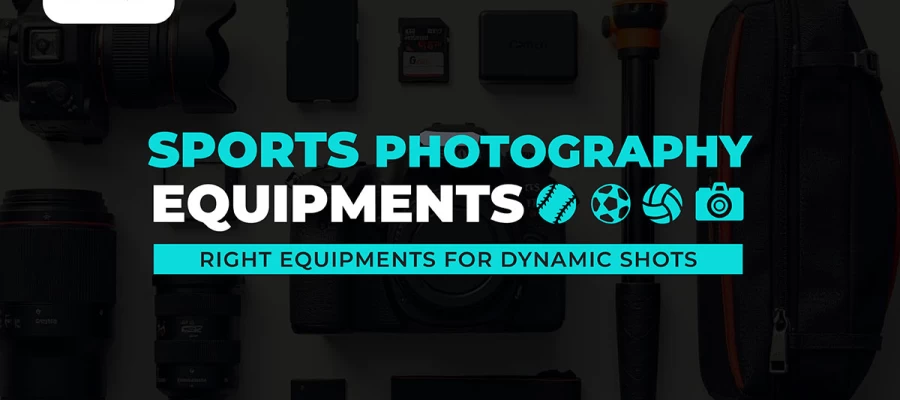
Sports photography
Still life or product photography
Real estate photography
Macro or detail photoshoot
Wedding photography
Keeping yourself up to date with the latest product photography trends and reflecting on them on your own is the key to success online. How your competitors are doing and how do customers like to see them? you have to address these issues. However, capturing the present online trend here is some photography trend you should follow,
Minimalistic design
Stylish and lively expressions of the product
Eye-catching color
360-degree photography is now industry-leading
Photographs with model
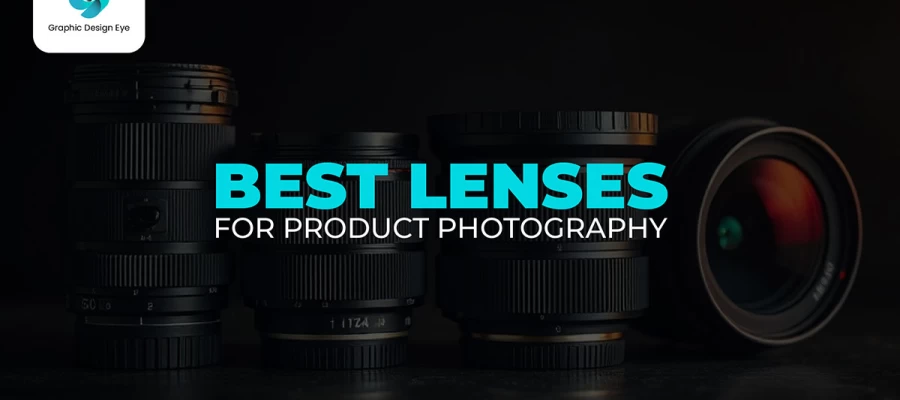
We see that we need a lens in product photography to energize the photography operation. The lens is one of the most important pieces of photography equipment that every photographer uses to have. The word focal length is almost related to the lens that is used in photography. It comes as an important matter when you need to buy a lens. The option focal length helps to determine how close you can be to the object you are capturing. In other words, the focal length is the range of distance between the optical center of the lens and the sensor of the camera. Lenses are varied by their focal length, for example, a 50mm lens has a focal length of 50mm. The main fact that you should know about focal length is its angle of view. For example,
500mm f/5.6 lens has an angle of view of 5 degrees
50mm f/1.4 lens has an angle of view of 46-degree
20mm f/1.8 lens has an angle of view of 94-degree
For your information, the lower the focal length number, the wider view you can capture with that.
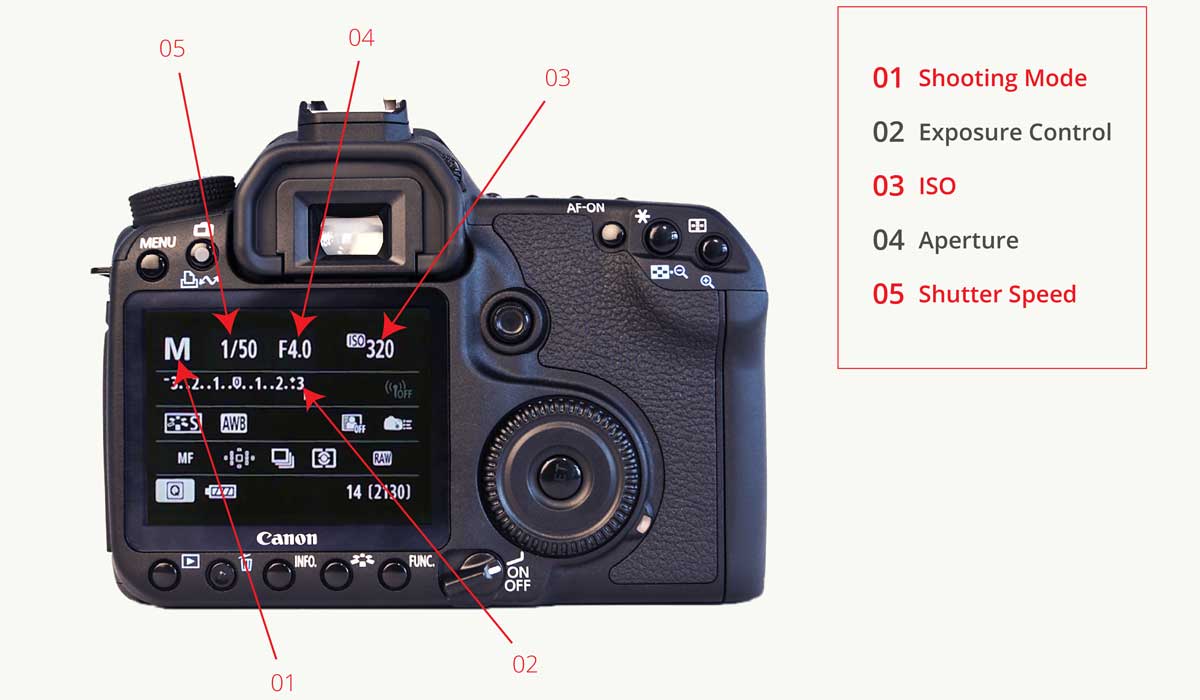
No matter if you are using a DSLR or smartphone to capture product photographs, you must know camera settings to get the best output. Especially for the time, when you aren’t able to hire a professional photographer and you have to do this on yours. Generally, the most camera includes settings such as ISO, aperture, Shutter speed, and white balance. As different photography operations require different settings, you have to keep in mind which camera setting is most suitable for product photography. Here are some aspects of camera settings for product photography,
ISO decides how your camera sensor will act to light. So, it regulates the sensitivity of the camera sensor when there is light. The scale of the ISO settings ranged from 100 to 300. The number reflects a split second, ISO 100 means a full second while 3200 means 1/32 of a second. In product photography, you should keep ISO as low as possible
Aperture relies on the depth of field of pictures and controls the amount of light passed through the lens to the camera. You should keep the aperture setting high in the product photography to get a better view of the product
Shutter speed is also known as exposure time. In still-life product photography, adjust the shutter speed to the lower frequency
Shoot in manual mode
Don’t forget to keep white balance and focus- automatic
If you need more detailed information about product photography, contact us to get all the information related to marketing, business strategy, and editing.