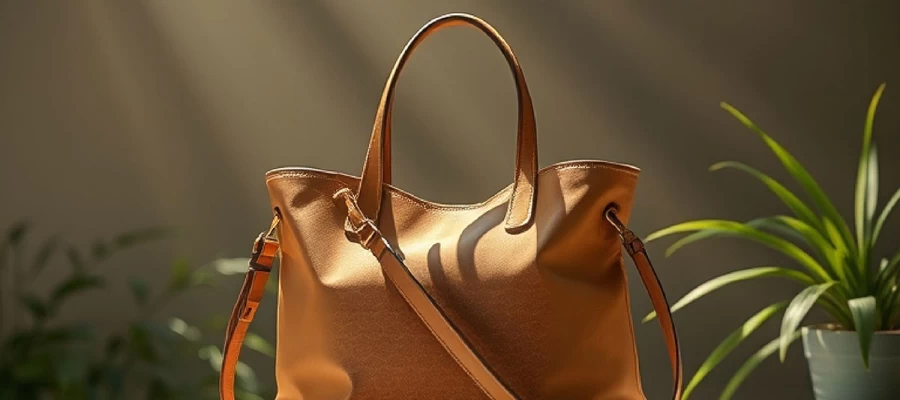
For online businesses, product presentation is the most crucial of all things. You need to grab the attention of your customers to sell products, and the fastest way to do that is through images. Human brains process images 60,000 times faster than text, so you can imagine the importance of a single image.

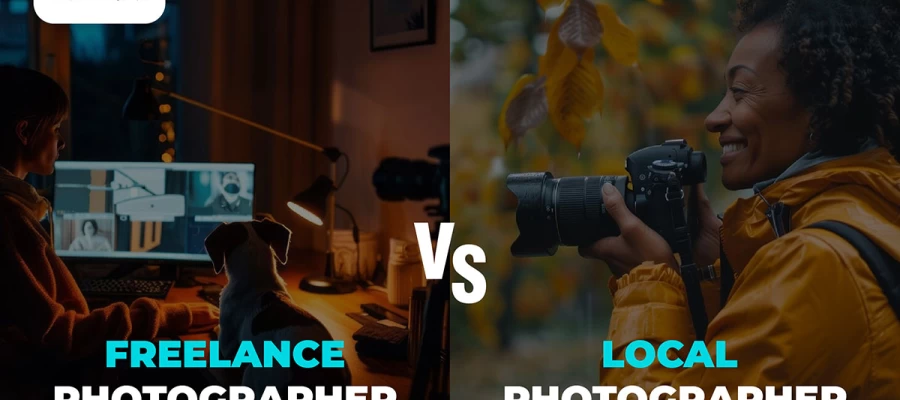
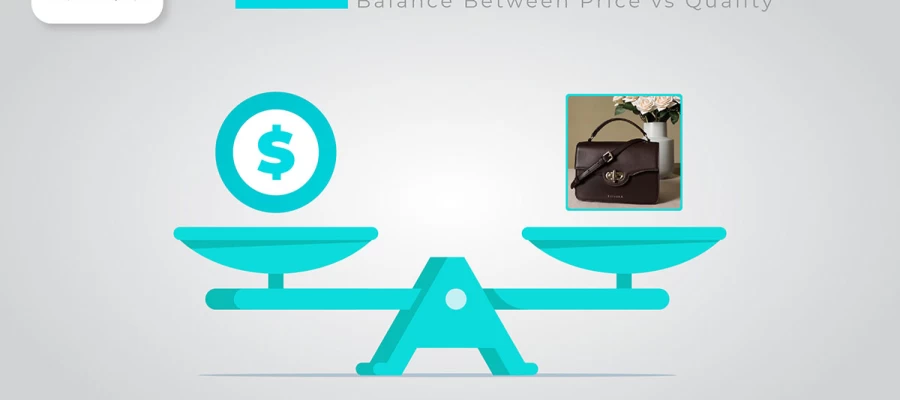
Thus, high-quality product photography is the best way to get customers' attention and boost your sales. I would recommend investing in a professional photography studio, as they can capture the best look of your products. However, I understand that this may not be a practical decision for new or small businesses.
So, my recommendation for new and small businesses is to create your own DIY product photography setup. It would save a ton of money, and it is not that hard. With the right photography equipment and methods, you can create impressive product photos that would look like they were captured by professionals.
This article is designed to help small eCommerce business owners. I will suggest 8 essential photography tools and gears to give your product the best professional look possible. Now, let’s explore the equipment you need to get started with your DIY product photography setup.
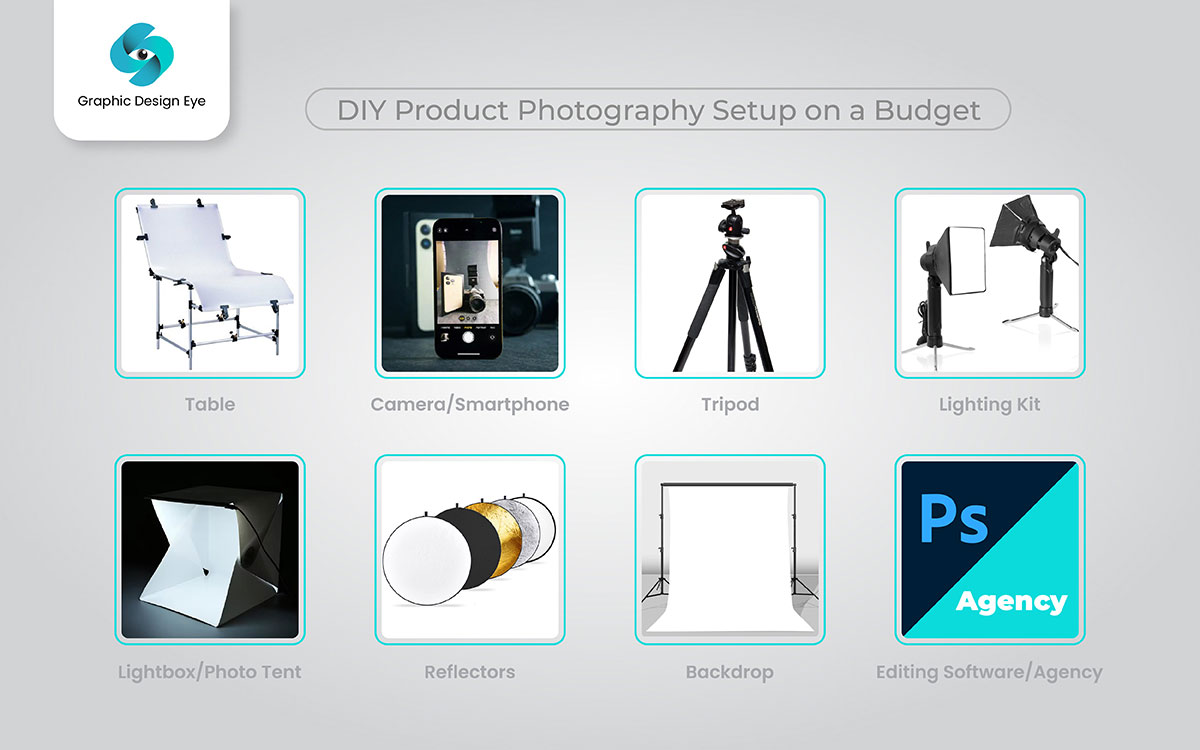
It is easy to create a professional DIY product photography setup in your own home. You just need some creativity and the right tool. Yes, you will need to spend some money, but it is much cheaper compared to hiring a professional photography service. Here is a chart for you to glance at to see 8 photography tools you'll need to create a DIY product photography setup.
| DIY Photography Tools | Prices |
|---|---|
| A Table | 20$- $50 |
| Camera | $0 (Smartphone) - $400 |
| Tripod | $20 - $40 |
| Lighting Kit | $50 - $100 |
| Lightbox/Photo Tent | $50 - $100 |
| Reflectors | $15 - $25 |
| Backdrop | $10 - $50 |
| Editing Software or Agency | Software: ($22.99/mo - $59.99/mo), Agency: ($0.5 - $50) per photo. |
It might seem like a lot of cost at first, but remember, you can take countless photos with this setup for a one-time payment. This could save you thousands of dollars.
One more thing you might need if you're not good at editing or don’t have expertise in photo editing software is an agency to polish or refine your photos. As we all know, the photos we see on the internet don’t come straight from the camera. After capturing, the photos are edited to give them that nice, attractive look. You should do the same for your product images.
However, if you're good at using photo editing software, you can do it on your own.
Now, let’s see how to create your professional DIY product photography setup with all these items.
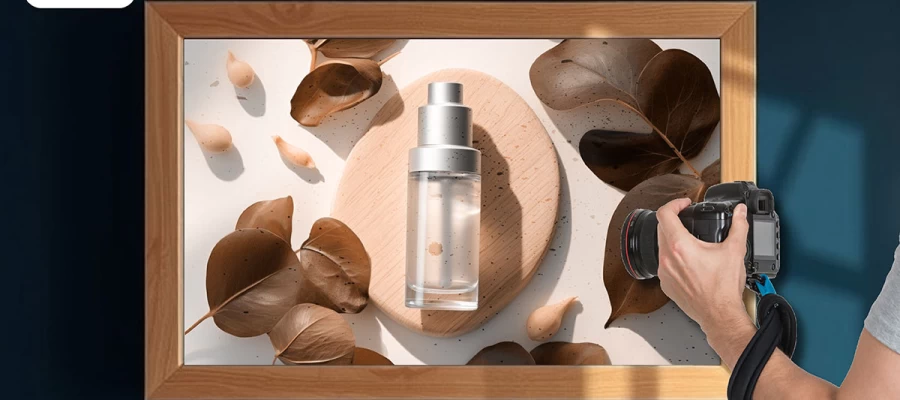
The very basic thing you’ll need for product photography is a table. You’ll need a flat, smooth surface to stage your product shots, and the table works as a staging surface in this case.
A simple folding table that has the perfect height and space will do the job. It would cost around $20 to $50 for lightweight, portable options. Set up your product, backdrop, and lighting on the table, and make sure the product is placed at the center, with enough space around it for the lights, camera, and reflectors.
Obviously, you will need a camera, or how else are you going to take photographs? The camera is your primary tool for capturing the photo. I recommend using a professional camera, such as a DSLR. You don’t need the best DSLR available on the market; an entry-level model like the Canon EOS Rebel T7 can be a good choice. It costs around $400. You can adjust the aperture, ISO, and shutter speed for more control over the image quality, which will enhance the quality of your product shots.
If a DSLR is too expensive, you can use your smartphone to get great pictures. Any smartphone with more than 12 megapixels (MP) is more than enough for product photography. Modern smartphones like iPhones or Samsung Galaxy phones feature excellent cameras with portrait modes, HDR, and manual controls. For even better results, you can use a tripod for steady shots.
Stability can be the major difference between a good photo and a bad one. You must maintain stability while clicking a picture. The best tool for this is a tripod.
A tripod helps to cut off camera shake, enabling sharp and clear photos. It is especially helpful for shooting with long exposures in low-light conditions.
You can get the Amazon Basics 60-Inch Lightweight Tripod, which is perfect for both cameras and smartphones. Just place your camera on the tripod, adjust the height to get the right angle, and you’re ready to go.
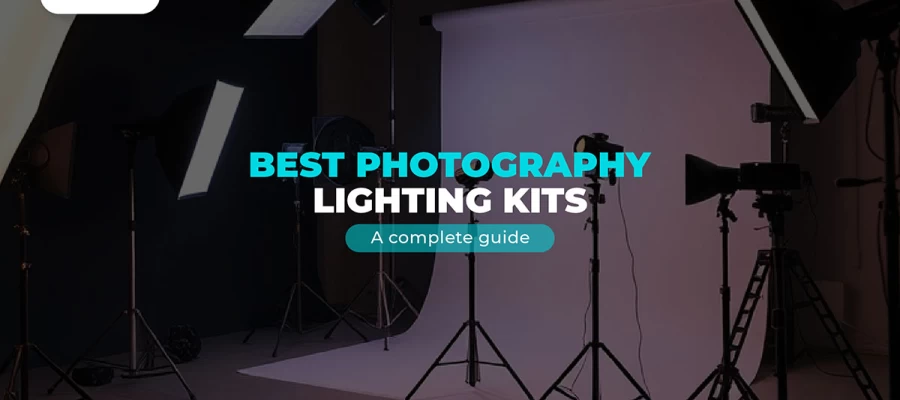
Lighting is one of the crucial elements of photography. It is the key that makes your product shine. You can depend on natural lighting, but for the best results, you need controlled lighting. An LED lighting kit can be your first choice.
Lighting defines the clarity, depth, and overall mood of the product photo. A lighting kit ensures all of that by providing consistent light.
The Neewer 2-Pack Dimmable LED Light Kit offers adjustable brightness and includes softboxes to diffuse light evenly. It is priced between $50 and $100, which is affordable. You can get professional-quality lighting on a budget with it.
Here’s a little tip for you: position the lights at a 45-degree angle on either side of the product to reduce harsh shadows and create even illumination. Use softboxes to diffuse light and avoid direct glare on reflective surfaces.
A lightbox or photo tent is usually ideal for small to medium-sized products, such as jewelry, electronics, or small fashion items.
These boxes provide diffuse light evenly across the product, removing shadows and reflections. This helps to create a controlled lighting environment.
The Amazon basics portable foldable photo studio box, priced between $50 and $100, is a great option in my opinion. I’ve tested it and achieved great results. It’s both easy to set up and portable.
Simply place your product inside the lightbox, and the internal lighting will do the work to get professional-looking shots.
Reflectors help bounce light onto your product, reducing shadows and enhancing highlights. A multi-disc reflector like the Neewer 5-in-1 Collapsible Reflector is a versatile tool for managing light. It costs around $15-$25. This reflector offers different surfaces—gold, silver, white, black, and translucent. Different surfaces are used for different types of lighting conditions. For example, silver boosts highlights, gold adds warmth, and white provides soft light. This helps to modify lighting conditions based on your needs.
All these are important for bringing out the details in your products. Just place your reflector on the opposite side of the light source, and you will see the effect.
A simple and clean backdrop ensures the focus is on your product, making it stand out. A nice, smooth white background works well for most products because it reflects light well and helps maintain the focus.
You can get backdrops like white paper rolls, muslin cloth, or vinyl backdrops. They cost around $10-$50 and provide a professional background for your eCommerce products. You can also use colorful backdrops to highlight a specific theme or create a unique vibe.
Drape the backdrop behind your product and make sure there are no wrinkles or distractions. This is all you need to do to create a seamless background that makes the product stand out.
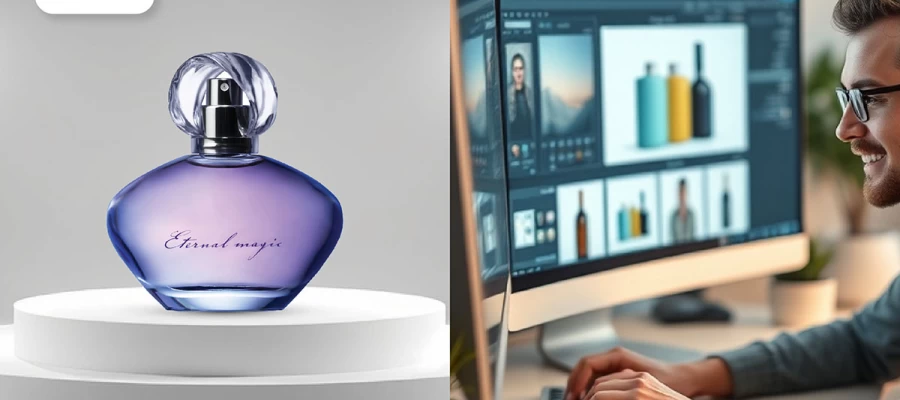
You've completely set up your own product photography studio and taken a couple of nice photos. Now what’s left to do? Should you just upload the photos? Of course not. As I mentioned earlier, your photos must go through product photo editing or processing to get the perfect final look.
If you're good at photo editing software like Adobe Photoshop, Lightroom, or Snapseed, you can edit your own photos. All these software options are affordable, and they give you the flexibility to do whatever you want. However, remember that if you are new, it takes time to learn, and it can be very time-consuming to edit a lot of photos. Adobe software's monthly subscription is around $22.99/mo - $59.99/mo.
Agencies can be your best option if you're not proficient in those software programs or don’t have the time. They can provide polished, high-quality images of your product shootouts. This will save you time and give you professional results. The only downside is that it can be a bit expensive. For per image, any agency might charge $0.5 - $50. It can vary more or less depending on the agency.
Doing it yourself or hiring a photo editing agency both have pros and cons. Now it’s up to you to decide which is a suitable choice for you. If you're experienced and have a lot of time, you can do it on your own. If you want to save time and get the best-looking, high-quality images, go for a company.
By carefully combining these tools and techniques, you can achieve a DIY product photography setup that enhances your product's visual appeal without spending a lot of money.
One thing to mention: every e-commerce product photo that you see on the internet goes through a process called background removal. To edit any photo, this process is a must. You can’t skip this background removal process. If you have a lot of photos to edit or don’t know about editing or background removal, you may need the help of a background removal service. Many agencies now provide this service and you can get their help.
The right backdrop for product photography is essential for presenting your items in the best light and helping them stand out. There are several types of backdrops available, each suited to different products and styles. There are five main types of backdrops, and each has its best use:
For small products, lightboxes with seamless backdrops work well. For larger products, seamless paper or fabric backdrops are more suitable.
For most eCommerce products, white is the ideal color as it offers a distraction-free look, making it suitable for most listings. Other colors can help align with specific branding. Vinyl backdrops with textures like marble or slate give a sophisticated, modern feel, suitable for beauty products or high-end accessories. If the product is highly detailed, always go for a simple backdrop.
The right backdrop depends on your product type, your brand’s aesthetic, and practical limitations like space and budget. A seamless white backdrop works for most eCommerce products, but adding specific textures or colors can align your photography better with your brand story and attract the right audience.
Yes, you can use your phone to take professional photos, especially for eCommerce. Nowadays, smartphone cameras have improved so much that you can capture clear, sharp images comparable to DSLRs. However, you need to follow the right practices. Maintaining a few conditions and rules will help you achieve the desired results. Here is a simple guideline from me to stay sharp on photography practices and smartphone-specific techniques.
Whether you are using a smartphone or a professional camera, the first thing to focus on is lighting. Make sure your product is well-lit. For this, you can use a softbox or a lighting kit.
Smartphones collect dust, fingerprints, and grime, so always keep your camera lens clean while shooting pictures. Also, avoid using zoom—zooming in on smartphones often degrades image quality. Instead, try to move closer to the product. If the product is too far away, it’s better to take the photo at a normal distance and crop it later during editing.
Activate the grid lines option in the camera settings and follow the rule of thirds technique. Ensure your smartphone is completely stable—this is one of the most crucial things in photography. You can use a tripod if you have shaky hands. Always experiment with different angles to find out which looks best.
There are many apps like Camera FV-5 (for Android) or Halide (for iOS) that give you more control over elements like ISO, shutter speed, and focus. Smartphone cameras already come with various modes, such as portrait and macro. Portrait mode is good for creating a pleasing blur effect, while macro mode is great for capturing fine details.
Lastly, always use a smooth, simple background when shooting eCommerce products.
Final thoughts, now you know how easy it is to create your own DIY product photography setup. If you’re on a budget, you should go for it without a second thought. The tool or items I mentioned above are affordable, so I believe it wouldn’t be a problem to invest in those items rather than hiring a professional photographer.
Don’t get discouraged if you don’t get good photos on the first try—no one gets it right immediately. Keep experimenting with different angles, light positions, and adjusting your camera settings to get the perfect shot. You can even find many tutorials on YouTube. That’s all for today. Best wishes for your business.
Did you find my suggestions helpful? If you think I might have missed something or if you want to know more, feel free to ask. Our team or I will get back to you.