TL;DR:
What is the best file type for t-shirt printing if you’re making branded shirts for a landscaping business? In this article, you’ll learn which file types printers like the most. You’ll see why some popular choices cause trouble. You’ll also learn how to pick the right format for logos and work shirts used by landscaping teams.

The best file type is one that keeps your design clear and flexible. It should look the same on the shirt as it does on your screen. When you pick the proper format, your logo stays sharp. The colors remain strong. And your shirts look professional, not cheap.
This is more important than many people think. Landscaping businesses rely on being seen. Your team works outside. People notice your shirts from far away. They make quick judgments. A blurry logo or weak color can make your business look careless. The correct file type protects your brand before printing even begins.
Here’s where things can get confusing. Not all file types work the same way. Some look great on a computer but fall apart when printed. Others are easy for t-shirt printers but confusing for beginners; knowing which is which can save you money, time, and stress.
So, let’s get started!
Here’s the simple truth. A T-shirt design is only as good as the file you send to the printer. You might have a great idea, but it can still fail. Colors can look wrong. Edges can turn fuzzy. Text can be hard to read.
It happens when the T-shirt printing file format is not prepared correctly. You need to know the difference between vector and raster images. You also need to understand what the printer really needs to do the job.
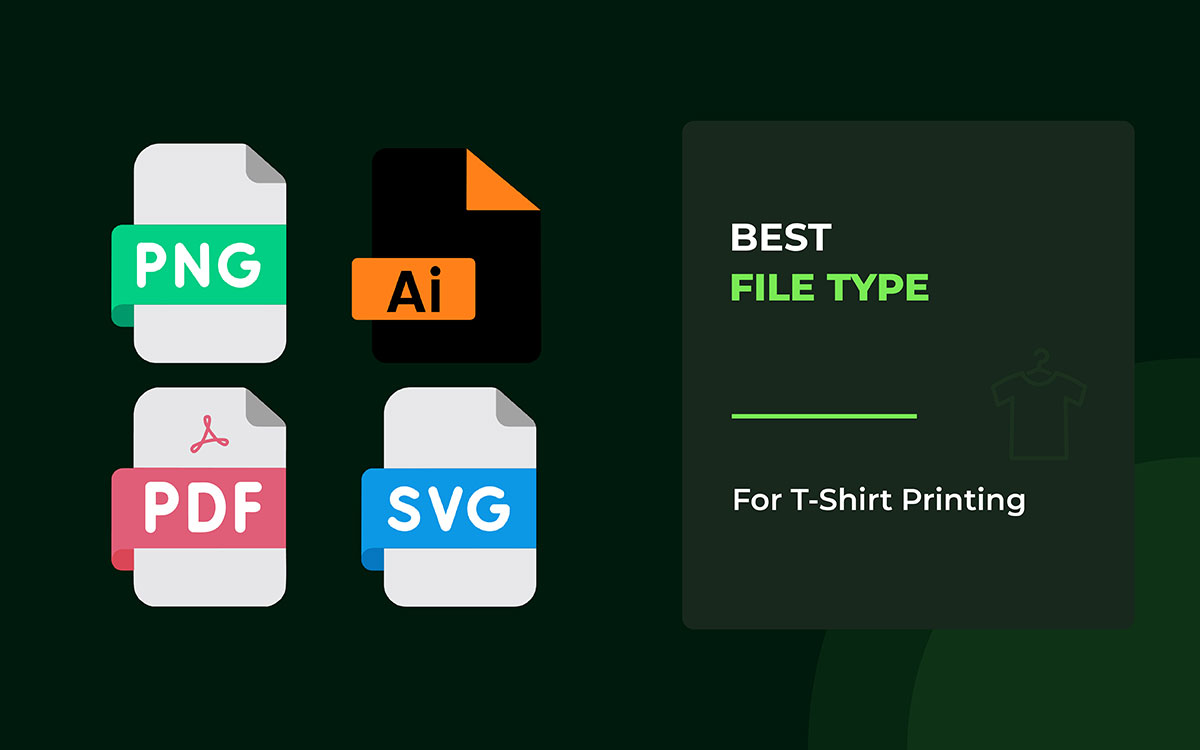
Now, let’s see what file format is best for t-shirt printing.
Type: Vector
AI and EPS are vector file types that professional designers trust. They do not save designs as tiny dots called pixels. Instead, they use math to store shapes, lines, and curves. Because of this, the design stays sharp no matter how big or small you make it.
A small logo on the chest or a large design across the whole shirt will look the same and stay clean. Nothing gets blurry or broken. That is why printers prefer these files. They give complete control over colors, lines, and text, exactly as the designer planned.
These file types give you amazing control over your t-shirt designs. You can make them as big or as small as you want, and they'll still look perfect. Nothing blurs or pixelates when you zoom in. Your text stays crisp and clean. The colors look exactly as you want them.
Plus, you can go back and change any part of your design whenever you need to. That's why pros use these formats when they need top-notch printed materials.
AI and EPS file formats don't work well when your design has lots of photos. Here's why: pictures and textures have to be flattened first before you can use them properly. There's another catch, too.
If you want to edit these files, you'll need professional t-shirt design software. That creates a problem for regular people who aren't designers. It's also tough if you just need to make a fast edit and don't have access to expensive programs.
Use AI or EPS files for very high-quality prints. These formats work best for logos and designs with lots of text. They are also great when colors need to be exact and clean. Professional printers prefer these files because they keep details sharp. They also fit well into advanced printing systems that need high accuracy.
Pro Tip: Printers usually need AI or EPS files for spot colors because vector paths let them separate the inks accurately.
Most printing problems come from small setup mistakes. Live fonts can change without warning. Images with special effects may look fuzzy if they are not handled properly. These issues usually do not happen when the file is checked and prepared properly before it goes to print.
Print Compatibility: Works great for screen printing, DTG, DTF, and sublimation. Vector files stay sharp at any size.
Type: Vector + Raster (Can be viewed without special software)
A PDF works like a safe container for design files. It can combine vector elements (text, logos, shapes) and raster elements (photos, textures) into a single file. That’s why printers trust it.
When a PDF is made correctly, it preserves your layout, fonts, colors, and graphics exactly as you designed them. It shows the printer exactly what you want, as long as you follow the proper rules.
It’s basically a way to ensure your design looks perfect, no matter who opens or prints it.
A PDF isn’t some magical file that just works on its own. It only works well if you handle it carefully.
If you flatten it or ignore its layers, you lose the ability to make changes later. That means less control over your design.
But if you embed your fonts and color settings, you suddenly have control. Your PDF will look the way you want, no matter where it’s opened.
A PDF is a safe and trusted file type. Almost every printer can open it without trouble. The lines stay clear and smooth. Pictures do not move around. Fonts stay inside the file. As a result, there are fewer problems when printing. Your design looks the way you planned.
PDFs are not designed to be easily edited. Once a file is finished or flattened, making changes gets hard. Flexible shapes can turn into fixed images. Useful layers can also vanish. This is good for safe printing, but it makes later updates much tougher.
PDF works best when a design is complete and ready to print. It is a good choice if you do not plan to make any further changes. It handles drawings and photos together without problems. It also works well for files with many pages. This format is often used for final artwork, where getting every detail right matters more than editing later.
Pro Tip: When you finish your design, save it as a PDF/X-1a or PDF/X-4. Printers like these formats because they know exactly what to expect. Your colors, fonts, and any see-through effects will look just like you designed them.
Print Compatibility: Works for screen printing, DTG, DTF, and sublimation. The catch is that vectors must remain vectors, and raster images must be high-resolution. Otherwise, what looks perfect on your screen may fail in the real world.
Type: Vector
SVG is a special file format that works both on websites and in print. It’s light, so it loads fast online. You can make it really big or really small without losing any detail.
Because it’s precise and quick, SVG is great for print-on-demand platforms where you need designs to move fast. But don’t think it solves every problem. For serious, high-end printing, it’s not always the best choice.
SVG is the best file type for t-shirt printing when you want designs that are quick to create and can scale without losing sharpness. Your logo or icon will always look clean, no matter how big or small it is.
But SVG isn’t perfect. It can struggle with things like complex color gradients, advanced effects, or designs with many layers. Printers need complete control over these details, and SVG can’t consistently deliver.
If you ignore these limits, your design might look amazing on a screen but cause significant problems when it’s printed.
SVGs give you clean, simple files that always look sharp. You can make them bigger or smaller without losing quality. The background stays clear, so there is no unwanted color behind the design. The files are also very small, which helps them load fast. This makes uploading easy and smooth, especially for print-on-demand platforms that need quick results and simple designs.
SVG works well for simple graphics, but it is not made for complex printing. Many printers struggle with smooth color fades, detailed textures, and stacked visual effects. Because of this, designers often need to change the file first. They usually convert it to AI or PDF so printing can start without problems.
SVG is best for simple designs that need to be resized quickly. It keeps images clear when they get bigger or smaller. This makes it great for logos, icons, and print-on-demand work. It also works well with DTG and DTF printing. However, it is not a good choice for screen printing when the design is very detailed or complex.
Print Compatibility: Works best for DTG and DTF printing. Limited for screen printing, especially when designs have multiple layers or advanced effects.
Type: Raster
PNGs are made of tiny dots called pixels, not smooth shapes like vectors. That means they can only show what’s already in the image. But they do have some perks. They retain all the details without sacrificing quality, and let you make parts of the image see-through. This is perfect for putting a design on any colored T-shirt without weird white boxes around it.
If your pixels aren’t sharp, the print will look blurry. A PNG can look amazing on your screen, but when it’s printed on a shirt, every flaw can show. Make it too big, and it smudges. Forget about transparency, and you get ugly edges around your design. To keep your design looking great, you have to respect what a PNG can and can’t do.
AI and EPS files give you strong control over your design. They let you work with great accuracy. You can make the design bigger or smaller, and it will still look clean. The text stays clear and easy to read. The colors do not change or fade.
You can also edit every layer and shape at any time. That is why these files are a great choice for sharp, high-quality prints.
AI and EPS files do not work well with designs that have many layers. These formats are better for clean shapes and simple graphics. When using photos or textures, they usually need to be flattened first. This can reduce flexibility when making changes later.
Editing these files is also not very easy. You need professional tools like Adobe Illustrator to work with them properly. For people who are not designers, this can be hard to manage. It can also slow things down when quick edits are needed.
If you want your print to look really sharp and clear, use AI or EPS files. They are perfect for logos, designs with lots of text, or anything where color accuracy is critical.
These file types are made for professional printers. They make sure your work comes out exactly how you want it.
PNGs are a type of image file that needs special attention. Always make your designs at the size they will be printed. Use a high resolution so everything looks sharp.
Keeping your files clean and organized also helps. It makes mistakes when printing much less likely.
Most printing problems stem from small mistakes at the start.
Fonts that are “live” can change on their own, without you realizing it. This can mess up the text's appearance.
Images and effects can become blurry if they aren’t created properly.
The only way to avoid these problems is to carefully prepare the file before sending it to print.
Print Compatibility: Works great for DTG, sublimation, and DTF. Not suitable for screen printing. Screen printing needs vector paths to keep edges sharp and colors separated correctly.
Type: Raster
JPGs are everywhere. They’re small, easy to share, and great for photos. But there’s a catch. JPGs use something called lossy compression. That means every time you save the file, some details get lost.
On a T-shirt, those lost details can show up. Colors might look off, edges can get blurry, and your design can lose its sharpness.
A JPG can look fine on your phone or computer. But when you print it, problems appear. You can’t have transparency and still have tiny details; little glitches in the file can turn your design into a blurry mess.
JPG files are small and easy to share online. You can upload them quickly without much trouble.
Most printers and print-on-demand platforms can use JPGs without problems.
If your design is a photo, JPGs can look really good. Just make sure the image is high-quality and not overly compressed.
JPG images can’t have transparent areas. That means you can’t make parts of them see-through.
Every time you save a JPG, it loses some quality. Edges that were sharp can get blurry, and colors might not look exactly right.
Because of this, JPG isn’t the best choice for designs with a lot of detail or complex graphics.
JPG is good for pictures, especially when you don’t have a vector file. It works well if the image stays the same size and the quality is high. It’s not ideal for images that require clear edges or see-through areas.
When you save a JPG, you have to be careful with the settings. Always pick high resolution and keep compression low. Make sure the colors are right before you print. Even a minor mistake during export can make a picture look bad in print.
Print Compatibility: Works best for DTG and sublimation. Screen printing is discouraged because JPGs cannot provide sharp edges or separations.
Type: Raster
PSD and TIFF files are the best file types for t-shirt printing because they keep all your work safe. Everything stays just the way you built it—layers, masks, effects, and even transparency. That means you can change shadows, fix colors, or correct mistakes without ruining your design.
But with great power comes responsibility. These files are big, and they need high resolution to look good. If you’re careless, they can cause problems.
PSD and TIFF let you create highly detailed, photo-like designs or complex layouts. But printers can’t fix mistakes for you. If the resolution is too low or the layers aren’t set up right, your T-shirt will show it. These file types give you control, but only if you handle them properly.
PSD and TIFF files retain every detail of an image. Nothing gets lost or squished. You can still work with the layers and change them later. The colors stay true and look exactly like they should.
This is why these files are great for DTG and sublimation printing. In these types of printing, you need the picture to look perfect. Smooth colors and high quality really matter.
PSD and TIFF files are big and take up a lot of space. Because of this, uploading them can take a long time.
If you try to make them bigger than their original size, the quality drops, and they can look blurry or messy.
Some printers need the files to be flattened. This means all the layers are combined into a single layer. Once this happens, it’s harder to make changes at the last minute.
If your design is complex or includes many photos, use PSD or TIFF files. These formats keep all the details safe. They are perfect when you need things to look exact.
These files work well for DTG and sublimation printing. They are especially good if your design has many images, shadows, or tiny color details.
PSD and TIFF files need to be set up carefully. Always make your design at the size it will be printed. Use a high resolution so it looks sharp.
Keep your layers organized and easy to manage. Make sure the colors are set correctly.
Even small mistakes at this stage can cause problems when printing. And once it’s printed, fixing those problems is really hard.
Print Compatibility: This design works really well with DTG (direct-to-garment) and sublimation printing. It’s okay to use with DTF (direct-to-film) printing too. But screen printing is tricky. You’ll need to simplify it or convert it to a vector first.
The file you give to the printer decides if your idea will look great or get ruined on the shirt. Different printing methods, like screen printing, DTG, sublimation, or DTF, render colors, layers, and details differently. That means the “perfect file” for one method might be all wrong for another.
If you give the printer the wrong file type, your sharp lines can get blurry, your colors might change, and all your hard work could end up looking messy.
Knowing the right file for each print method ensures your design prints as intended.
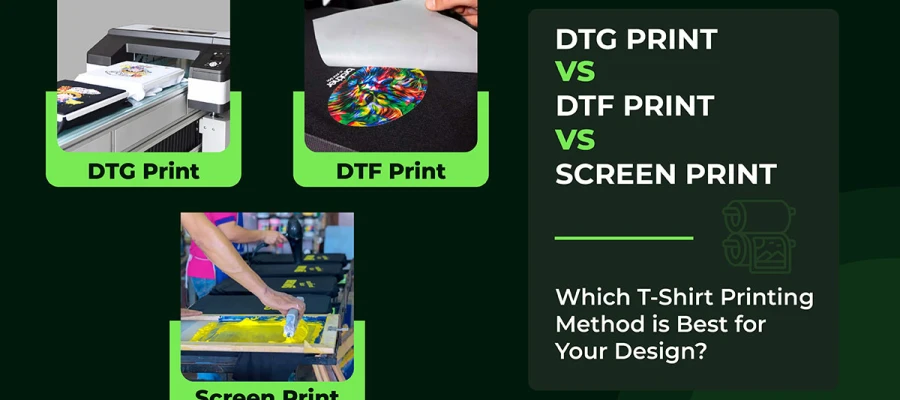
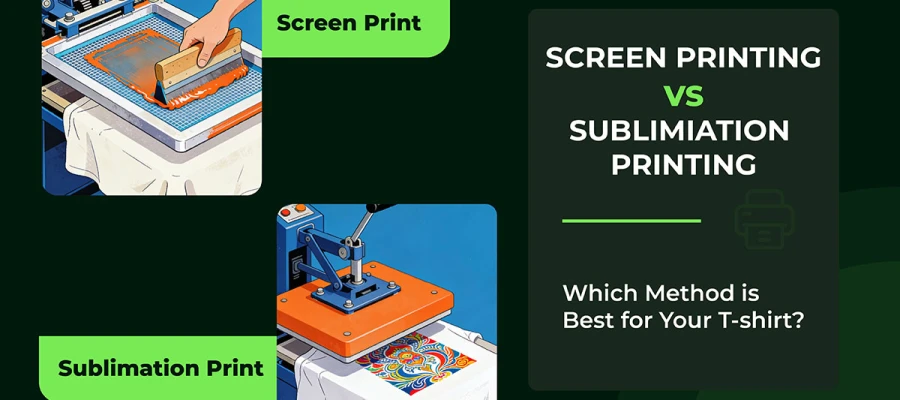
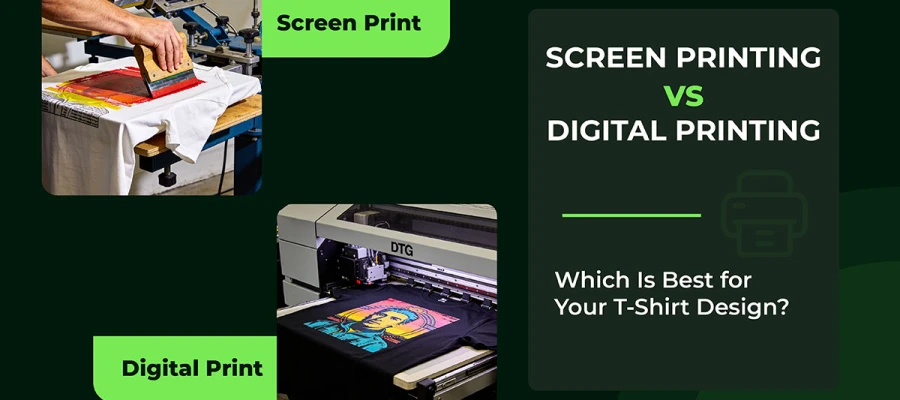
Screen printing is a printing method where every color matters. One color means one stencil. If there are five colors, there are five stencils. Each one has to line up perfectly for the design to look right.
Because of this, mistakes show up fast. A low-quality image looks fuzzy on cloth. A gradient that is not set correctly falls apart. Colors that are not controlled can shift, ruining the final print. On fabric, there is no place to hide errors.
These file formats work best for screen printing. They support clean color separation. They keep edges sharp and ink placement accurate.
Screen printing works by splitting an image into separate color layers. Each color is printed on its own. Vector files make this easy. They let printers pull apart every shape and line without losing quality.
Lines stay sharp, and edges remain clean. No matter the size, the design looks precise and controlled. It helps printers get the same result every time.
Raster files like PNGs or TIFFs can still be used, but they need extra attention. Photos and detailed images can print well if the file is set up correctly.
The size must be correct, the colors must be separated carefully, and the resolution must be high enough. If any of this goes wrong, the print can fail. That means wasted time, wasted ink, and extra cost.
Before using raster files, keep these key points in mind. They will help ensure your print turns out clean and accurate.
DTG is a printing method in which a machine sprays ink directly onto the fabric. It works a lot like the inkjet printer you use at home. The difference is that it prints on T-shirts rather than on paper. The ink soaks into the fabric and becomes part of the shirt.
This method is excellent for colorful designs. It can print photos, smooth color fades, and detailed artwork with ease. These are things other printing methods often struggle with. That’s why DTG is popular for complex designs.
But DTG also clearly shows mistakes. A design may look perfect on a screen. Once printed, minor problems can appear. Low image quality or poor transparency settings can ruin the final print. DTG doesn’t hide flaws; it exposes them.
Use the right file format for the best DTG printing results. These formats preserve details, colors, and transparency so your design prints accurately every time.
DTG printing reads tiny dots called pixels. Raster images are made of these dots. When the image is high-quality, those dots remain clear. It shows small details, smooth color changes, and a photo-like look.
Transparency is also essential. Without it, your design may print with a box or background you did not want.
Some designs need extra sharp edges. Logos, letters, and simple shapes are good examples. Vector files handle these really well. They stay clean no matter the size. You can place vectors inside a PDF.
You can also turn them into high-quality raster files. It keeps the edges smooth and neat when printed.
Pro Tip: Always save your file at the real print size. Use PNG or TIFF for best results. Set the resolution to 300 dpi or more. Before exporting, change colors to CMYK. This helps the print match what you see on your screen and look right on the fabric.
DTF is a method for printing designs on clothing. First, the design is printed on a special transparent film. Then the design is pressed onto fabric with heat and glue. The process helps the print stick well and last longer.
DTF is a more flexible version of DTG. It works with many types of fabric, not just a few. But there’s still a catch. The quality of your design file matters a lot. A clean file gives sharp results. A poor file can make the print look rough or unclear.
Choose the right file format to get crisp, clean results with DTF printing. These formats preserve sharp edges, colors, and transparency, ensuring your designs transfer perfectly onto fabric.
Raster images are the best file type for t-shirt printing, especially for photos, gradients, and designs with lots of detail. They show all the colors and shades nicely. Vector images are different. They keep lines sharp, text clear, and small details crisp. For DTF printing, you usually need both types. Which one you use depends on your design.
Special Considerations: DTF printing is more forgiving than screen printing or DTG. You can make designs slightly bigger or smaller without losing quality. But if your raster image is low-resolution, it will still look blurry or pixelated.
Note: Always check if your design has transparency. Also, convert your colors to CMYK or the printer’s profile. This helps avoid any surprises when the design is printed.
Sublimation is a special printing method. Instead of just sitting on top of the fabric like regular ink, the ink turns into gas. Then, it sinks right into the polyester fibers. This makes it amazing for bright, colorful pictures.
There’s a tricky part, though. The printer only works with RGB files. That means the colors you see on your screen are precisely what will appear on the fabric. So, what you see really matters.
Use the right file format to achieve vibrant, accurate sublimation prints. These formats preserve colors, transparency, and fine details, ensuring your artwork transfers perfectly onto polyester fabrics.
Sublimation printing handles colors digitally in RGB, so traditional vector files aren’t usually needed. Knowing these differences helps you prepare your artwork correctly and avoid surprises on polyester fabrics.
Sublimation does not use spot colors. All colors are processed digitally in RGB.
Vector files (AI/EPS) are mostly useless unless you convert them to raster at the final print size.
Pro Tip: Sublimation works best on light-colored polyester fabrics. You don’t need to convert to CMYK, but check your color profiles to avoid surprises.
Preparing a print-ready file isn’t just about clicking “Save.” What looks good on your computer might not print the same way on paper, fabric, or any other material. If you skip steps or guess your settings, it can waste time and money and give you a lot of headaches.
To get it right, you need to focus on a few key things:
Step 1: First, pick the correct file type. Different printers and printing methods need different file formats. Choosing the wrong one can make your design look bad or prevent it from printing.
Step 2: Next, convert your text to outlines. This means turning your words into shapes. It stops the fonts from breaking if the printer doesn’t have them.
Step 3: Then, check your color mode. Computers use RGB, but printers often use CMYK. Using the proper mode helps your colors look the way you expect.
Step 4: Also, make sure your images have a high enough resolution. Low-resolution images can come out blurry or pixelated. Sharp photos always look better.
Step 5: Finally, export your file with the proper settings. This ensures it’s ready for production and the printer can use it without problems.
The questions below are the ones people ask right before something goes to print. Not theoretical questions. Real ones. The kind that decides whether a shirt looks professional or ends up in the reject pile.
Yes, if the file is at the final print size and 300 dpi. PNG is better for sharp edges and transparency; JPG works for photos but may lose detail. Scaling small images reduces quality.
Colors shift because screens use RGB and printers use CMYK. Ink, shirt color, and print method alter the final result, so exact matches aren’t guaranteed.
Only if the shirt color is part of the design, like logos or layered graphics, full-background designs don’t need transparency; the artwork replaces the shirt.
Now, one thing is clear: picking the best file type for t-shirt printing really matters. It’s not just a tiny detail. It can make the difference between a design that comes out perfect and one that falls apart.
Even the coolest design can fail if the file is incorrect. Prints can crack. Colors can look off. Small details can disappear. That’s why vector files and high-resolution files are a must. They protect your design before the ink even touches the shirt.
T-shirt printing isn’t the same as looking at your design on a screen. On fabric, things behave differently. The shirt stretches. The fabric soaks up ink. And the design has to withstand many washes without fading or breaking.
Ready to create print-ready t-shirt designs with confidence? Start using the recommended file formats, double-check your resolution and color settings, and work smarter with your printer or POD platform. For more expert guides, design tips, and professional resources, explore our latest articles and level up your t-shirt printing game today.
We handle everything, from picking the correct file type to converting colors so your shirts look precisely how you want. Whether it’s shirts for your crew, merchandise for your brand, or bulk orders, we deliver print-ready files in AI, EPS, PDF, or high-res PNG; your printer needs.
Get your print-ready t-shirt design today!