Updated Oct 21,2024
Enterprise

Product Photography Price Per Image: Balance Between Price vs Quality [Tips, Tricks]

product photography price per image

Whether you’re starting an e-commerce business or want to sell more products, having a high-quality product photo is really important. Customers often decide whether they’ll buy the product or not based on its photo.

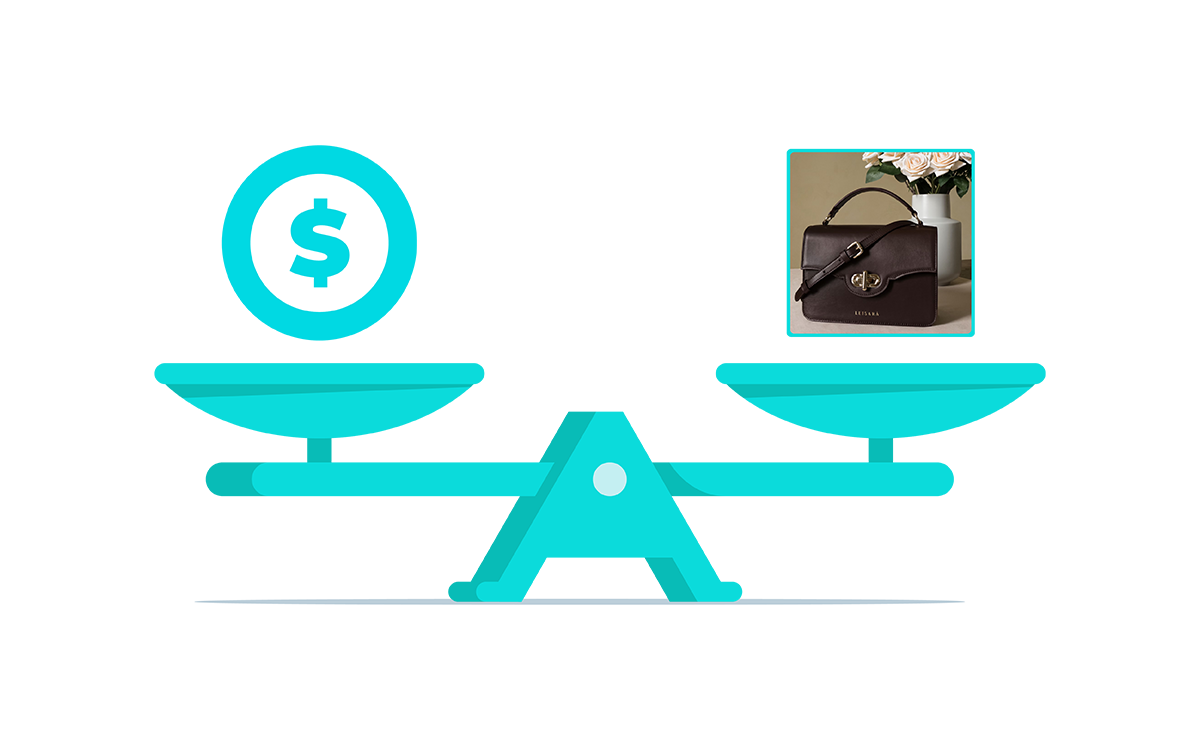
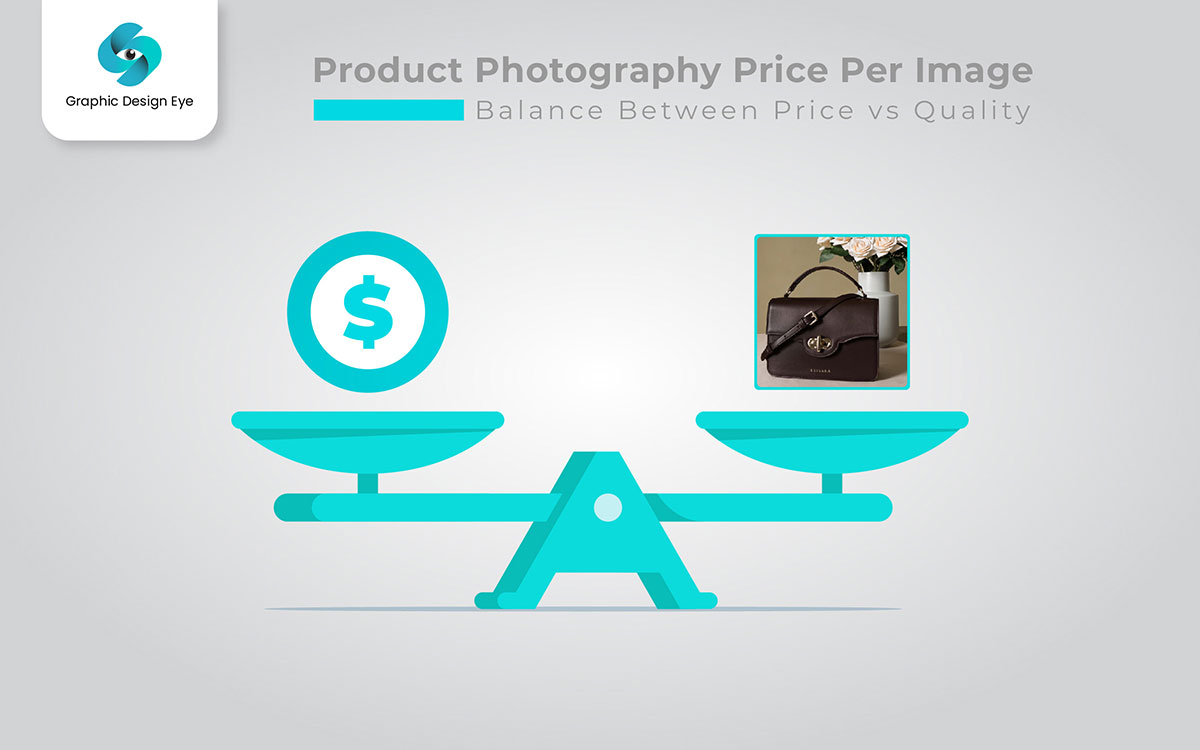
But, with a greater quality of photos, the product photography price per image also increases. and many business owners find themselves confused with questions like-

  • How much does professional product photography price per image?
  •  Is there any way to reduce costs without sacrificing quality?
  • What are some tips for high-quality product photography?
  • How does post-production affect the overall cost of product photography?

The real answer is - there is no one fit for all solutions. When you understand the tools that influence the prices of product photography ghosts per image, you will be able to keep a balance between product photography prices and product photo quality.

By understanding these key aspects, businesses can make informed decisions to optimize their product photography investments and achieve a competitive edge in the market. So, read on.

Comparative Analysis of Cost vs Quality in Product Photography

product photography price

A high-quality product photo helps attract more customers and boost more sales, but it’s hard to find the right balance between price and quality in product photography. The high quality product photography price per image comes with a higher price tag, which leaves many business owners unsure between spending more on high quality product photos or looking for a more affordable and lower quality photo.

A quality photo can improve your brand presence, but that requires a skilled photographer with advanced equipment, proper lighting, and product photo editing, and all of that sums up the overall prices. On the other hand, a budget friendly option can save you upfront prices, but they might lack precision, quality, and impact on the images they provide you with.

For business, it’s important to understand their product needs and decide where to invest in product photography. Investing in the right areas can influence your product's overall appearance, look, and feel. Higher resolution images improve customer opinions, product presentation, and drive long term returns, while with a tight budget, you can still find ways to compromise strategically.

Understanding Product Photography Prices

Product photography prices can vary depending on several factors, like the photographer's experience, the complexity of the shoot needs. Knowing the root of the driving prices will help you make an informed and budget-friendly decision.

Key Price Drivers in Product Photography

Photographer Experience and Expertise: Photographers who are more experienced typically charge higher product photography price per Image for their experience, skill, and ability to capture higher-quality photos. While a less experienced photographer might charge less, they can still deliver good images with a lower price.

Equipment and Technology: Higher quality cameras, lenses, and lighting equipment can highly impact the output image, with higher equipment, the price also increases. But if your product shots don't require the latest technology, you can opt for mid-range gear that can save you money without compromising on quality.

Studio Space and Location: Renting a professional studio can drive up the price considerably. Especially in prime locations, where studio rentals can be expensive. However, some photographers offer discounted packages for shooting photos in their studios or even on location that may lower the prices.

Number of Images Required: the more images you will need, the higher the price it will be. Some photographers charge per image, while others charge for projects. For larger projects, you might get a bulk discount or negotiate a package deal. If you only need a few high-quality images, that can also help you stay within budget.

Typical Price Ranges for Product Photography

product photography price

Here is a list of photographer levels and how much they can typically charge per hour and on a photo basis:

Level of PhotographersPrice Per HourPrice Per Image
Beginners$2 to $40$10 and $25
Amateur$25 and $80$25 to $40
Semi-pro$75 and $150$50 to $150
Professionals$100 and $500$75 to $350

Hidden Prices to Consider

It’s important to factor in the additional expenses beyond the base rate when you are budgeting for product photography.

Post-production and Editing Fees: Photo editing and retouching can turn a raw image into a professional photo that is ready to use for e-commerce websites. Post-production can require tasks like color correction, sharpening details, or removing imperfections. The fees often depend on the amount of work it requires and certain factors like the type of product, the background, or the level of perfection you are looking for.

Rush Orders or Special Requests: Photographers usually give a standard timeline between a few days and weeks, depending on their workloads. If you need an image delivered faster than their standard timeline, you can expect a higher product photography price per image for that.

Special requests can vary from custom backgrounds, specific props, to unusual lighting setups. Photographers may need to prepare additional equipment or extra preparation, and these special arrangements can increase the overall price of the project.

Balancing Price and Quality for Product Photography

Balancing price and quality is crucial for businesses that want to maximize returns without spending too much on product photography. Here’s a breakdown on how to achieve that balance that will help you:

Cheap Photography vs. High-Quality Imagery

Choosing low-price product photography means sacrificing quality. Low-price photographers are usually not very experienced, use basic and outdated equipment, and lead to a lower rate of sales and higher product returns. They can even lead to poor customer impressions.
Data shows that when you use quality photos, your conversation rate can increase up to 30% on e-commerce websites. Poor photography can lead to lower sales or potential product returns due to inaccurate product representation. For business, it’s a choice between short-term savings and long-term success.

What You Sacrifice at Lower Price Points:

  1. Image Quality: Low-price photographers use basic equipment, and limited light setups that can lead to a poor image shape or inaccurate color representations of the products.
  2. Editing and Retouching: Cheap product photography does not include post-production services like ghost mannequin removal, color correction, background removal, retouching, or drop shadow. So, the final photo looks dull and unpolished.
  3. Consistency: A good photographer will provide you with quality product photos with consistency over visual style. Which is really important to maintain a professional brand image. But with a budget option, you might end up with a photo without proper lighting, angle, or focus.

How to Evaluate Product Photography Quality

You can look for these key aspects to find out if a photo is of high quality or not:

  1. Sharpness and Detail: A high-quality image clearly captures the fine details of the product, especially textures and finishes. On the other hand, blurry or grainy images are a red flag for photo quality.
  2. Lighting: Proper lighting can highlight the product’s features without causing any harsh shadows or washed-out areas. Images with proper lighting look professional and show the product in its best form.
  3. Color Accuracy: A product's image should match the real image color as closely as possible, or it can result in customer complaints, returns, or the product.
  4. Background and Composition: A clear, distraction-free background helps the customers to focus more on the product image. Where an image with a distracting background or poor composition can lead to unnecessary distractions.

Key Elements of High-Quality Product Photography:

  1. Lighting Mastery: A popper lightning can make the product appear visually appealing and stand out from the crowd. Whether it's natural light or artificial light, High-quality photographers are masters at using light to create contrast, emphasize textures, or avoid unwanted shadows.
  2. Attention to Detail: The main difference between low-quality and high-quality photography is attention to detail. A professional photographer will capture the smallest product detail with precision, which will help the customers clearly see the stitching or fabric texture of the product, where low-quality photography misses these important elements.
  3. Post-production Refinement: High-quality photographers invest time to edit product photos and remove imperfections, adjust lighting, and ensure color consistency from all images.

Signs of Poor Product Photography:

  1. Blurry or Out of Focus Shots: If your product images look blurry or focused on the wrong angle, that suggests a lack of skill to use the camera and lighting equipment properly, therefore resulting in a poor product image.
  2. Inconsistent Lighting: If some of your product images appear to be too dark where others are overexposed, it’s a sign that the photographer lacks control over their lighting setup.
  3. Poor Angles: A bad product image angle can make the product look unattractive. High quality photographers know how to capture the most flattering and engaging angles of your product.
  4. Lack of Depth: Low-budget photography often results in a flat image that does not show the dimensions of depth of your product. And that can lead to a less engaging product for your customers.

The ROI of Professional Product Photography

A study by MDG Advertising found that 67% of consumers consider image quality as a “very important” factor when deciding on making a purchase online. So, investing in product photography can significantly increase your returns in sales, customer trust, and long-term brand reputation. With a better-quality image, customers are more likely to buy from your store.

How Quality Photography Impacts Sales and Customer Perception

  1. Increased Sales: When you have a high resolution, clear, and accurate product image, customers are able to visualize them better, and that helps them reduce hesitation during the purchase process.
  2. Reduced Returns: Accurate representation of products gives an honest view of what the customer will receive. So, it reduces the likelihood of customers being dissatisfied with the product. That helps you reduce the return rate, which reduces product return prices and customer complaints.
  3. Brand Trust: High-quality product photos are seen as more trustworthy and reliable. They help you build credibility. For example, the brands with high-quality product photos are seen as more trustworthy and reliable, which increases customer loyalty over time.

Long-term Benefits of Investing in Professional Imagery

If you think long term, investing in professional product photography not only helps you in immediate sales. According to one study, high-quality visuals can boost customer engagement by up to 94%. A high quality photo can be used in multiple channels, from social media to marketing campaigns or e-commerce platforms. That helps you build a consistent and professional look for your business overall.

Tips for Reducing Product Photography Price Per Image

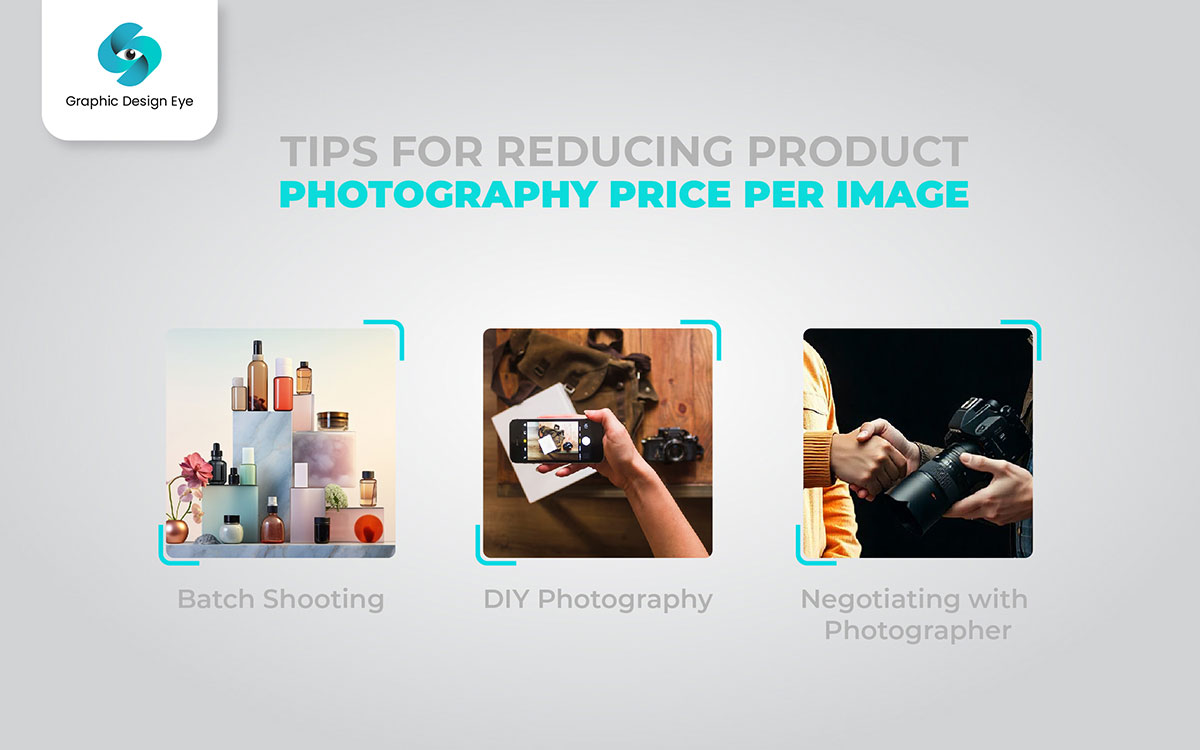
To reduce the price of product photographs, you should first decide why you want to shoot the product photo and where it would be used, for example, in social media, email newsletters, or printed advertisements. The return on investment in product photography can increase drastically when you use the product photographs in multiple platforms and marketing campaigns. Also, when you organize the products by their size, weight, and category and ask the photographer to shoot in bulk, that can save a lot of price and time.

Batch Shooting Multiple Products

Batch shooting is an effective way to shoot multiple products while saving both time and money because it minimizes the need for setup changes between sessions. When a photographer shoots multiple products at the same time, no repeated session is needed. That makes batch shooting easier. As for the batch shooting products, you can decide and arrange them in advance, and the best backgrounds for batch shooting are simple yet beautiful ones. Here’s how you can plan and shoot batch shooting step by step:

  1. Planning and Setup: First you need to arrange the products by their type, color, and size. This will help you to speed up the multiple-shooting process. Also, make sure to create a short list of all the necessary angles and close-ups you’ll need.
  2. Prepare the Area: Lighting should be proper, like a softbox or natural light. To be more specific, the white or gray color of the background will look much cleaner and more professional. Also ensure that all images are framed in the same way in order to make them look more uniform.
  3. Optimize Camera Settings: For sharp, clear images, set ISO, exposure, and aperture settings to manual. You can also set the focus to autofocus or manual focus to ensure that the subject of each picture is well focused.
  4. Shoot in Batches & Post-Production: When photographing products, photograph them in sets and try to get a shot of each product from every angle. Watch them on a large screen so that you can assess the quality and make corrections where necessary, like brightness, cropping, or composition. Lastly, make sure to properly name all files so as to make the process of searching for a particular file easier.

DIY Product Photography: Is It Worth It?

Quality full product photography is really crucial if you want to stand out from the competition of the e-commerce world, but high-quality photography does not come cheap, it can be really expensive, especially for small businesses. But if you can’t afford to pay for professional photographers, then DIY product photography could be a great option for you. DIY product photography is a creative way of taking quality pictures on a limited budget. You can try different techniques and ideas to create images that can represent your brand’s style with appropriate lighting, framing, and focus. DIY photography is a strong price-saving tool for small businesses.

Negotiating with Photographers for Better Rates

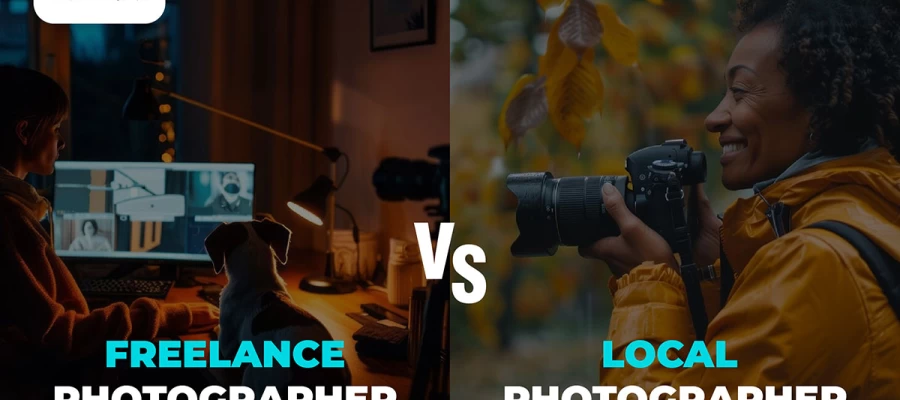
For any business owner, it is very crucial to select the right photographer for their product photography. Negotiation also plays an important role in ensuring the best value for your money without compromising the quality of work. This is because the rates that photographers charge their clients depend on the quality of their work and the level of business they receive. If you reveal your price first, the negotiation will be based on that; however, it's recommended to search for the photographer’s fees before sharing your own budget.

For example, if your budget is $700 and the photographer quotes $1,200, negotiations can begin. Price is just one aspect; it is essential to talk about the number of photos, whether photo editing services are included, file formats (JPG, PNG, TIFF, PSD), and delivery time. Open communication and mutual understanding of expectations will help build a successful collaboration.

If you are not satisfied by the quality of their work, it's alright to just leave and find another person who goes with your style and needs. You might find a local photographer who works within your budget with your budget and brand goals.

Why Should You Hire a Professional Photographer?

Did you know that 78% of online shoppers expect a clear and detailed product image before deciding to buy the actual product? However, many stores fail to meet this demand. 

To get a clear, detailed photo of your product, you need a professional product photographer, one that has the skills, reliability, and services to handle various aspects of your work. 

But hiring a professional photographer can be a daunting task, you have to go through their portfolio and understand their style and experience. For that, you might like to check out our list of 11 questions you should ask a prospective photographer before hiring them to make sure you’re hiring the right photographer for your task.

The Role of Post-production in Product Photography Prices

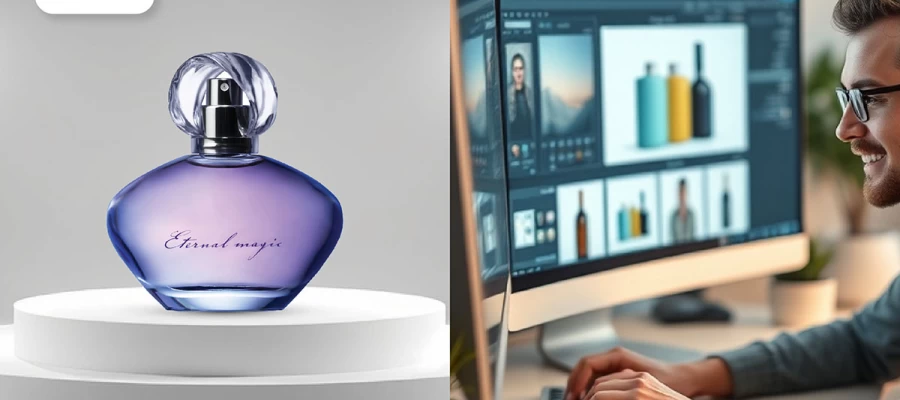
Post-production in product photography can involve tasks like image retouching, adjusting color, cropping images, removing unwanted objects, or adding special effects or filters. While this process is a bit time consuming, it’s really crucial for creating visually stunning images.

Understanding the Editing Process

Product photography editing includes several steps to make the photo appear more attractive:

  1. Basic Adjustments: This includes adjusting exposure, color balance, brightness, and contrast to make sure the product looks visually appealing.
  2. Cropping and Leveling: Proper cropping and leveling can determine how precisely we can focus the image. It gives a clean and professional look.
  3. Background Removal or Cleaning: For a professional look, clean up or photo background removal. This will help to keep the product as the main focus and a flawless look.
  4. Adjusting Brightness: This task requires that product colors appear as intended with the right balance of brightness and depth. Correct brightness helps make an image look more vibrant and alive.
  5. Retouching and Detailing: Make the photo appear perfect by removing imperfections like scratches, dust, blemishes, or scrapes to create a stunning image.
  6. Dodging and Burning: Burning or dodging techniques allow one to correct exposure in a particular area of the image. Dodging darkens the exposure of the lightened areas, while burning lightens the darkness of the areas that are overexposed, enabling you to achieve the right contrast.

Other tasks include color correction, making images clear, and adjusting the values of shadows and highlights.

DIY Post-Production: Free and Paid Tools to Use

Adobe Photoshop is a powerful tool for enhancing the quality of your photo. If you are on a budget, you can use the free Photoshop version that includes basic photo editing tools and limited generative AI assets. If you are looking for more advanced features, go for the Adobe premium plans that include 200 million of premium templates, assets, and design elements that will save time and help you produce professional-level product photographs.

EndNote

Finally, The right balance between product photography price per image and the quality of each photo can. When you understand the major price influences in product photography like the experience of the photographer, photography equipment, and post-production work, It will be easier to take a balanced decision based on product photography quality and prices.

For business owners on a tight budget, getting high-quality photos does not have to be expensive. For simple products, consider hiring a photographer, using DIY photography, or shooting all products at once to avoid additional prices. By managing these factors strategically, you can get good-quality product photos at a reasonable price.

Leave a Comment

Your email address will not be published. Required fields are marked*