By reading our complete guide, you will be able to locate the best photography lighting kits for studios. We will cover everything, beginning with the most affordable options and working our way up to the most expensive photography lighting kits for studio! Read about it.

These top photography lighting kits provide stronger lighting, greater control, and higher build quality with professional knowledge or who are seeking to upgrade this is one of the best option to look on.
If you’re just starting with DIY photography, you don’t need the most expensive equipment. Here are some excellent best photography lighting kits for DIY or commercial photography that you can start with.
The Neewer 2-Pack Dimmable LED Softbox Lighting Kit is a popular option for photographer who are setting up for a basic DIY studio setup. It offers a convenient and affordable way to create professional-looking lighting setups. This product costs around $117.94.
Features and Benefits: This lighting kit includes two dimmable LED lights and softboxes, giving you control over the brightness and softness of the light. The LEDs are energy-efficient and remain cool to the touch, making them safe for long sessions. The included softboxes help diffuse the light, reducing harsh shadows and creating a soft, natural effect.
Best For: Neewer’s lighting kit is simple to set up and adjust, making it ideal for beginner photographers. The dimmable feature allows beginners to experiment with different lighting intensities, helping them understand how light affects their photos.
LimoStudio offers a variety of softbox lighting kits that are designed for photography. These kits typically include softboxes, light stands, light bulbs, and other accessories which is a perfect for setting up for a DIY studio. This product costs around $79.90.
Features and Benefits: LimoStudio offers an affordable entry into professional lighting without sacrificing quality. Its compact design makes it perfect for smaller DIY studios where space is limited.
Best For: This kit is particularly well-suited for portrait photography, providing soft and even lighting that enhances skin tones and reduces shadows on subjects. It’s easy to adjust, making it ideal for capturing well-lit portraits at home.
The Fovitec StudioPRO softbox lighting kit is a popular choice for photographers looking for a flexible and affordable lighting solution for any setup. It offers excellent value for money and comes with a range of features that make it suitable for a setup. This product costs around $130.64.
Features and Benefits: Fovitec’s kit includes three softbox lights and multiple brightness settings, making it one of the most versatile setups for DIY studios. Whether you need soft lighting for a portrait or more focused light for a product, this kit can adapt to various shooting needs.
Best For: The balanced, consistent light provided by the Fovitec kit is perfect for ecommerce product photography, ensuring accurate color representation and sharp details.
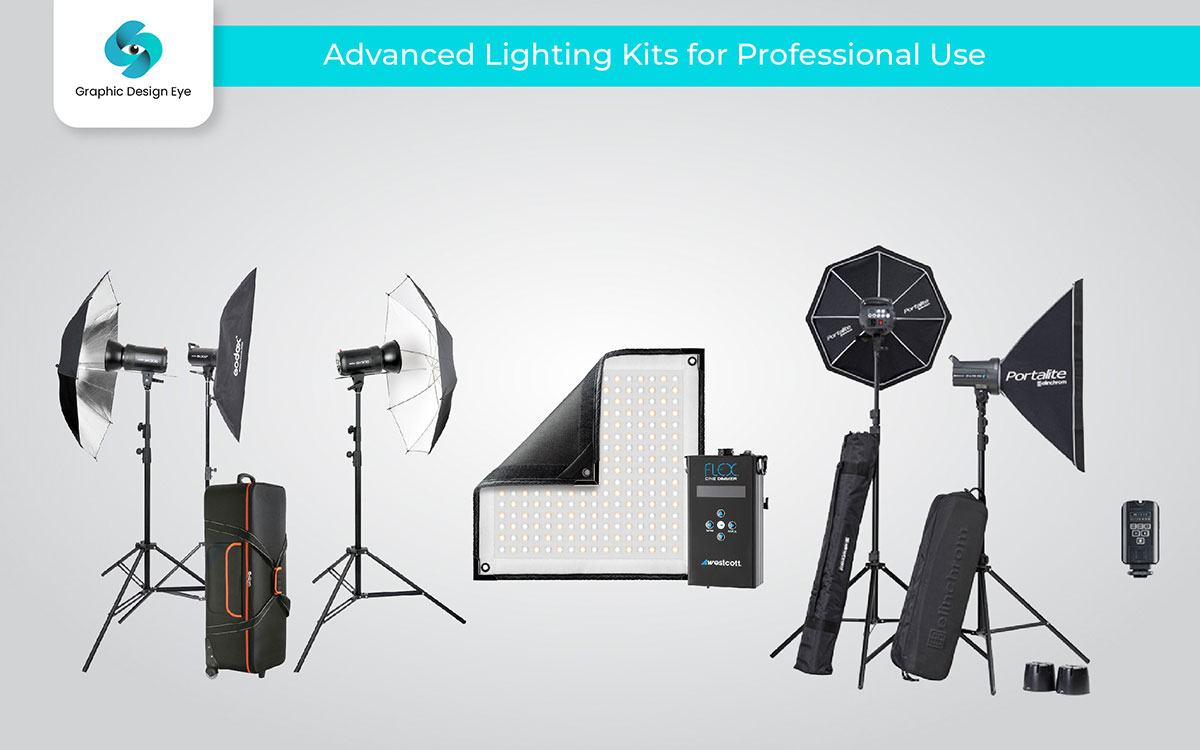
The Godox SK300II Studio Strobe Lighting Kit is a multipurpose and affordable option for photographers looking to enhance their DIY studio lighting kits. It comes with a powerful 300Ws flash output, a 5600K color temperature, and a fast recycling time. This product costs around $130.64.
Features and Benefits: This kit is designed for professional photographers who need strict control over lighting kits. The features it offers:
Best For: The warm, flattering light from this lighting kit makes it perfect for fashion and portrait photography done in a DIY studio.
Elinchrom is a known lighting brand for its high-quality DIY studio lighting systems. The Elinchrom D-Lite RX 4/4 Softbox To Go Kit is one of its best creations. This is a great choice for photographers looking for an easy-to-setup and fast-to-move lighting kit. The kit typically retails for around $700.
Features and Benefits: Elinchrom offers softboxes included for soft, even lighting ideal for product photography, a powerful strobe output of 400Ws per strobe for larger setups, and a Skyport wireless system for remote control and synchronization of the lighting system from a distance.
Best For: Photographers working in a DIY studio for commercial projects such as product photography or corporate headshots will benefit from the powerful and consistent lighting this kit provides.
The Westcott Flex Cine Bi-Color LED Mat is a multipurpose and portable lighting kit designed for filmmakers and photographers. It is thin and lightweight, making it easy to set up in a DIY studio. This product will cost around $939.
Features and Benefits: The remarkable LED mat, known as the Westcott Flex Cine Bi-Color, is unique because of certain features that other strobe mats do not have. These mats can be bent or could be mounted at any angle making a very creative lighting arrangement within one’s DIY studio. It also provides for tungsten and daylight balance in inner lights which boosts added versatility among various lighting conditions used in shots.
Best For: This kit shines in creative video projects and narrative photography that require dynamic lighting, offering more than just traditional static lighting solutions.

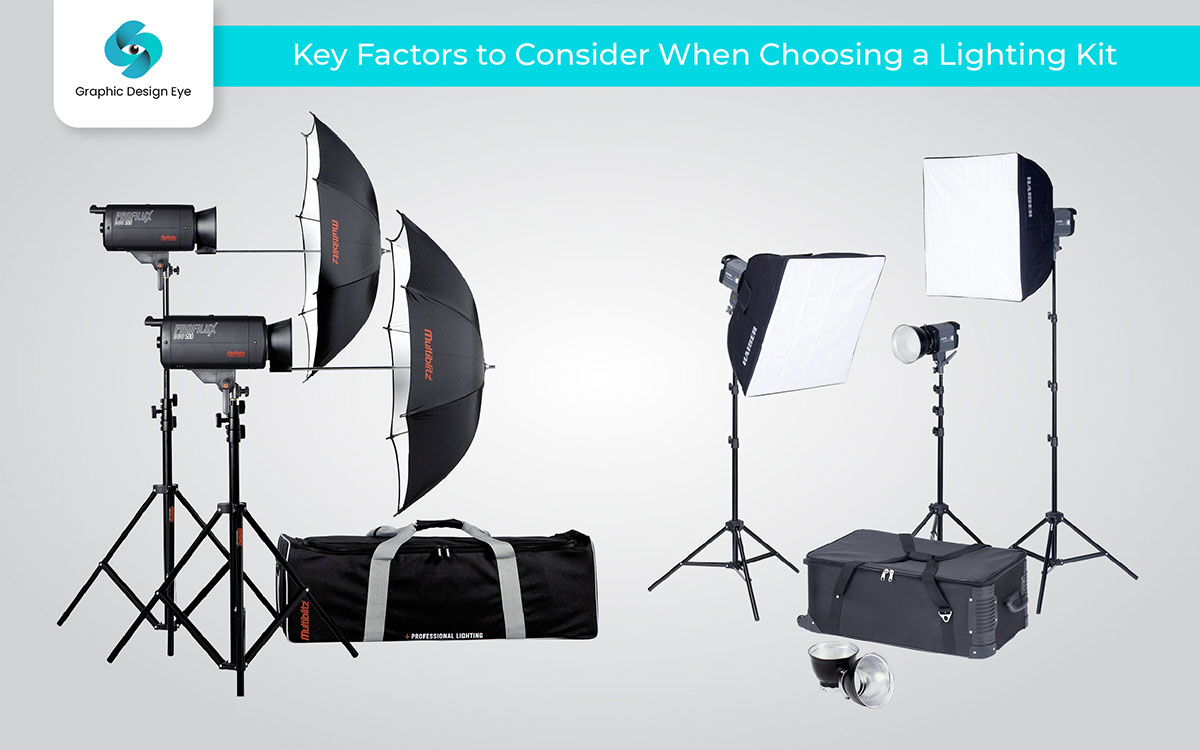
While choosing the best lighting kit for a DIY studio, it is essential to take note of key factors that will be required to judge which one to buy. By taking note of these below factors, you will be able to figure out which option is the most suitable for your studio.
Budget is the first call that will come to your mind while getting the best photography light kits for a DIY studio. So here are some points to focus on-
How much of a lighting kit will cost you can depend on your budget and needs. Beginner lighting kits with excellent performance can be purchased for only $50 and goes up to $200. The other premium choices might cost $1,000 or more and come with improved quality, longer lifespan, and extra features like advanced lighting settings and modifiers. To get a proper idea here is a chart to look on-
| Budget Range | Key Features | Who It's For |
|---|---|---|
| Affordable ($50 - $200) | Basic lighting setups, limited accessories, usually with fluorescent or LED bulbs | Beginners, hobbyists, small spaces |
| Mid-range ($200 - $500) | More advanced setups, better light modifiers, portable and adjustable options | Intermediate photographers, DIY studio users |
| Premium ($500+) | High-quality strobes, advanced modifiers, customizable lighting setups | Professionals, large studio setups |
Investing a lot of money is not necessary if you are just getting started to set up a DIY studio. A reasonable lighting kit that includes stands, softboxes, and bulbs should be able to be purchased with a budget of between $100 and $300. This budget should be more than sufficient. On the other hand, if you are interested in making an investment for the long term and want the best possible outcomes, it is worthwhile to spend money on a premium photography lighting kit.
There is a direct connection between the size of your DIY studio and the photography lighting kit that you choose for your DIY studio setup. Look for compact lighting kits that are able to fit into tight places without overwhelming the area if you have a room that is on the smaller side.
For larger rooms, more powerful lights and larger softboxes may be required. If you have a small DIY studio, look for kits that come with LED panel lights or smaller softboxes that don't take up a lot of space. Compact lighting kits with foldable supports are easy to store and won't take up too much space in your workspace. Here is a chart to help you get a better picture:
| Studio Size | Recommended Lighting Kit |
|---|---|
| Small (10x10 feet) | Compact kits with smaller softboxes or LED panels |
| Medium (10x15 feet) | Softbox kits with adjustable stands, multiple light sources |
| Large (15x20 feet) | Professional strobe kits with larger softboxes or umbrellas |
It is important to invest in the best lighting kit that complements your photography needs while organizing a DIY studio. If you want your photos to look professional, you need to use the right lighting for your unique genre of photography. To assist you choose the best lighting kit for your DIY studio, we've prepared a list of common photography categories along with their lighting requirements:
Avoiding harsh shadows is essential for portrait photography. Softboxes or umbrella lights help diffuse the light, creating a flattering look on the subject’s face. Usually, a two-light setup works well one key light to illuminate the subject and a fill light to soften shadows. Also, look for adjustable lighting kits with dimmable lights, which allow you to control brightness and avoid overexposure.
LED panels are an essential lighting option for rendering the colors and details for product photography. When working with reflective materials like glass or metal, light diffusion tools like softboxes are essential for softening the shadows. Finally, to make your product stand out against a plain background, try using a third light to brighten the area around it.
Videography, unlike photography, requires constant, uninterrupted lighting. A reliable option is to use LED panels or fluorescent lights. A traditional three-point lighting setup can also be used to control key light, fill light, and backlight.
With the right lighting kits, you can make videos and photos that look like they were shot in a professional studio. Which actually will result from the comfort of your DIY studio.
Portability is essential if you plan to often relocate your light kits to different locations. Traveling photographers will appreciate lighting kits that are easy to set up, have a lightweight build, and include folding stands.
Especially for beginners, designs that are easy to use are significant. Try to get kits that have simple controls for changing the color temperature or brightness as well as pieces that are easy to assemble and have clear instructions.

There are usually a few key components for recognizing the best photography lighting kit. Let's examine what to look for and how each component works together to create the ideal lighting setup for a DIY studio.
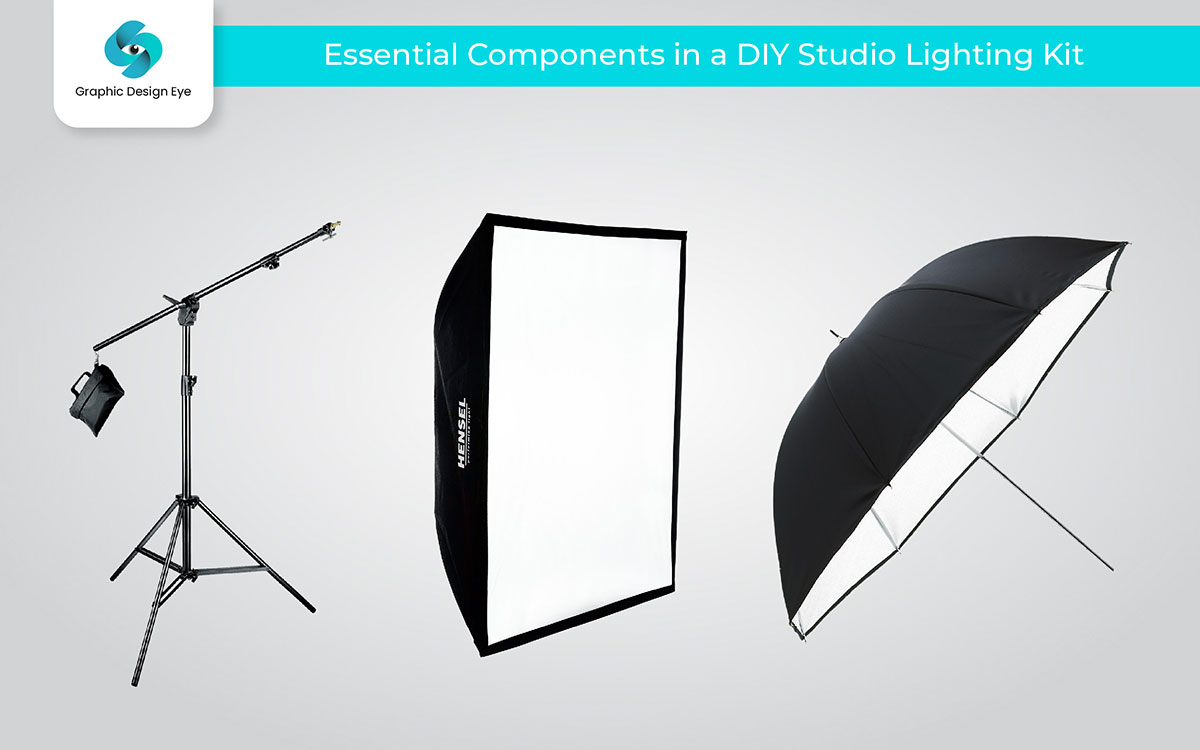
To keep your lights steady while shooting, lighting stands are a must requirement. You want to be sure that the lights will not fall over or wobble on the given stands. Light stands are included in some kits, but they might not be able to support heavier light fixtures. You can position your lights at the perfect height with the help of adjustable stands.
For product shots taken on a table, for instance, a lower height may be required. Stands with a fixed height, still provide greater stability at the expense of mobility. Take a look at the following chart to get a better understanding:
| Stand Type | Features | Ideal Use |
|---|---|---|
| Lightweight Stands | Easy to transport, collapsible | Small lights, portable setups |
| Heavy-duty Stands | Sturdy, supports large softboxes | Large lights, fixed studio setups |
| Adjustable Stands | Flexible height adjustment | Versatile, all-purpose use |
Light modifiers are a key part of best photography lighting kits for DIY studios, as they allow for exact control over the light's direction and intensity.
Softboxes, umbrellas, and diffusers: What to choose?
The light can be adjusted and made softer by using a modifier. Let's see their benefits and drawbacks of finding the perfect one for your studio:
Softboxes
Best for Portraits, product photography, and video shoots.
Benefits:
Drawbacks:
Umbrellas
Best for beginner photographers, and general lighting setups.
Key benefits:
Drawbacks:
Diffusers
Best for softening harsh, direct light from any source.
Key benefits:
Drawbacks:
So, for controlled lighting, softboxes offer the best option. Their enclosed design allows for precise control over the direction and intensity of light. If ease and affordability are priorities, umbrellas provide a versatile solution.
The quality of the light in photographs can be greatly enhanced with the correct modifier. When shooting portraits, softboxes are great for casting beautiful image shadows, while umbrellas provide light that looks more natural. Particularly helpful for high-detail product photographs, diffusers assist in minimizing contrast.
The type of bulb in you are using in your lighting kit will affect the light quality and energy consumption. Here is a chart to overview three types of blub options:
| Light Type | Advantages | Drawbacks |
|---|---|---|
| LED | Energy-efficient, adjustable brightness, cool to touch | Higher upfront cost |
| Incandescent | Natural warm light | Consumes more energy and generates heat |
| Fluorescent | Soft, even lighting | Less control over the color temperature |
When choosing bulbs, consider both intensity (measured in lumens) and color temperature (measured in Kelvin). For photography, daylight-balanced bulbs (around 5,000–6,500K) are ideal as they mimic natural sunlight.
Final thoughts, you should now have some amazing ideas about the best photography lighting kits for DIY studios that will be worthy for a photographer. If you're just beginning or are short on cash, these lighting kits will allow you to get professional results without emptying your bank account.
It's okay if the first attempts don't turn out perfectly; becoming better at it and figuring out how to adjust your lighting will lead to better results in the end. Keep testing with different photography lighting kits and don’t hesitate to look for tutorials online to refine your skills. Good luck with your studio!
Did you find these suggestions helpful? If you feel something was left out or need more advice, feel free to reach out. Our team or I will gladly assist you!